メインコンテンツにスキップ

Brother PT-1290 Face Plate Replacement

必要な工具と部品

  1. Brother PT-1290  Face Plate Replacement, Turn over device to remove batteries.: 手順 1、 3の画像 1 Brother PT-1290  Face Plate Replacement, Turn over device to remove batteries.: 手順 1、 3の画像 2 Brother PT-1290  Face Plate Replacement, Turn over device to remove batteries.: 手順 1、 3の画像 3
    • Turn the device to it's side toward the bottom of the keyboard. Then pop open the case and remove the batteries.

  2. Brother PT-1290  Face Plate Replacement, Back of device: 手順 2、 3の画像 1 Brother PT-1290  Face Plate Replacement, Back of device: 手順 2、 3の画像 2 Brother PT-1290  Face Plate Replacement, Back of device: 手順 2、 3の画像 3
    • Remove back of device and set aside.

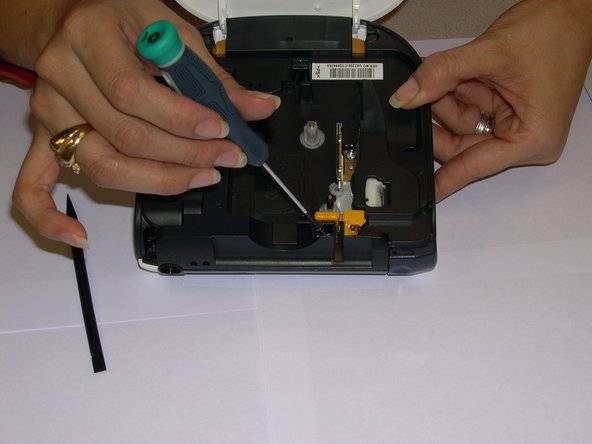
  3. Brother PT-1290  Face Plate Replacement, Remove screws: 手順 3、 3の画像 1 Brother PT-1290  Face Plate Replacement, Remove screws: 手順 3、 3の画像 2 Brother PT-1290  Face Plate Replacement, Remove screws: 手順 3、 3の画像 3
    • Remove all 1/4 inch screws(6 total) with a (+PH00) screwdriver. Open slowly not to damage the display data cable.

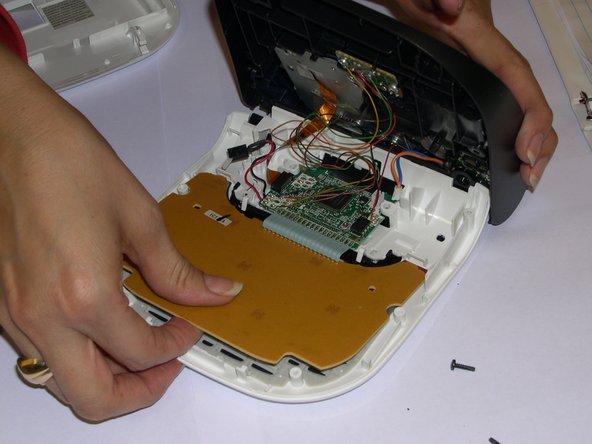
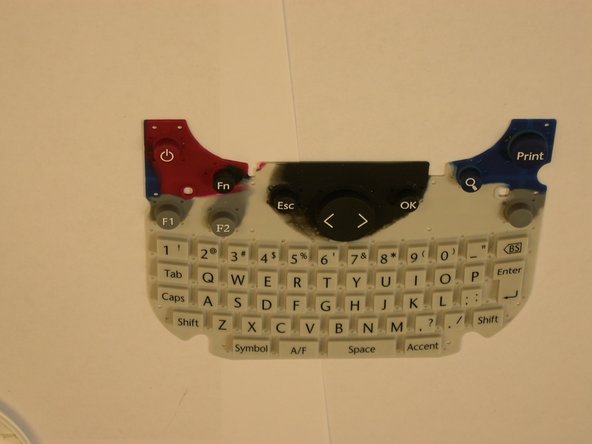
  4. Brother PT-1290  Face Plate Replacement, Remove flat panel: 手順 4、 3の画像 1 Brother PT-1290  Face Plate Replacement, Remove flat panel: 手順 4、 3の画像 2 Brother PT-1290  Face Plate Replacement, Remove flat panel: 手順 4、 3の画像 3
    • Use a plastic opening tool to remove the flat-panel membrane keyboard. Lift up and set aside.

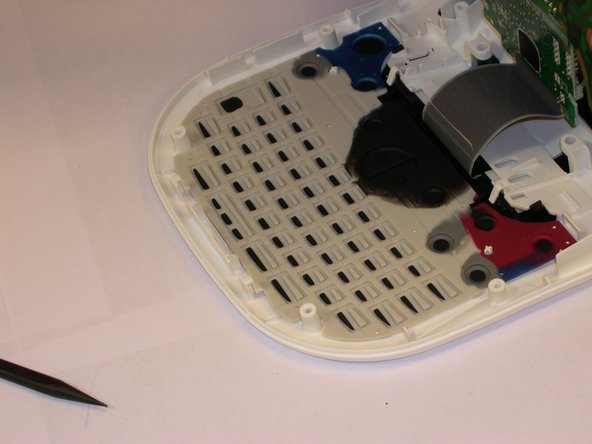
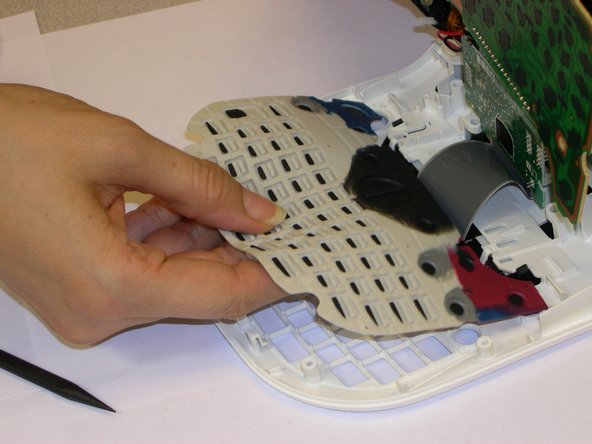
  5. Brother PT-1290  Face Plate Replacement, Remove: 手順 5、 3の画像 1 Brother PT-1290  Face Plate Replacement, Remove: 手順 5、 3の画像 2 Brother PT-1290  Face Plate Replacement, Remove: 手順 5、 3の画像 3
    • Use a spudger to aid in removing the keyboard.

    • Gently lift out while removing the LCD screen that is connected to the data cable and finishing removing.

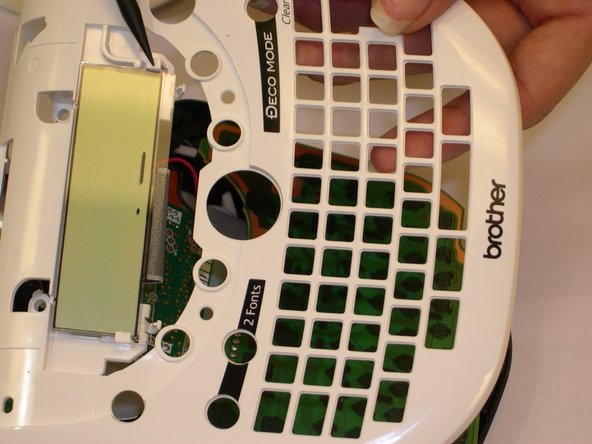
  6. Brother PT-1290  Face Plate Replacement, Removing the LCD screen.: 手順 6、 3の画像 1 Brother PT-1290  Face Plate Replacement, Removing the LCD screen.: 手順 6、 3の画像 2 Brother PT-1290  Face Plate Replacement, Removing the LCD screen.: 手順 6、 3の画像 3
    • Now that you have removed your keyboard. Turn the device over carefully.

    • Pop of LCD black cover.

    • Use the spudger to gently press out the LCD screen.

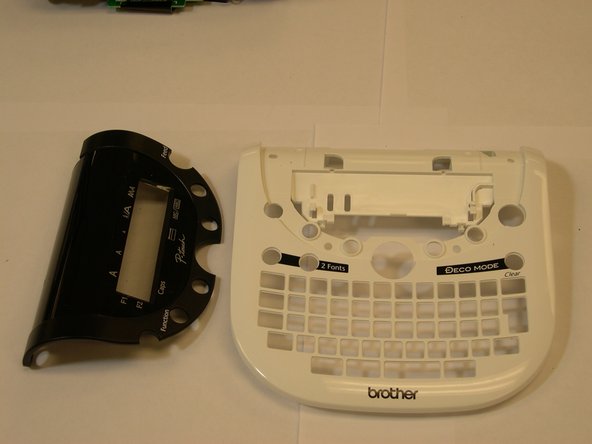
  7. Brother PT-1290  Face Plate Replacement, Switching out faceplate.: 手順 7、 1の画像 1
    • Change out old damaged face plate with your new face plate.

終わりに

To reassemble your device, follow these instructions in reverse order.

作成者

1人の作成者と共同作成されました。

Lorraine Canez

メンバー登録日: 10/25/14

318 ポイント

3のガイドは作成済み

チーム

Gateway, Team 1-4, Johnson Fall 2014 Gateway, Team 1-4, Johnson Fall 2014人のメンバー

GCC-JOHNSON-F14S1G4

3 メンバー

6のガイドは作成済み

0 件のコメント

コメントを追加

統計データ:

過去 24時間: 1

過去 7 日: 2

過去 30 日: 2

今までの合計 153