メインコンテンツにスキップ

Breville JE98XL Juice Fountain Plus Safety Locking Arm Replacement

必要な工具と部品

  1. Breville JE98XL Juice Fountain Plus Safety Locking Arm Replacement, Pulp Basket: 手順 1、 1の画像 1
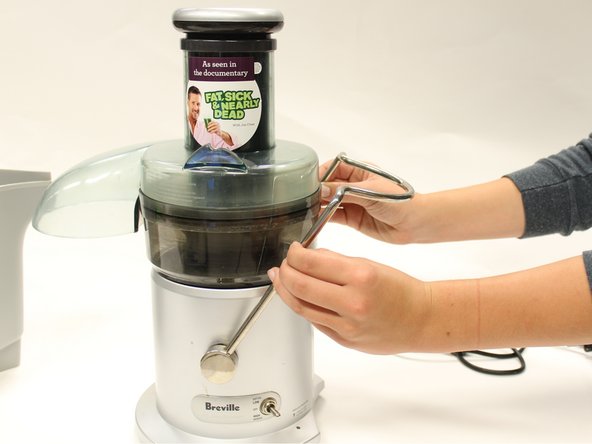
    • Place the juicer on a flat surface. Make sure the juicer is unplugged and in the "off" position. For the following steps, the pulp basket is on the left.

  2. Breville JE98XL Juice Fountain Plus Safety Locking Arm Replacement: 手順 2、 1の画像 1
    • Tilt the juicer slightly to the right so the pulp basket is off of your surface.

  3. Breville JE98XL Juice Fountain Plus Safety Locking Arm Replacement: 手順 3、 1の画像 1
    • Pull the pulp basket down and out from under the juicer cover.

  4. Breville JE98XL Juice Fountain Plus Safety Locking Arm Replacement, Safety Locking Arm: 手順 4、 2の画像 1 Breville JE98XL Juice Fountain Plus Safety Locking Arm Replacement, Safety Locking Arm: 手順 4、 2の画像 2
    • Place one hand on either side of the safety locking arm.

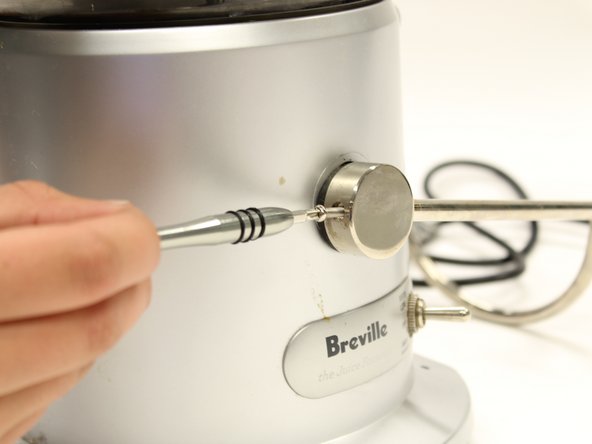
    • Disengage the locking mechanism by pulling down on the lever with even pressure. The lever should be free to move up or down once it has been properly disengaged.

  5. Breville JE98XL Juice Fountain Plus Safety Locking Arm Replacement: 手順 5、 2の画像 1 Breville JE98XL Juice Fountain Plus Safety Locking Arm Replacement: 手順 5、 2の画像 2
    • Locate the two 1 inch Phillips #1 screws on the back of the safety arm.

  6. Breville JE98XL Juice Fountain Plus Safety Locking Arm Replacement: 手順 6、 2の画像 1 Breville JE98XL Juice Fountain Plus Safety Locking Arm Replacement: 手順 6、 2の画像 2
    • Remove the safety locking arm by gripping both sides and pulling horizontally away from the juicer.

終わりに

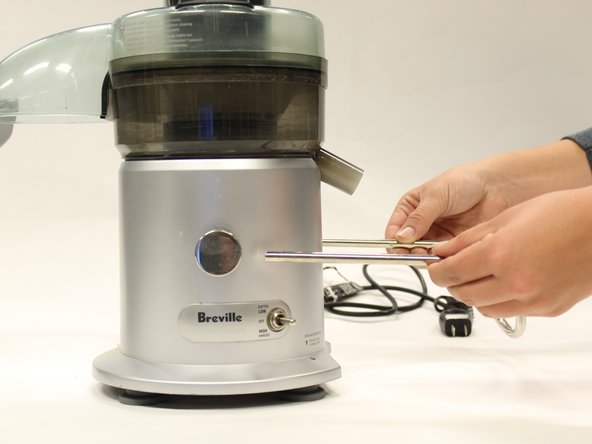
To reassemble your device, follow these instructions in reverse order.

作成者

2人の作成者と共同で作成されました。

Madison Burgess

メンバー登録日: 10/06/16

499 ポイント

3のガイドは作成済み

チーム

Cal Poly, Team 15-1, Livingston Fall 2016 Cal Poly, Team 15-1, Livingston Fall 2016人のメンバー

CPSU-LIVINGSTON-F16S15G1

3 メンバー

4のガイドは作成済み

0 件のコメント

コメントを追加

統計データ:

過去 24時間: 1

過去 7 日: 6

過去 30 日: 14

今までの合計 1,051