はじめに
If you’ve rescued a Breville Duo-Temp 800ESXL espresso machine from the dumpster or simply haven’t used yours in a while, chances are the group head gasket needs replacing.
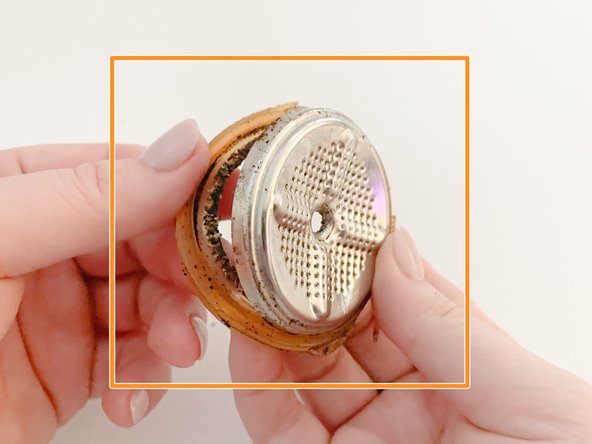
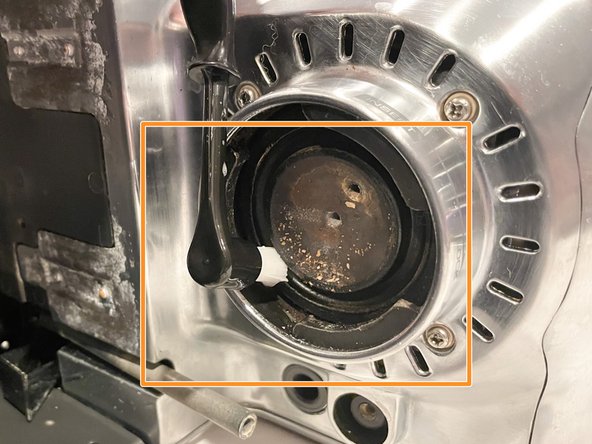
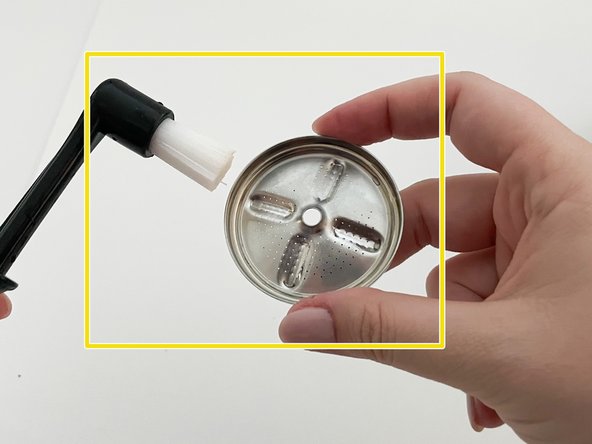
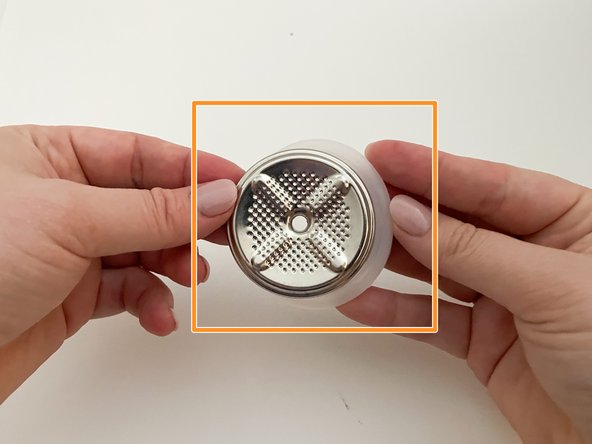
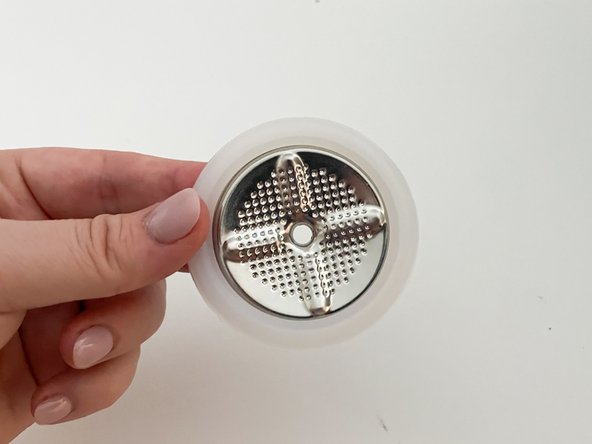
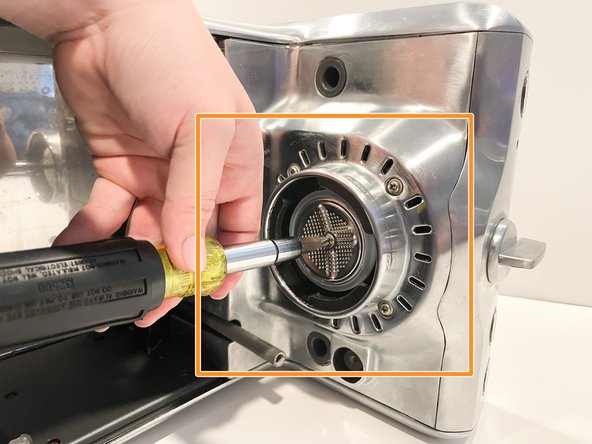
The gasket creates the seal between the portafilter (which contains the coffee) and the group head of the espresso machine, ensuring water is pressurized through the grounds for good extraction. A cracked gasket will allow for pressure and water leaks resulting in poor espresso.
Before beginning, make sure your espresso machine is unplugged and completely cool.
必要な工具と部品
-
-
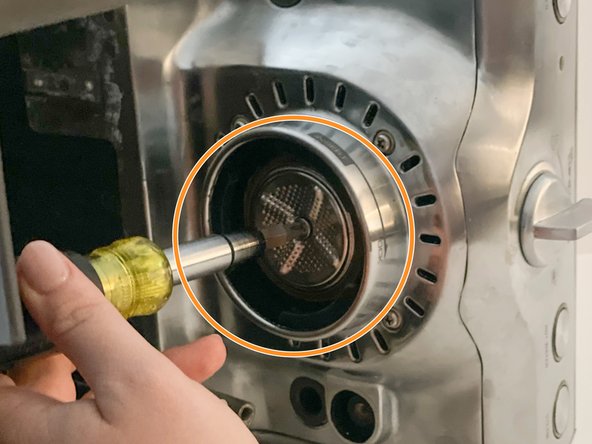
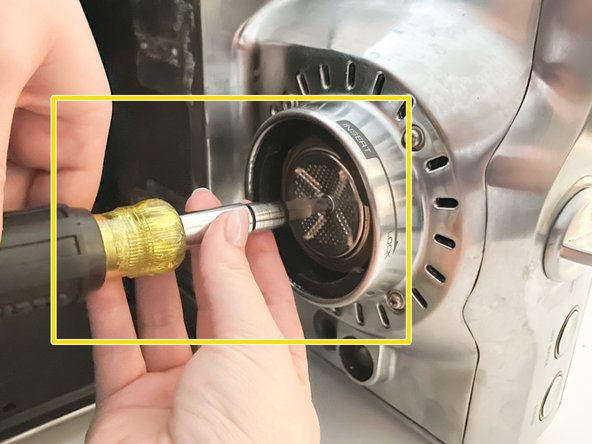
With your left hand, strongly grip the handle of the portafilter.
-
Pull the handle to your left. This will unlock the portafilter.
-
Gently push down to release the portafilter.
-
-


Your espresso machine is now ready to use. Fill your portafilter with coffee, brew and enjoy your espresso.
Your espresso machine is now ready to use. Fill your portafilter with coffee, brew and enjoy your espresso.

チーム

University of North Texas, Team 1-4, Friess Fall 2021 University of North Texas, Team 1-4, Friess Fall 2021人のメンバー
UNT-FRIESS-F21S1G4
1 メンバー
1のガイドは作成済み
2 件のコメント
thanks so much. Do you have a photo of the brew group without the screen on it? mine is so filthy and water was only coming out of one side-Lily
Lily White - 返信
Hi! Water is coming out of those holes on top when I try to make espresso. Does that mean I need to replace the gasket? What do you think the issue is? Thanks!