はじめに
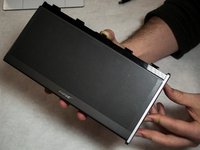
The Bose Soundlink II is a compact Bluetooth speaker requiring substantial disassembly in order to access the components of the device. The side covers are easy to remove if the location of the necessary screws is known.
必要な工具と部品
-
-
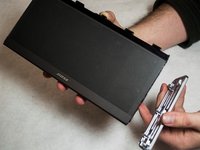
Using a 2.5 mm hex wrench, remove the two 13 mm screws from the bottom of the speaker.
-
-
-
-
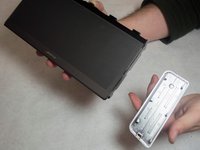
Remove the black electrical tape in order to reveal the screws attaching the side cover to the main body of the speaker. These screws are on the base of the device.
-


To reassemble your device, follow these instructions in reverse order.
To reassemble your device, follow these instructions in reverse order.
4 の人々がこのガイドを完成させました。
チーム

IUPUI, Team S3-G3, Harley Spring 2017 IUPUI, Team S3-G3, Harley Spring 2017人のメンバー
IUPUI-HARLEY-S17S3G3
4 メンバー
3のガイドは作成済み