はじめに
The trigger replacement is fairly simple but it might require some effort.
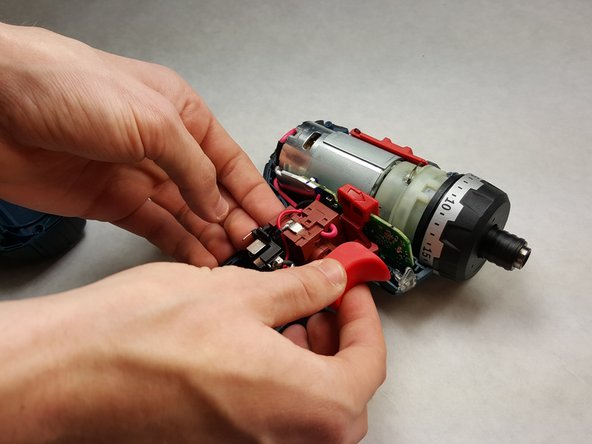
It is necessary that the battery is removed prior to starting with this project to ensure that no injuries will happen when disconnecting the trigger from the motor.
必要な工具と部品
-
-
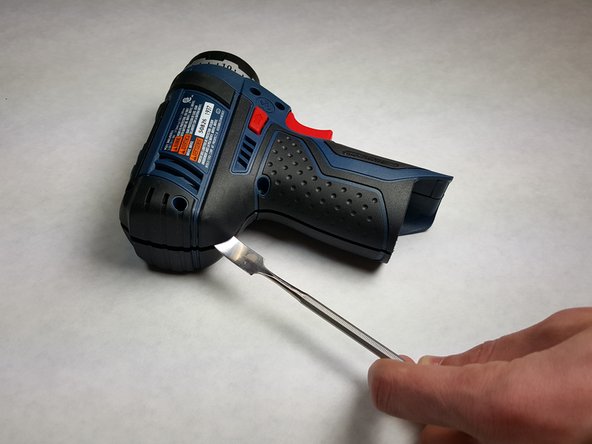
Locate the clip that connects the two halves of the outer casing on the rear edge of the battery shaft. *Use the angled tweezers to remove the clip.
-
-


To reassemble your device, follow these instructions in reverse order.
To reassemble your device, follow these instructions in reverse order.
5 の人々がこのガイドを完成させました。
チーム

IUPUI, Team 1-2, Harley Spring 2016 IUPUI, Team 1-2, Harley Spring 2016人のメンバー
IUPUI-HARLEY-S16S1G2
4 メンバー
4のガイドは作成済み
2 件のコメント
mine has always operated flawlessly, then I was putting a few screws in the bedroom shelf and it worked fine. picked it up to change rotation and it is froze up. the trigger operates the lite and the batteries are fresh. but it will not turn, tried to turn with a wrench but its locked ? motor? gear drive or trigger? It doesn’t even seem as if its trying to turn when you pull the trigger?
?
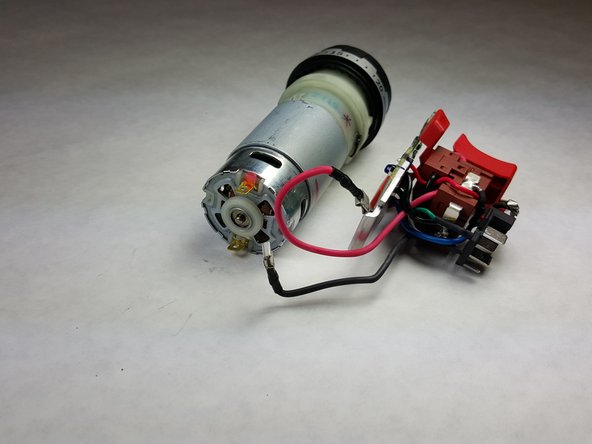
The most difficult step in this process is disconnecting the black wire from the defective switch. The wire enters the switch block however there is no sign of a screw or fastening one can disconnect to remove that wire! That step is ‘glossed over’. Any enlightenment from anyone would be welcome.
If you look at the "tools required" here you'll see torx screwdriver, needle nose pliers, tweezers, etc. So whoever started putting this together probably intended to show how to replace the batter cells inside the casing. But those steps are missing. If anyone has a guide to how to actually fix bad cells for this specific battery, please share!
George Mann - 返信