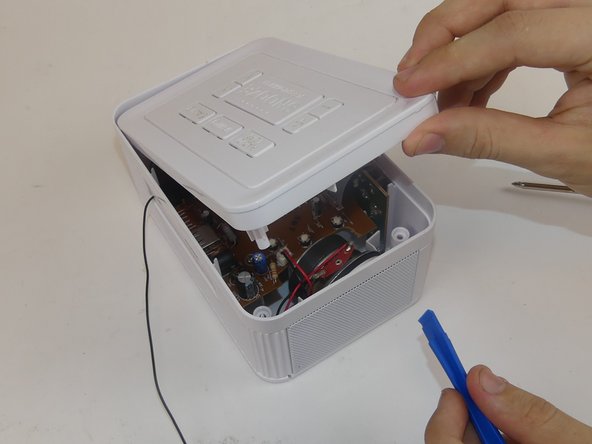
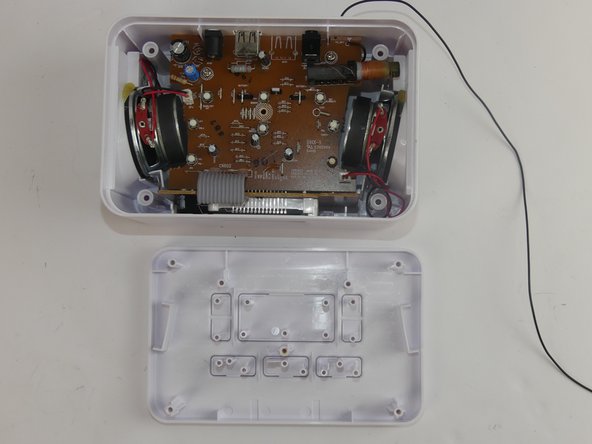
メインコンテンツにスキップ

Bolide Technology Group Dual Alarm Clock Speaker Replacement

必要な工具と部品

  1. Bolide Technology Group Dual Alarm Clock Speaker Replacement, Speaker: 手順 1、 3の画像 1 Bolide Technology Group Dual Alarm Clock Speaker Replacement, Speaker: 手順 1、 3の画像 2 Bolide Technology Group Dual Alarm Clock Speaker Replacement, Speaker: 手順 1、 3の画像 3
    • Slide the clear plastic case off of the speaker

  2. Bolide Technology Group Dual Alarm Clock Speaker Replacement: 手順 2、 3の画像 1 Bolide Technology Group Dual Alarm Clock Speaker Replacement: 手順 2、 3の画像 2 Bolide Technology Group Dual Alarm Clock Speaker Replacement: 手順 2、 3の画像 3
    • Remove the batteries on the bottom of the radio

    • Locate and remove the five screws on the bottom of the radio with a Philips Head Screwdriver.

    • Make sure to keep your screws together so you don't lose them.

  3. Bolide Technology Group Dual Alarm Clock Speaker Replacement: 手順 3、 3の画像 1 Bolide Technology Group Dual Alarm Clock Speaker Replacement: 手順 3、 3の画像 2 Bolide Technology Group Dual Alarm Clock Speaker Replacement: 手順 3、 3の画像 3
    • Grab your nylon pry tool and wedge it between the outer case and the top of the radio. Slowly pry open the top and remove it.

    • This may be more difficult to take off if the top hasn't been removed before, but it may be easier to turn the clock upside down for this step.

  4. Bolide Technology Group Dual Alarm Clock Speaker Replacement: 手順 4、 2の画像 1 Bolide Technology Group Dual Alarm Clock Speaker Replacement: 手順 4、 2の画像 2
    この手順で使用する道具:
    Spudger
    $2.99
    購入する
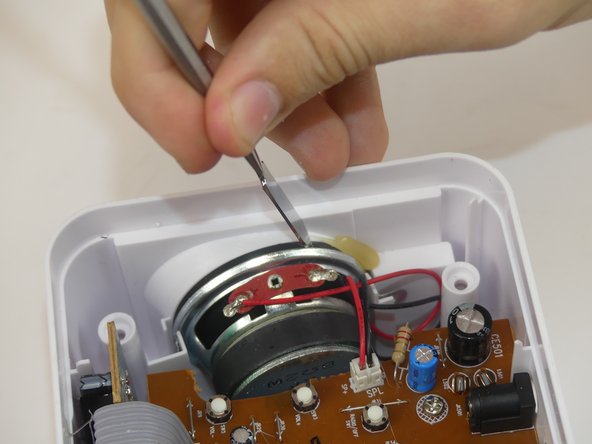
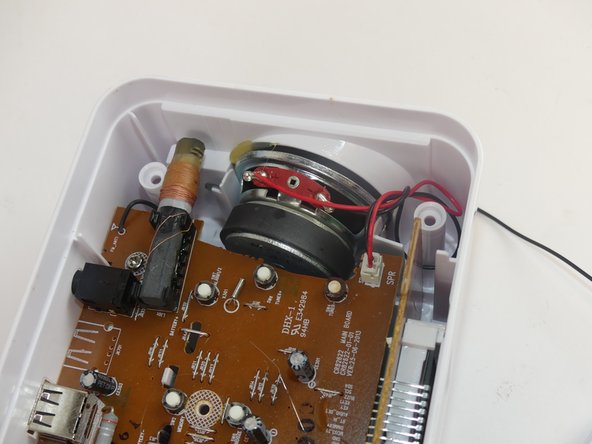
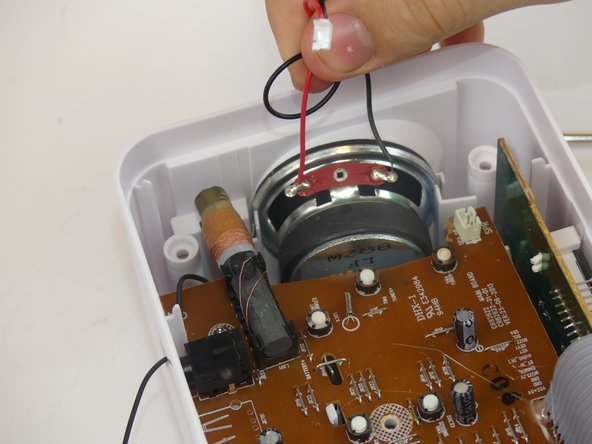
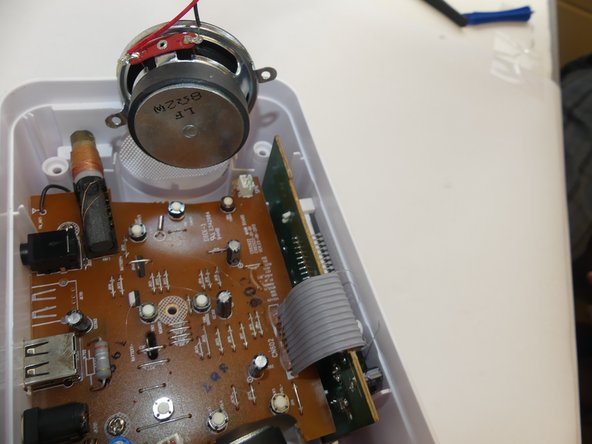
    • Using a black nylon spudger to carefully break the glue around the outside of the speaker so it can be dislodged.

  5. Bolide Technology Group Dual Alarm Clock Speaker Replacement: 手順 5、 3の画像 1 Bolide Technology Group Dual Alarm Clock Speaker Replacement: 手順 5、 3の画像 2 Bolide Technology Group Dual Alarm Clock Speaker Replacement: 手順 5、 3の画像 3
    • Locate the speaker plug for the speaker you wish to remove and slightly tug on it until it becomes unplugged

    • This can also be done with a pair of tweezers if you find there isn't enough space.

  6. Bolide Technology Group Dual Alarm Clock Speaker Replacement: 手順 6、 2の画像 1 Bolide Technology Group Dual Alarm Clock Speaker Replacement: 手順 6、 2の画像 2
    • After the speaker cord is removed, pull the speaker straight up and out of the radio.

  7. Bolide Technology Group Dual Alarm Clock Speaker Replacement: 手順 7、 2の画像 1 Bolide Technology Group Dual Alarm Clock Speaker Replacement: 手順 7、 2の画像 2
    • Once the speaker is removed, the inside of the dual alarm clock should look identical to the photo shown.

終わりに

To reassemble your device, follow these instructions in reverse order.

ある他の人がこのガイドを完成しました。

作成者

3人の作成者と共同で作成されました。

Mercy Adeshola

メンバー登録日: 02/20/17

121 ポイント

1ガイドが承認済み

チーム

USF Tampa, Team 10-1, Remmell Spring 2017 USF Tampa, Team 10-1, Remmell Spring 2017人のメンバー

USFT-REMMELL-S17S10G1

4 メンバー

2のガイドは作成済み

0 件のコメント

コメントを追加

統計データ:

過去 24時間: 0

過去 7 日: 7

過去 30 日: 11

今までの合計 660