はじめに
If your Blackberry Torch smartphone (model 9810) is a broken or has a shattered front-view camera (also known as the selfie camera), use this guide to replace the rear facing camera.
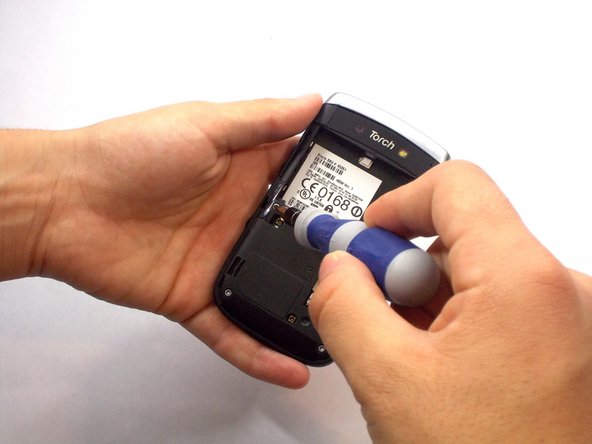
Before starting this project you should completely power off your device, disconnect from any external power source, and carefully inspect your device to ensure that is free of any dirt and debris.
Warning if your screen is cracked or damaged it maybe the cause of a nonfunctional front-view and will need to be replaced instead of the actual camera.
必要な工具と部品
-
-
-
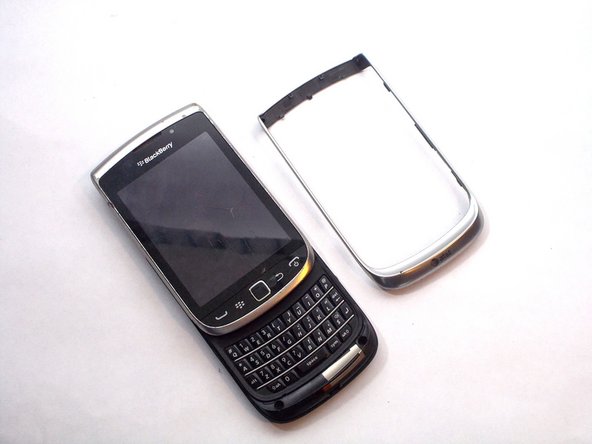
Once you remove the rim cover, you should find two more screws on the top. Unscrew them using the T6 screw driver.
-


To reassemble your device, follow these instructions in reverse order.
To reassemble your device, follow these instructions in reverse order.
ある他の人がこのガイドを完成しました。
チーム

UMass Dartmouth, Team 6-6, Vijaybhaskar Fall 2014 UMass Dartmouth, Team 6-6, Vijaybhaskar Fall 2014人のメンバー
UMASSD-VIJAYBHASKAR-F14S6G6
3 メンバー
4のガイドは作成済み