はじめに
This is a tutorial with tips to replace your Blackberry Classic Q20 battery.
必要な工具と部品
-
-
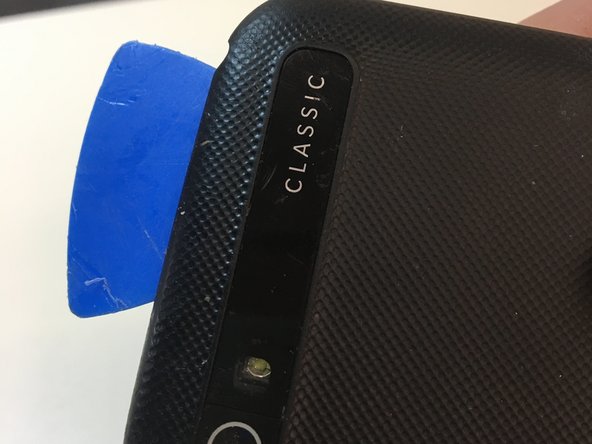
Use a Jimmy to pry between the midframe and back cover. Wiggle back and forward until the first clip releases.
-
Switch to a plastic spudger and continue gently prying along the edge of the back cover to release the clips.
-
Once all the clips are released around the edge of the cover, you will need to use a guitar pick to cut through adhesive on the top and bottom of the cover. Take care not to cut through the battery ribbon cable. The top adhesive is behind the glass feature on the back cover. You may need to apply some heat.
-
-
-
-
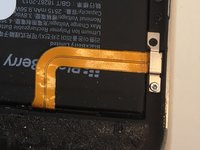
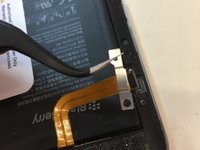
One T5 (lower) and one PH00 (upper) screwdriver heads are needed to remove the battery's connector shield.
-
Then use a spudger to pry the battery's connector from the motherboard. Be sure to pry with even pressure.
-
-
-
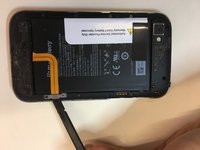
Use extreme caution when removing the battery. It is directly against the motherboard, and piercing the battery could corrode other components. It could also catch flame.
-
Take off the battery shield, and use a scalpel or other flat tool to remove the foam on the connector. Place these onto new battery.
-
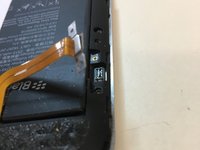
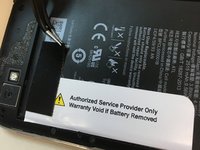
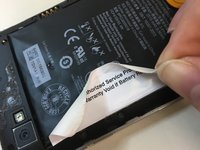
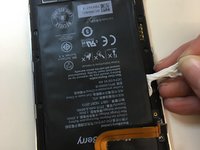
Carefully apply some low heat to the stickers covering the battery and gently peel them off. The white sticker is connected to adhesive under the battery.
-
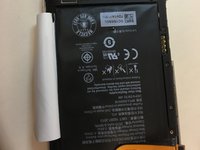
Gently pry up on the edges of the battery so that the adhesive will come out more easily. Take great care not to pierce the black "skin" on the battery.
-
Slowly start pulling the adhesive tab out, regripping close to the battery as it starts to come out.
-
-
-
Be sure to add adhesive to the new battery, and replace the foam on the connector.
-


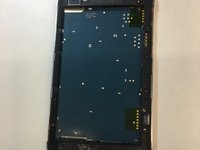

To reassemble your device, follow these instructions in reverse order. Remember to replace the foam pad on the connector.
18 の人々がこのガイドを完成させました。
チーム

8件のガイドコメント
Success! Nerve racking for an amateur and I could not have done it without your guidance.
Thank you.
Ken Wright - 返信 共有
So happy to be of help!
My BB is going to have a 2nd life. Unbelievably irresponsible to glue everything together.
Thx Jessica for this great guide. It worked perfectly and in a spell.