メインコンテンツにスキップ

BlackBerry Curve 8530 Motherboard Replacement

必要な工具と部品

  1. BlackBerry Curve 8530 Motherboard Replacement, Battery: 手順 1、 2の画像 1 BlackBerry Curve 8530 Motherboard Replacement, Battery: 手順 1、 2の画像 2
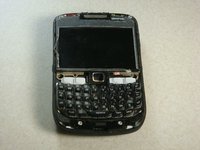
    • Place the phone on a flat surface with the screen facing down.

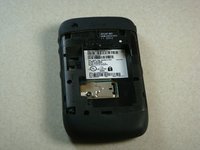
    • Remove the plastic backplate by pulling up on the bottom of the cover.

  2. BlackBerry Curve 8530 Motherboard Replacement: 手順 2、 1の画像 1
    • Remove the battery by pulling up from the top of the battery.

  3. BlackBerry Curve 8530 Motherboard Replacement, Keypad: 手順 3、 2の画像 1 BlackBerry Curve 8530 Motherboard Replacement, Keypad: 手順 3、 2の画像 2
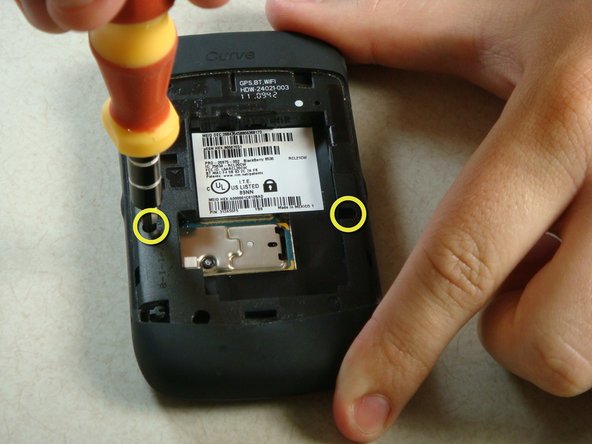
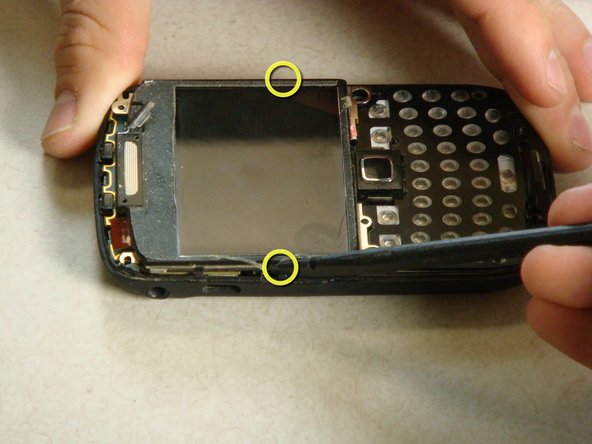
    • Remove the two screws midway up the phone on the left and right sides using a T6 Torx Screwdriver.

    • Warning: One screw will have warranty tape covering the screw. Removing this screw will likely void the phones warranty.

  4. BlackBerry Curve 8530 Motherboard Replacement: 手順 4、 2の画像 1 BlackBerry Curve 8530 Motherboard Replacement: 手順 4、 2の画像 2
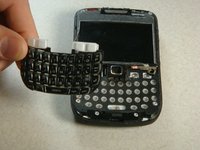
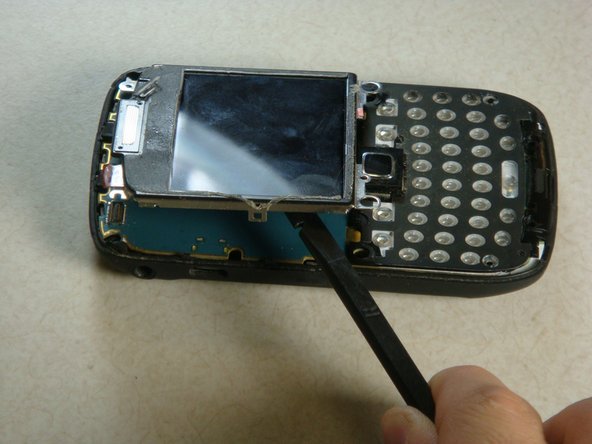
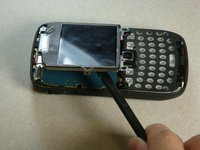
    • Flip the phone over so the keyboard faces up.

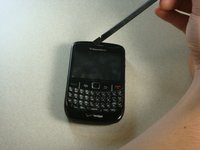
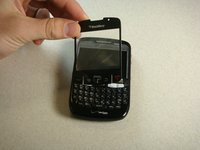
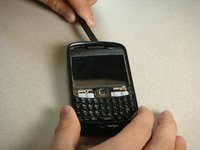
    • Insert a plastic spudger into the screen where speaker resides.

    • I recommend going from the side. There are two layers to the cover. You need to make sure you get underneath the bottom layer if you plan on reusing this cover.

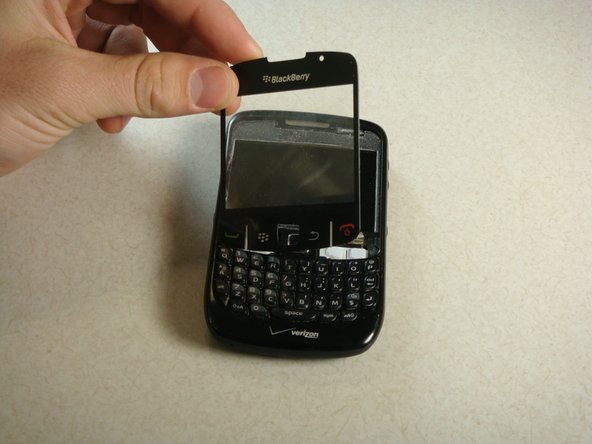
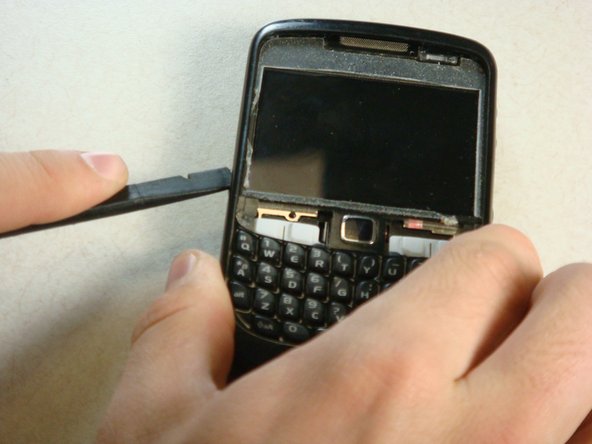
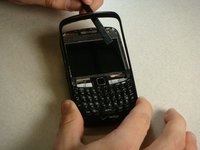
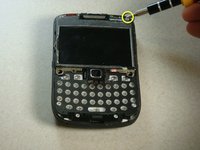
    • Gently lift up plastic screen cover until screen cover separates from screen.

    • Continue until screen cover is completely removed.

  5. BlackBerry Curve 8530 Motherboard Replacement: 手順 5、 3の画像 1 BlackBerry Curve 8530 Motherboard Replacement: 手順 5、 3の画像 2 BlackBerry Curve 8530 Motherboard Replacement: 手順 5、 3の画像 3
    • Insert the spudger into the top of the plastic siding on the front of the phone and lift up until the siding lifts up.

    • Slide the tool around the entire perimeter of the phone until the plastic siding is completely removed.

  6. BlackBerry Curve 8530 Motherboard Replacement: 手順 6、 2の画像 1 BlackBerry Curve 8530 Motherboard Replacement: 手順 6、 2の画像 2
    • The keyboard should slide off of the phone now that the plastic siding has been removed.

  7. BlackBerry Curve 8530 Motherboard Replacement, Screen: 手順 7、 3の画像 1 BlackBerry Curve 8530 Motherboard Replacement, Screen: 手順 7、 3の画像 2 BlackBerry Curve 8530 Motherboard Replacement, Screen: 手順 7、 3の画像 3
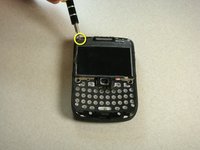
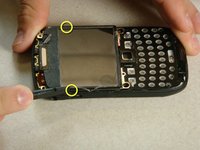
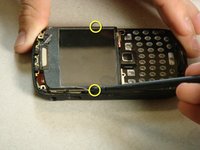
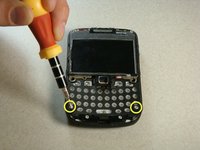
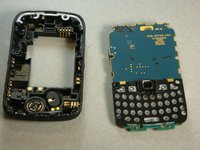
    • To detach the screen, there are two screws at the top of the phone to be removed. Use the T6 Torx Screwdriver to remove the screws.

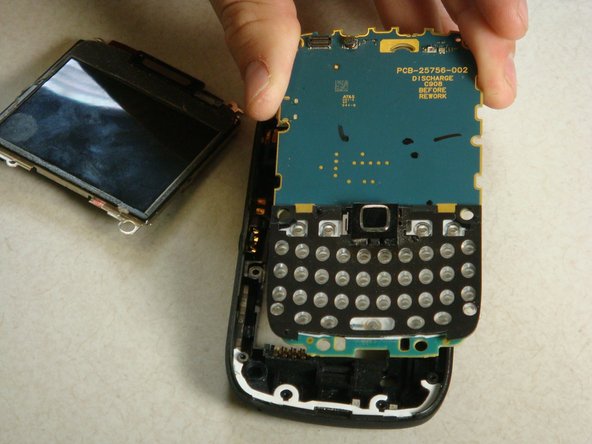
    • There is a gold ribbon on the top left of the phone. Lift up this ribbon gently until it is detached from the phone.

    • Note: When reassembling, the ribbon should be reattached before replacing the top screws.

  8. BlackBerry Curve 8530 Motherboard Replacement: 手順 8、 3の画像 1 BlackBerry Curve 8530 Motherboard Replacement: 手順 8、 3の画像 2 BlackBerry Curve 8530 Motherboard Replacement: 手順 8、 3の画像 3
    • There are two clips on each side of the phone. Insert a plastic spudger between the clips and the screen.

    • Use pressure to unlatch the screen from the clips.

    • Now that these clips have been undone, the screen should lift up easily.

  9. BlackBerry Curve 8530 Motherboard Replacement, Motherboard: 手順 9、 2の画像 1 BlackBerry Curve 8530 Motherboard Replacement, Motherboard: 手順 9、 2の画像 2
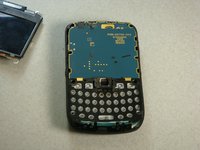
    • Now there are four screws that need to be removed. They are located at the bottom of the phone and can also be removed using a T6 Torx Screwdriver.

  10. BlackBerry Curve 8530 Motherboard Replacement: 手順 10、 3の画像 1 BlackBerry Curve 8530 Motherboard Replacement: 手順 10、 3の画像 2 BlackBerry Curve 8530 Motherboard Replacement: 手順 10、 3の画像 3
    • Now the motherboard will lift up out of the plastic backing of the phone.

ゴール

10 の人々がこのガイドを完成させました。

作成者

6人の作成者と共同で作成されました。

Cory Davis

メンバー登録日: 04/19/11

503 ポイント

3のガイドは作成済み

チーム

Cal Poly, Team 15-13, Regan Spring 2011 Cal Poly, Team 15-13, Regan Spring 2011人のメンバー

CPSU-REGAN-S11S15G13

3 メンバー

5のガイドは作成済み

0 件のコメント

コメントを追加

統計データ:

過去 24時間: 1

過去 7 日: 1

過去 30 日: 4

今までの合計 10,750