
BlackBerry Curve 8520 LCD Screen Replacement

Matt とその他
最終更新日: 2016年5月25日
閲覧: 3.7万
統計データ:
- 過去24時間:
- 2
- 過去7日:
- 17
- 過去30日:
- 88
- 今までの合計
- 36,713
コメント: 1
手順に関する1件のコメント.
完了済み: 12 13
12人のユーザーがこのガイドを「完了」させました。あなたも加わりませんか?
あなたを含む、13人のユーザーがこのガイドを使って修理を「完了」させました。素晴らしいです!
お気に入り: 23 24
23人のユーザーがこのガイドをお気に入りに登録しています。あなたもリストに入れませんか?
あなたを含む、24人のユーザーがこのガイドをお気に入りに登録しています。
アクションショット
アクションヒーローになりましょう!このガイドはある特定の動作をどのように行なうのか、より詳細な画像が必要です。
空欄の手順
申し訳ありませんが、この修理ガイドは、重要な手順が入っていません。
はじめに
手順 1 に進む ↓Use this guide to replace the screen of the BlackBerry Curve 8520.
必要な工具と部品
ツール


-
-
-
Insert a plastic opening tool into the small notch on the rear cover of the phone.
-
Pry the rear cover up from the phone.
 FixBotに聞いてみる
-
-
-
-
-
Locate the slit between the top of the battery and the casing.
-
Gently apply pressure on the top of the battery to trigger the spring release.
-
-
-
-
-
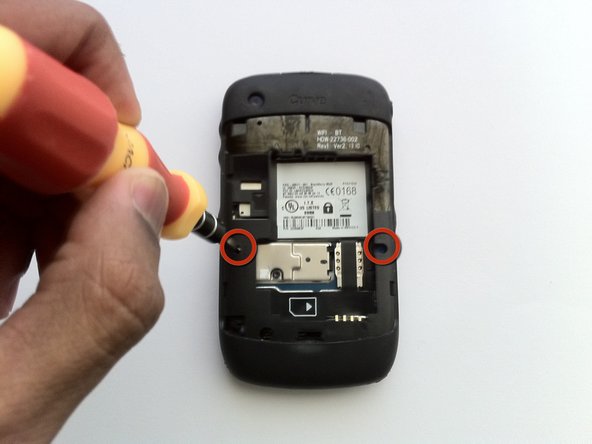
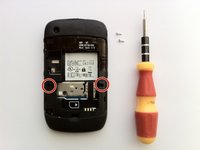
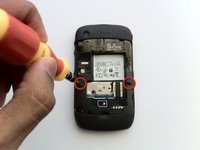
Remove the two Torx T6 screws to the left and right of the battery.
-
-
-
-
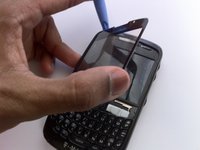
Using hairdryer or heat gun, warm the front panel to soften the adhesive beneath.
-
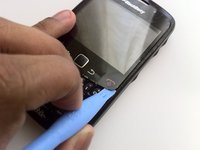
Starting from one side, use a plastic opening tool to pry up the screen cover.
-
Once one side is loose, gently peel up the entire cover.
-
-
-
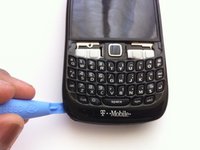
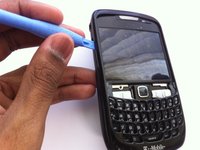
Insert the plastic opening tool in the seam along the side of the device.
-
Slide the tool along the length of the seam, applying moderate force with the plastic opening tool.
-
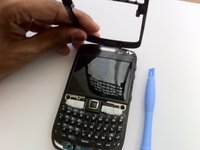
Carefully remove the faceplate.
-
-
この手順で使用する道具:Tweezers$4.99
-
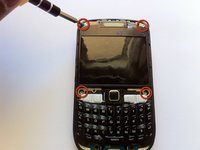
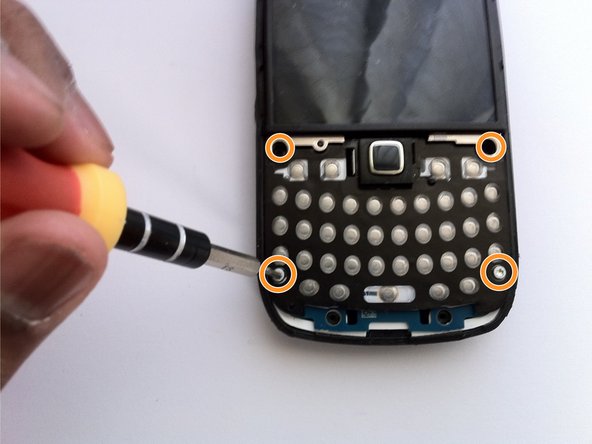
Remove four T6 Torx screws from the front of the phone.
-
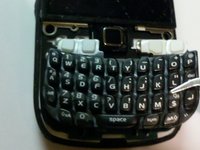
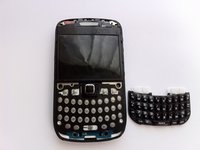
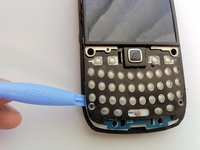
Using tweezers, remove the keyboard buttons from the phone.
-
-
-
-
-
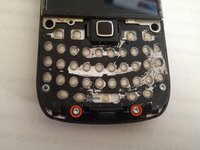
Remove the two T6 Torx screws securing the small plastic bracket at the bottom of the phone.
-
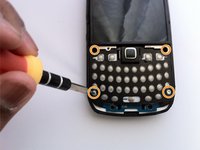
Remove the four T6 Torx screws from the corners of the keyboard.
-
-
-
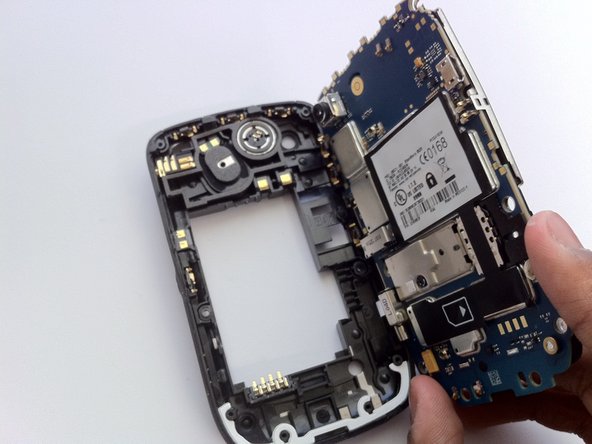
Using a plastic opening tool, gently pry the motherboard assembly from the device's frame.
-
-










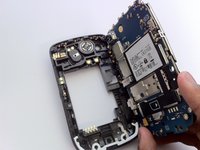
To reassemble your device, follow these instructions in reverse order.
12 の人々がこのガイドを完成させました。

チーム

Cal Poly, Team 9-62, Walters Spring 2011 Cal Poly, Team 9-62, Walters Spring 2011人のメンバー
CPSU-WALTERS-S11S9G62
5 メンバー
60のガイドは作成済み
