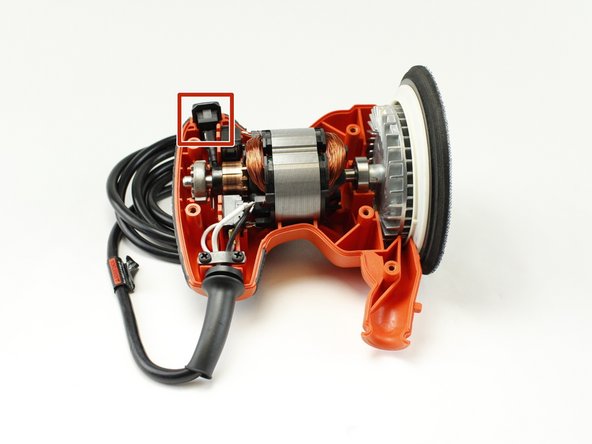
メインコンテンツにスキップ

Black and Decker BDERO100 Power Button Replacement

必要な工具と部品

  1. Black and Decker BDERO100 Power Button Replacement, Chassis: 手順 1、 2の画像 1 Black and Decker BDERO100 Power Button Replacement, Chassis: 手順 1、 2の画像 2
    • Use the nylon spudger to remove the rubber ring from the filter attachment section.

    • The easiest way to do this is to place the spudger sideways and pulling out the ring.

  2. Black and Decker BDERO100 Power Button Replacement: 手順 2、 2の画像 1 Black and Decker BDERO100 Power Button Replacement: 手順 2、 2の画像 2
    • Use the TR20 Torx Security bit driver to unscrew the five 18.75mm Phillips screws from the warning label side of the chassis.

  3. Black and Decker BDERO100 Power Button Replacement: 手順 3、 2の画像 1 Black and Decker BDERO100 Power Button Replacement: 手順 3、 2の画像 2
    • Grab the plastic opening tool and place it on the separation line between both sides of the chassis.

    • Separate both sides and open the device.

    • Be careful not to lose or detach any internal parts while opening the sander.

  4. Black and Decker BDERO100 Power Button Replacement: 手順 4、 2の画像 1 Black and Decker BDERO100 Power Button Replacement: 手順 4、 2の画像 2
    • Hold the chassis and separate it from the device.

  5. Black and Decker BDERO100 Power Button Replacement, Power Button: 手順 5、 2の画像 1 Black and Decker BDERO100 Power Button Replacement, Power Button: 手順 5、 2の画像 2
    • Hold the power button and pull it out of the chassis.

  6. Black and Decker BDERO100 Power Button Replacement: 手順 6、 2の画像 1 Black and Decker BDERO100 Power Button Replacement: 手順 6、 2の画像 2
    • Select the cable that connects to the power button.

  7. Black and Decker BDERO100 Power Button Replacement: 手順 7、 1の画像 1
    • Expose the cable and lock system by peeling off the electric cover.

    • When attaching the new power cord you will need to make sure to cover this lock system with electrical tape.

  8. Black and Decker BDERO100 Power Button Replacement: 手順 8、 2の画像 1 Black and Decker BDERO100 Power Button Replacement: 手順 8、 2の画像 2
    • Push the security pin with the plastic spudger and simultaneously, pull gently on the cable to separate it from the button

  9. Black and Decker BDERO100 Power Button Replacement: 手順 9、 2の画像 1 Black and Decker BDERO100 Power Button Replacement: 手順 9、 2の画像 2
    • Detach the black wire connected to the power button from the motor. To do this, gently pull the cable while holding the power button.

終わりに

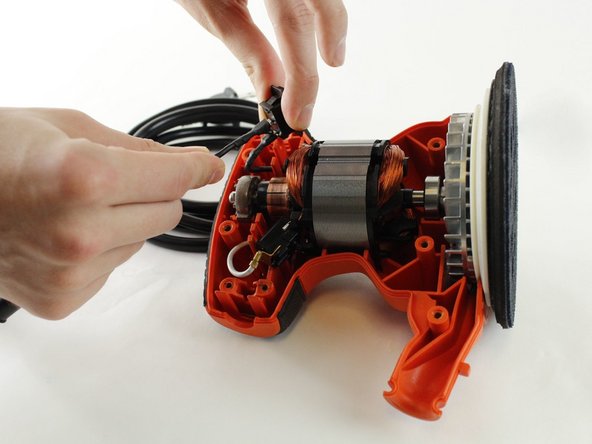
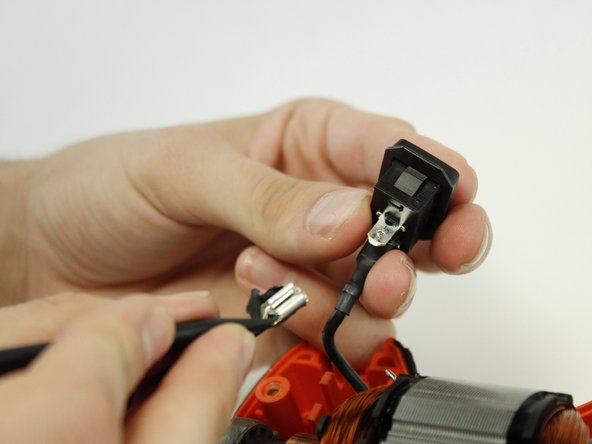
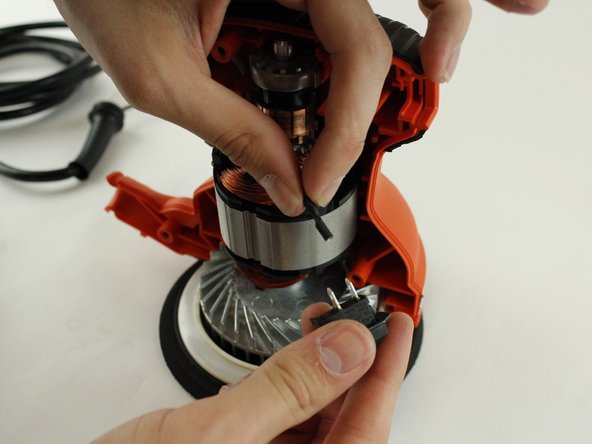
To reassemble your device, follow these instructions in reverse order.

作成者

2人の作成者と共同で作成されました。

Irene Zubillaga

メンバー登録日: 02/10/16

617 ポイント

5のガイドは作成済み

チーム

USF Tampa, Team 1-5, Sullivan Spring 2016 USF Tampa, Team 1-5, Sullivan Spring 2016人のメンバー

USFT-SULLIVAN-S16S1G5

4 メンバー

6のガイドは作成済み

0 件のコメント

コメントを追加

統計データ:

過去 24時間: 0

過去 7 日: 1

過去 30 日: 12

今までの合計 1,052