メインコンテンツにスキップ

Bissell SpotClean ProHeat 5207U Float Stack Replacement

  1. Bissell SpotClean ProHeat 5207U Float Stack Replacement, Float Stack: 手順 1、 1の画像 1
    • Ensure Bissell SpotClean ProHeat is unplugged.

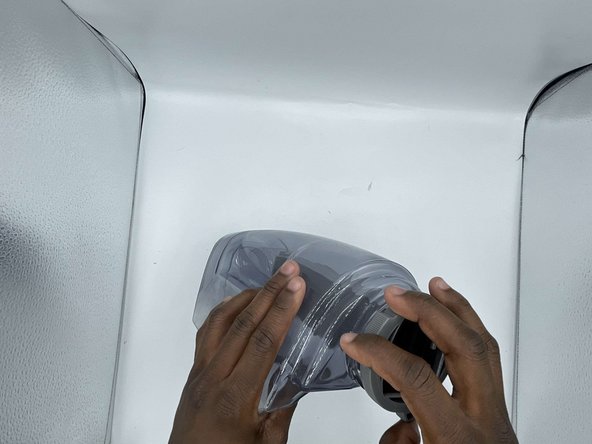
    • Position your hand vacuum so that you can see the text at the bottom saying "SpotClean ProHeat."

  2. Bissell SpotClean ProHeat 5207U Float Stack Replacement: 手順 2、 2の画像 1 Bissell SpotClean ProHeat 5207U Float Stack Replacement: 手順 2、 2の画像 2
    • Remove the dirty water tank. It is the tank on the right.

    • The tank reads "dirty" on the bottom on the inner edge.

  3. Bissell SpotClean ProHeat 5207U Float Stack Replacement: 手順 3、 3の画像 1 Bissell SpotClean ProHeat 5207U Float Stack Replacement: 手順 3、 3の画像 2 Bissell SpotClean ProHeat 5207U Float Stack Replacement: 手順 3、 3の画像 3
    • Rotate the bottom of the float stack counterclockwise until the float stack comes lose.

    • Remove the float stack from the tank.

  4. Bissell SpotClean ProHeat 5207U Float Stack Replacement: 手順 4、 3の画像 1 Bissell SpotClean ProHeat 5207U Float Stack Replacement: 手順 4、 3の画像 2 Bissell SpotClean ProHeat 5207U Float Stack Replacement: 手順 4、 3の画像 3
    • Grab the float on the float Stack assembly

    • Slide the float down towards the base.

    • Remove float and clean any debris found.

終わりに

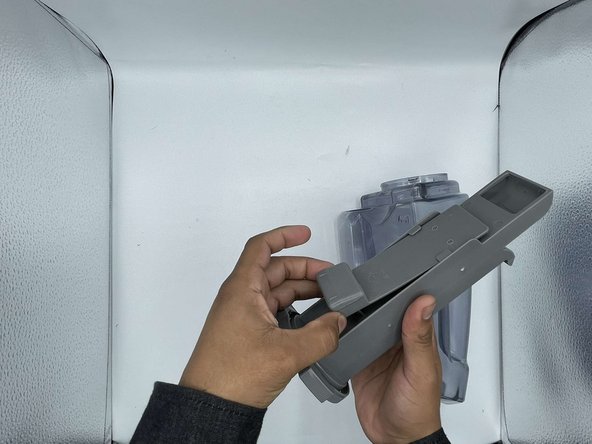
To reassemble your device, follow these instructions in reverse order.

2 の人々がこのガイドを完成させました。

作成者

4人の作成者と共同で作成されました。

Edy Mendoza

メンバー登録日: 09/13/23

422 ポイント

2のガイドは作成済み

チーム

University of North Texas, Team 6-4, Kilpatrick Fall 2023 University of North Texas, Team 6-4, Kilpatrick Fall 2023人のメンバー

UNT-KILPATRICK-F23S6G4

4 メンバー

5のガイドは作成済み

0 件のコメント

コメントを追加

統計データ:

過去 24時間: 1

過去 7 日: 4

過去 30 日: 16

今までの合計 144