メインコンテンツにスキップ

Bissell SpotBot Pet Control Panel Replacement

必要な工具と部品

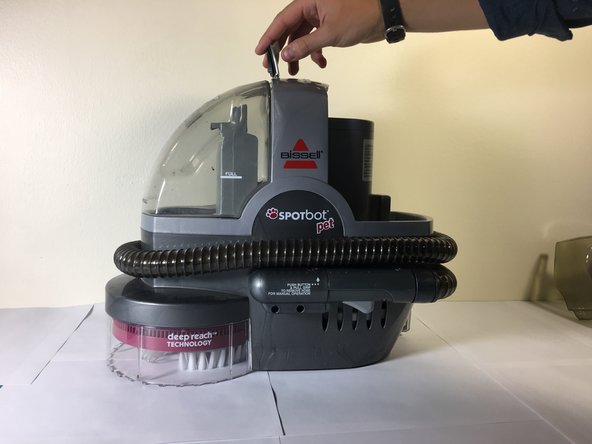
  1. Bissell SpotBot Pet Control Panel Replacement, Control Panel: 手順 1、 1の画像 1
    • Start here.

  2. Bissell SpotBot Pet Control Panel Replacement: 手順 2、 1の画像 1
    • Remove the container on the right side of the vacuum.

  3. Bissell SpotBot Pet Control Panel Replacement: 手順 3、 2の画像 1 Bissell SpotBot Pet Control Panel Replacement: 手順 3、 2の画像 2
    • Lift the tap on top of the vacuum, and then remove the container on the left side of the vacuum.

  4. Bissell SpotBot Pet Control Panel Replacement: 手順 4、 1の画像 1
    • Remove the left container of the vacuum.

  5. Bissell SpotBot Pet Control Panel Replacement: 手順 5、 1の画像 1
    • Remove the four screws on the top of the device.

  6. Bissell SpotBot Pet Control Panel Replacement: 手順 6、 1の画像 1
    • Lift the top of the device off once the screws are removed.

  7. Bissell SpotBot Pet Control Panel Replacement: 手順 7、 1の画像 1
    • Unplug the ribbon cable from the motherboard.

  8. Bissell SpotBot Pet Control Panel Replacement: 手順 8、 1の画像 1
    • Separate the top piece and flip it upside down.

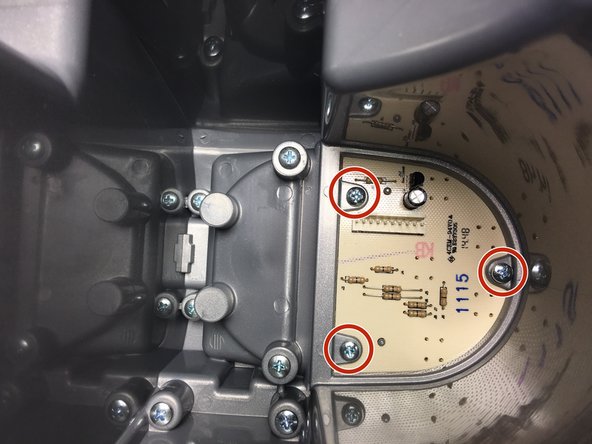
  9. Bissell SpotBot Pet Control Panel Replacement: 手順 9、 2の画像 1 Bissell SpotBot Pet Control Panel Replacement: 手順 9、 2の画像 2
    • Remove the screws holding the motherboard in place.

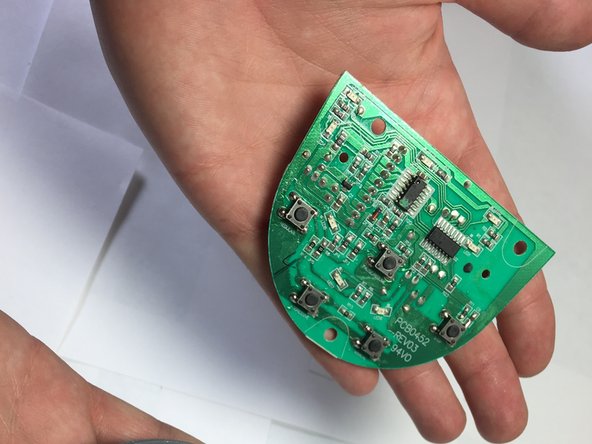
  10. Bissell SpotBot Pet Control Panel Replacement: 手順 10、 2の画像 1 Bissell SpotBot Pet Control Panel Replacement: 手順 10、 2の画像 2
    • Remove the motherboard from the top piece. Repair or replace the motherboard if it is faulty.

終わりに

To reassemble your device, follow these instructions in reverse order.

4 の人々がこのガイドを完成させました。

作成者

2人の作成者と共同で作成されました。

Anthony Bonvino

メンバー登録日: 09/26/17

437 ポイント

2のガイドは作成済み

チーム

Cal Poly, Team S7-G3, Banghart Fall 2017 Cal Poly, Team S7-G3, Banghart Fall 2017人のメンバー

CPSU-BANGHART-F17S7G3

4 メンバー

4のガイドは作成済み

コメント 1 件

Where can I buy the part?

Sue Loberger - 返信

コメントを追加

統計データ:

過去 24時間: 1

過去 7 日: 1

過去 30 日: 6

今までの合計 523