はじめに
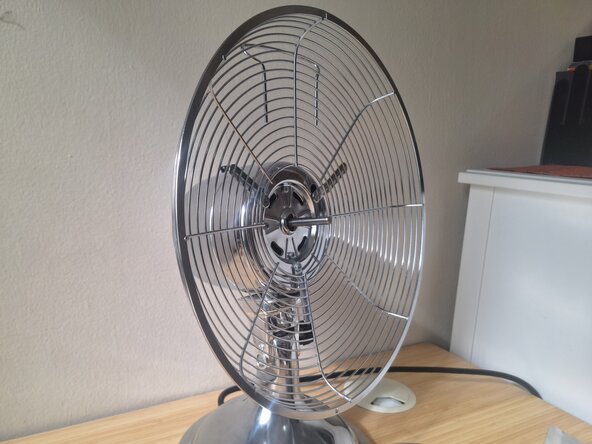
If your Bionaire BDF1214CR-CN fan is making unusual noises, not circulating air effectively, or has visible cracks or damage on the blade, it's likely time for a replacement. This guide will walk you through the process of safely replacing the fan blade to restore your fan’s functionality.
Replacing the fan blade is a straightforward repair that can enhance your fan's efficiency and prolong its lifespan, helping you avoid the expense and waste of purchasing a new unit. Failing to replace it can make the fan inefficient and potentially unsafe to use.
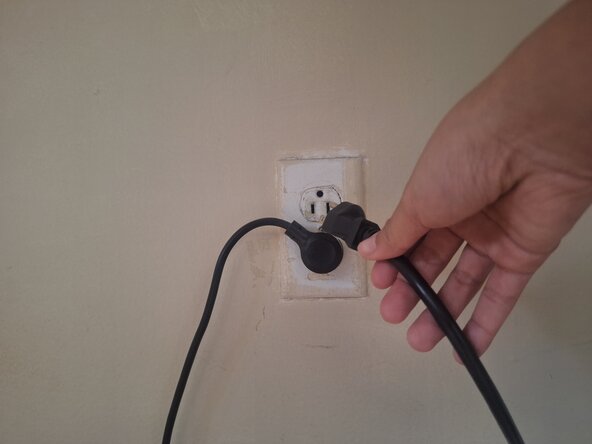
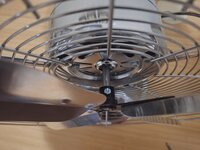
If you have recently used the fan, let it cool down first before you begin. Also, make sure that the fan is off and unplugged before you begin this repair.
必要な工具と部品


To reassemble your device, follow these instructions in reverse order starting from Step 4.

チーム

York University, Team 4-11, Woodhouse Winter 2025 York University, Team 4-11, Woodhouse Winter 2025人のメンバー
YORK-WOODHOUSE-W25S4G11
2 メンバー
1のガイドは作成済み