
Best Budget Kettle Disassembly

Olivia Burke とその他
最終更新日: 2022年6月2日
閲覧: 4701
統計データ:
- 過去24時間:
- 9
- 過去7日:
- 24
- 過去30日:
- 195
- 今までの合計
- 4,701
コメント: 0
このガイドにコメントを投稿した人はいません。何かコメントはありませんか?(日本語可)
修理ガイドのコメントへ完了済み: 0 1
誰もこのガイドで修理を「完了」させていません。あなたが一番目になりませんか?
1人のユーザーがこのガイドを使って修理を「完了」させました。あなたもその一人です!素晴らしいです!
お気に入り: 0 1
誰もこのガイドをお気に入りに登録していません。一番最初の登録者になりませんか?
1人がこのガイドをお気に入りに登録しています。あなたもそのうちの一人です!
はじめに
手順 1 に進む ↓This guide shows you step-by-step how to fully disassemble the Best Budget Kettle. This way you can extensively clean the product and/or replace any torn down parts. This 2200 watt kettle has a capacity of 1.7 liter and is one of the cheapest of its kind.
必要な工具と部品


-
-
-
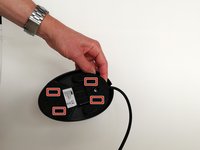
Using the three-winged screwdriver, remove the three-winged screw from the bottom of the hot plate.
-
-
-
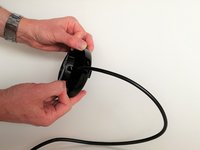
Release the snap fits by sliding the metal spudger into each of the 4 slots and pressing the spudger to the side and pulling up on the cover.
-
This step is difficult to do with one person. We found it helpful to have one person holding the base and pulling up on the piece that was separating, while another person released the snapfits with the spudger.
-
-
-
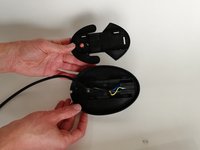
Remove the electrical subassembly from the base of the hot plate; it will lift out with no resistance.
-
-
-
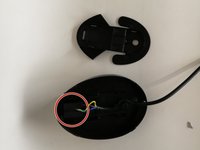
Remove the wire spring from the electrical subassembly by sliding it out of the hook on the hinge and pulling it of of the subassembly.
-
-
-
Remove the hood of the electrical subassembly by pulling on one side of the hood to release the snapfit hinge.
-
-
-
-
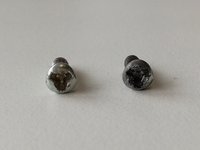
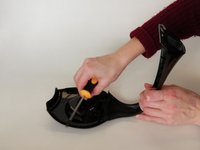
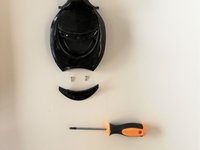
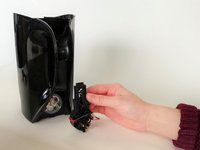
Using the three-winged screwdriver, unscrew two three-winged screws from the top of the handle cover and two three-winged screws from the bottom of the handle cover and separate the handle cover from the kettle
-
Watch out not to ruin them by using the wrong tools (as in the second picture), because the screws are not that high quality.
-
-
-
Using the Phillips head screwdriver, unscrew two Phillips head screws from the underside of the lid to separate the lid handle from the lid.
-
-
-
Remove the on/off switch by pulling apart the snap fits and sliding the switch out of the hole in the handle.
-
-
-
Remove the filter from the kettle by pulling up on it in order to slide it out of the tracks it is in.
-
-
-
Using the Phillips head screwdriver, unscrew the three Phillips head screws in the handle.
-
-
-
Remove the silicone ring from the hole in which the heating element was placed. It can be easily removed by pulling on it.
-
-
-
Get the heating element out of the kettle. It has to be removed from the inside.
-
It can be easily lifted out with no resistance.
-
-
-
Remove all parts from the electronic part. The copper parts and the springs can be removed by hand.
-
Push the part with the side where the prongs stick out against a hard surface to pop out the prongs. Then by pulling they can be removed.
-
The wires cannot be removed without breaking them.
-
-
-
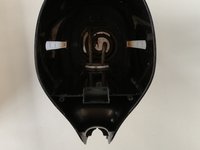
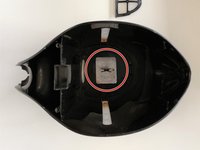
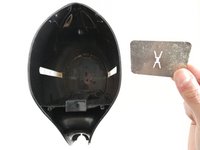
Remove the metal plate from the bottom of the inside of the kettle by pulling up on it to release it from its snapfit.
-

 FixBotに聞いてみる




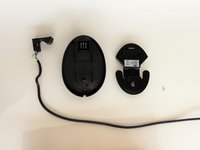


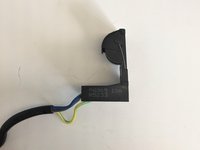
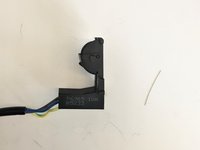


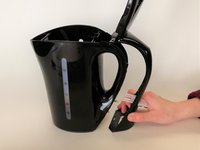




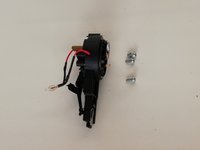


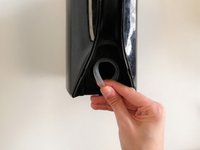
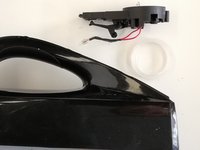


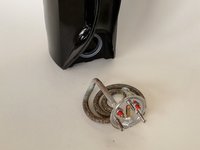



To reassemble your device, follow these instructions in reverse order.

チーム

Delft University of Technology, Team S2-G7, Flipsen Winter 2018 Delft University of Technology, Team S2-G7, Flipsen Winter 2018人のメンバー
TUD-FLIPSEN-W18S2G7
5 メンバー
12のガイドは作成済み
