メインコンテンツにスキップ

Beboncool Nintendo Switch Gamepad Disassembly

必要な工具と部品

  1. Beboncool Nintendo Switch Gamepad Disassembly, Beboncool Nintendo Switch Gamepad Disassembly: 手順 1、 3の画像 1 Beboncool Nintendo Switch Gamepad Disassembly, Beboncool Nintendo Switch Gamepad Disassembly: 手順 1、 3の画像 2 Beboncool Nintendo Switch Gamepad Disassembly, Beboncool Nintendo Switch Gamepad Disassembly: 手順 1、 3の画像 3
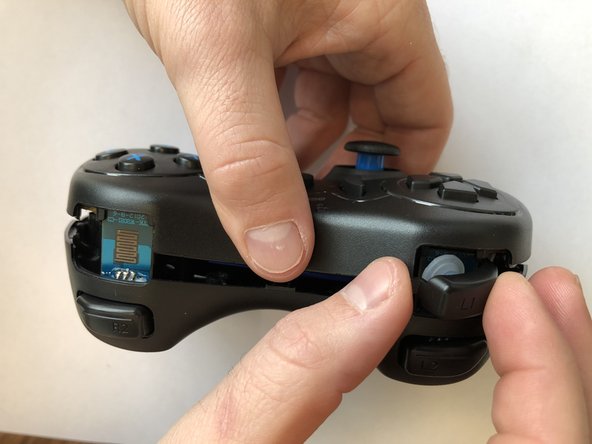
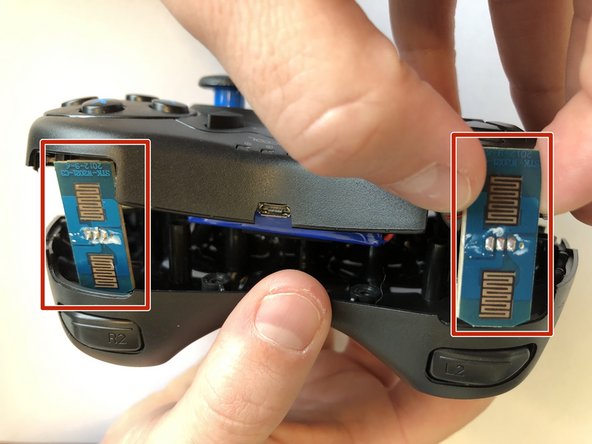
    • Use the plastic opening tool to remove the blue plastic grips from the sides of the controller.

  2. Beboncool Nintendo Switch Gamepad Disassembly: 手順 2、 2の画像 1 Beboncool Nintendo Switch Gamepad Disassembly: 手順 2、 2の画像 2
    • Use the Phillips #0 screwdriver to remove the seven 5mm screws from the back of the controller.

  3. Beboncool Nintendo Switch Gamepad Disassembly: 手順 3、 3の画像 1 Beboncool Nintendo Switch Gamepad Disassembly: 手順 3、 3の画像 2 Beboncool Nintendo Switch Gamepad Disassembly: 手順 3、 3の画像 3
    • Gently separate the two halves of the controller.

    • As the two covers come apart the L1 and R1 button, will fall free from the controller. Be sure not to lose them if they should pop out and fall.

    • Be sure to slide the small circuit boards out of the covers to be able to separate the two halves

  4. Beboncool Nintendo Switch Gamepad Disassembly: 手順 4、 2の画像 1 Beboncool Nintendo Switch Gamepad Disassembly: 手順 4、 2の画像 2
    • Use the Phillips #0 screwdriver to remove the two 3.5mm screws holding the circuit board in place.

  5. Beboncool Nintendo Switch Gamepad Disassembly: 手順 5、 3の画像 1 Beboncool Nintendo Switch Gamepad Disassembly: 手順 5、 3の画像 2 Beboncool Nintendo Switch Gamepad Disassembly: 手順 5、 3の画像 3
    • Lift the motherboard from the back case with the vibration motors and button boards attached.

終わりに

To reassemble your device, follow these instructions in reverse order.

ある他の人がこのガイドを完成しました。

作成者

4人の作成者と共同で作成されました。

Patrick

メンバー登録日: 01/30/20

402 ポイント

3のガイドは作成済み

0 件のコメント

コメントを追加

統計データ:

過去 24時間: 0

過去 7 日: 2

過去 30 日: 6

今までの合計 1,022