はじめに
Use this guide to correctly apply replacement battery adhesive strips in your iPhone 8, iPhone 8 Plus, iPhone XR, or iPhone SE 2020. (For earlier iPhone models, refer to this guide instead.) Any time you remove the battery, these strips must be replaced. The strips are easily damaged if not applied correctly, so you may want to have a spare set of strips on hand when following this guide for the first time.
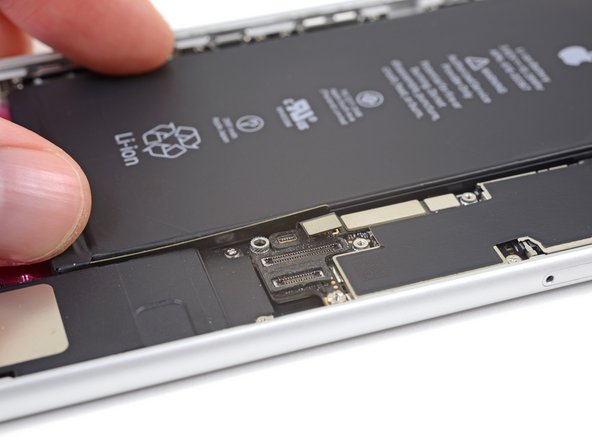
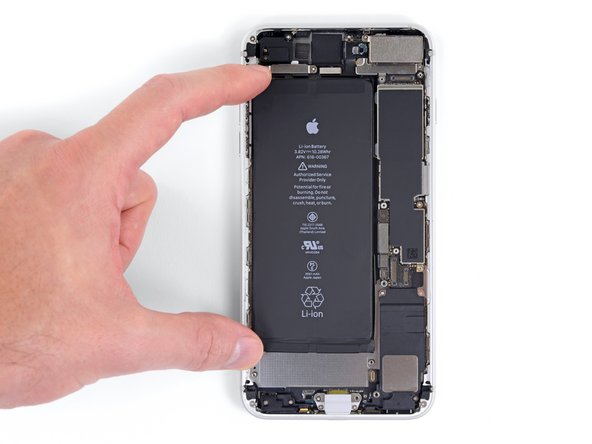
These adhesive strips are different from those in prior-generation iPhones due to the presence of the wireless charging coil. The coil lies directly underneath the battery, which is secured with four adhesive strips that are contoured around the coil to avoid damaging it.
Before you begin, you should have removed the battery by following a guide like the ones linked below:
- iPhone 8 Battery Replacement
- iPhone 8 Plus Battery Replacement
- iPhone XR Battery Replacement
- iPhone SE 2020 Battery Replacement
If you need to replace the adhesive strips in a different model iPhone, use one of the following guides:
必要な工具と部品
-
-
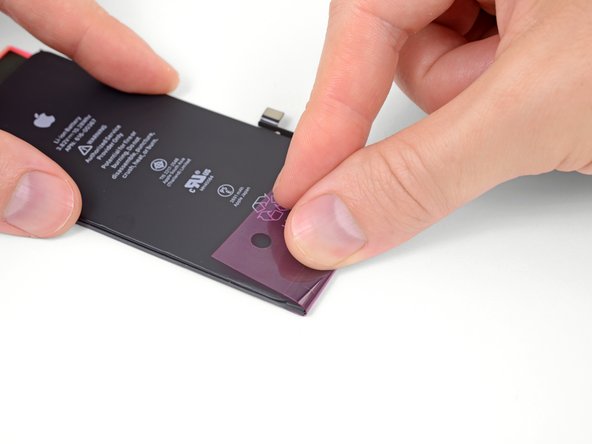
If your new battery came with adhesive strips already installed, skip to Step 8.
-
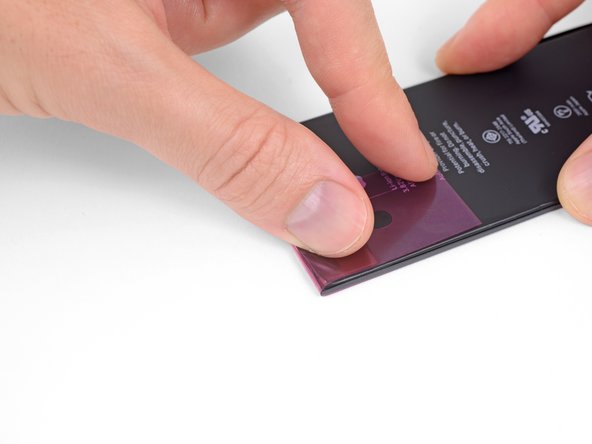
Otherwise, peel off the large blue plastic liner from your new set of adhesive strips, and discard it.
-
-


To reassemble your iPhone, return to the guide you used to remove the battery and follow the steps in reverse order.
iPhone 8 Plus Battery Replacement
iPhone SE 2020 Battery Replacement
Remember to take your old battery to an R2 or e-Stewards certified recycler.
To reassemble your iPhone, return to the guide you used to remove the battery and follow the steps in reverse order.
iPhone 8 Plus Battery Replacement
iPhone SE 2020 Battery Replacement
Remember to take your old battery to an R2 or e-Stewards certified recycler.
57 の人々がこのガイドを完成させました。


3 件のコメント
No. While the 3M has quality tapes, their product is too thick. Purchase the item here and do the job correctly. You'll be happy that you used the correct adhisive.
gregdidier - 返信
First time Do-It-Yourself-er here so I want to ask, do you need to replace/add the adhesive strips (adhesive in general)? If so, why?
It feels like it would be more convenient for the next time you need to replace your battery.
Again, just looking for a little clarification & insight.