はじめに
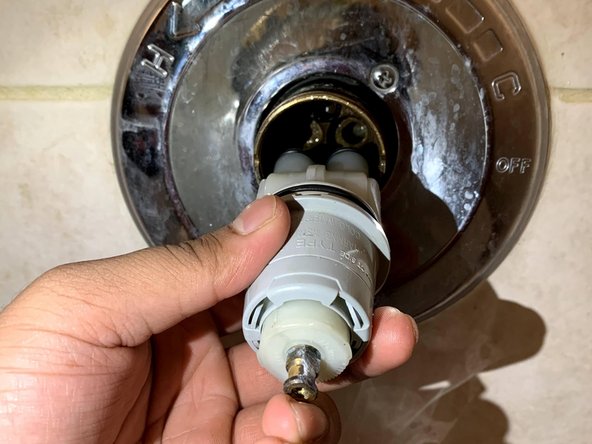
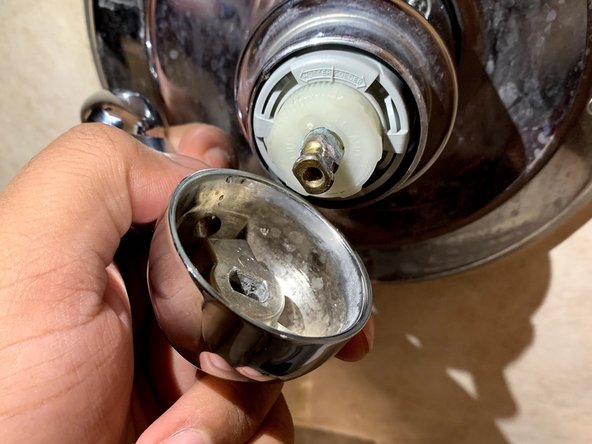
This repair is needed to fix any water leakage in your bathtub or shower. The water is controlled by a device call a cartridge. When the cartridge is damaged, it becomes loose and begins to crack. Over time, these cracks let out even more water.
This guide will help you fix a leaky faucet, or any leakage of water that is occurring in the tub. This procedure is very safe, and the only hazard is slipping in the tub. The process is straightforward and can be achieved at home with the right tools. There are no special requirements for this guide.
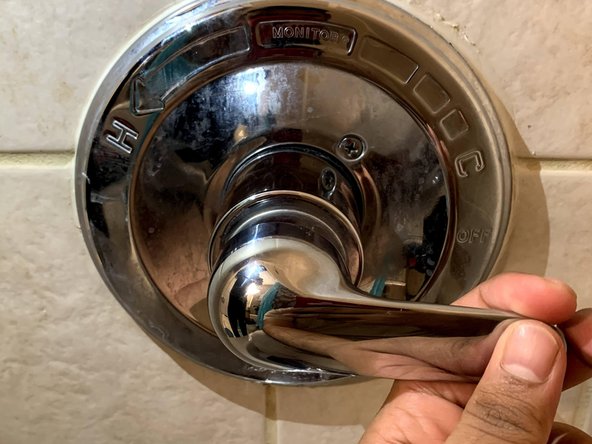
However, you will need to be patient, as parts of this guide will be frustrating due to the size of the tools being used. Replacing a tub cartridge will seem intimidating at first, but it is a lot easier than most would think. This guide will show you how to open up your faucet, find the cartridge, and replace it with a brand new one; doing so will fix the leaking water problem as well.
必要な工具と部品
-
-
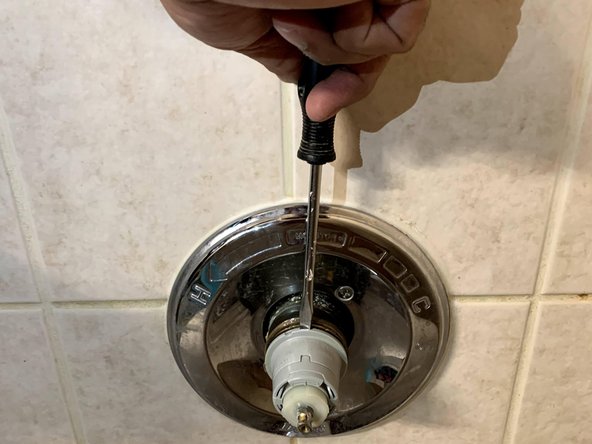
Turn off the water supply for the home. This is usually found in the basement next to the ventilation system.
-
-


To reassemble your device, follow these instructions in reverse order.
To reassemble your device, follow these instructions in reverse order.
チーム

York University, Team S2-G29, Melo-Thaiss Fall 2020 York University, Team S2-G29, Melo-Thaiss Fall 2020人のメンバー
YORK-MELO-THAISS-F20S2G29
1 メンバー
1のガイドは作成済み
コメント 1 件
This guide was very helpful in showing me how to replace the cartridge in my bathtub faucet. The instructions were clear and easy to follow, and the photos were very helpful. I was able to complete the repair myself in just a few minutes, and now my faucet is working like new again. Thanks for the great guide!