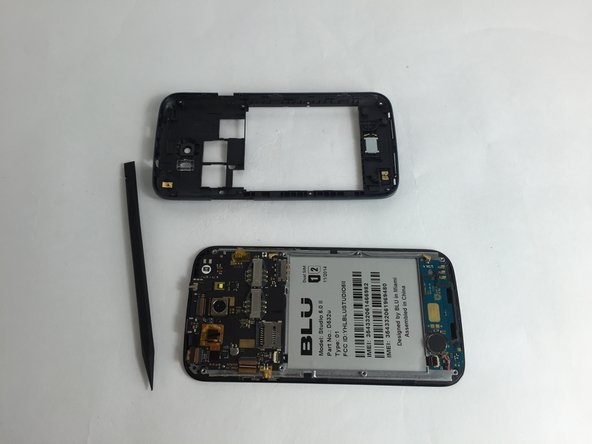
メインコンテンツにスキップ

BLU Studio 5.0 II Motherboard Replacement

必要な工具と部品

  1. BLU Studio 5.0 II Motherboard Replacement, Battery: 手順 1、 1の画像 1
    • Turn off your phone before disassembling the device.

    • Locate the small opening on the bottom corner of the back case.

  2. BLU Studio 5.0 II Motherboard Replacement: 手順 2、 2の画像 1 BLU Studio 5.0 II Motherboard Replacement: 手順 2、 2の画像 2
    • Use your finger to open the back case by slowly pulling it on the open slot.

    • Once the case is lifted on the corner, slide your finger along the edge of the phone to remove the rest of the case.

  3. BLU Studio 5.0 II Motherboard Replacement: 手順 3、 3の画像 1 BLU Studio 5.0 II Motherboard Replacement: 手順 3、 3の画像 2 BLU Studio 5.0 II Motherboard Replacement: 手順 3、 3の画像 3
    • Locate the opening slot at the bottom of the battery.

    • Use your finger to lift the battery and remove it from the case.

  4. BLU Studio 5.0 II Motherboard Replacement, Back Case: 手順 4、 1の画像 1
    • Locate the four 3mm screws on each side of the back panel.

    • Use a Phillips #00 screwdriver to remove the eight screws.

  5. BLU Studio 5.0 II Motherboard Replacement: 手順 5、 3の画像 1 BLU Studio 5.0 II Motherboard Replacement: 手順 5、 3の画像 2 BLU Studio 5.0 II Motherboard Replacement: 手順 5、 3の画像 3
    • Carefully use a spudger to start opening the back case by inserting it between the black and blue lines on the side of the phone.

    • With the help of your fingers, continue to remove the back case by sliding it through the opening.

  6. BLU Studio 5.0 II Motherboard Replacement, Motherboard: 手順 6、 3の画像 1 BLU Studio 5.0 II Motherboard Replacement, Motherboard: 手順 6、 3の画像 2 BLU Studio 5.0 II Motherboard Replacement, Motherboard: 手順 6、 3の画像 3
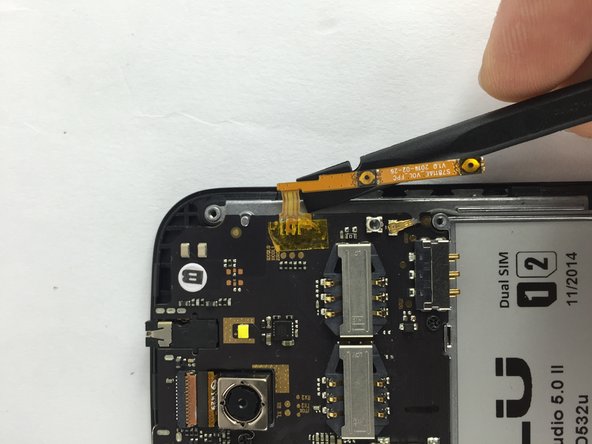
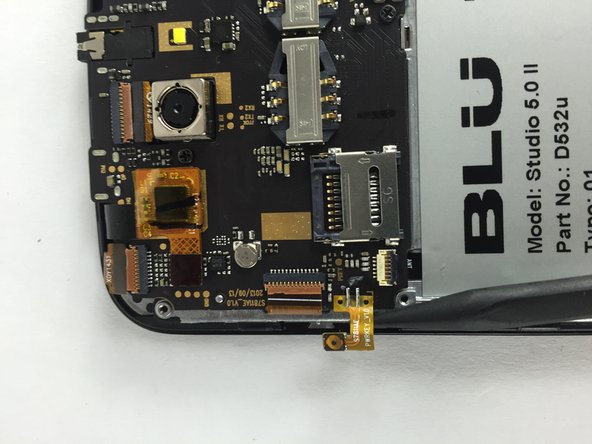
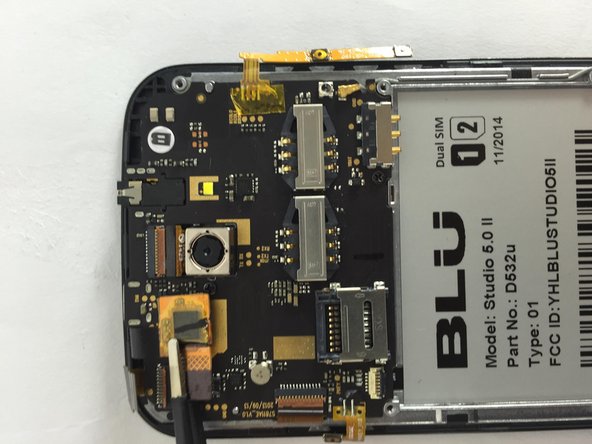
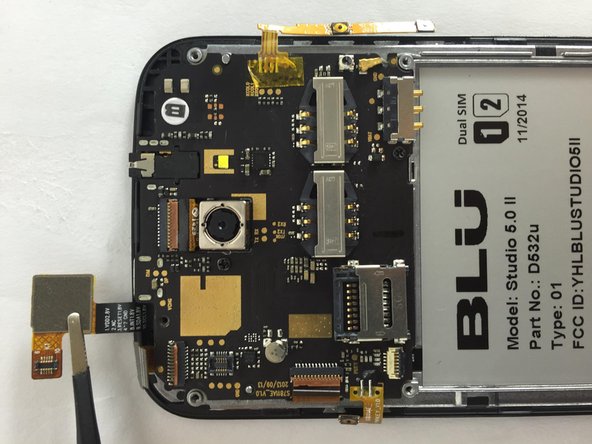
    • Locate the following adhesive buttons on the right and left side of the motherboard. These are the volume and power buttons.

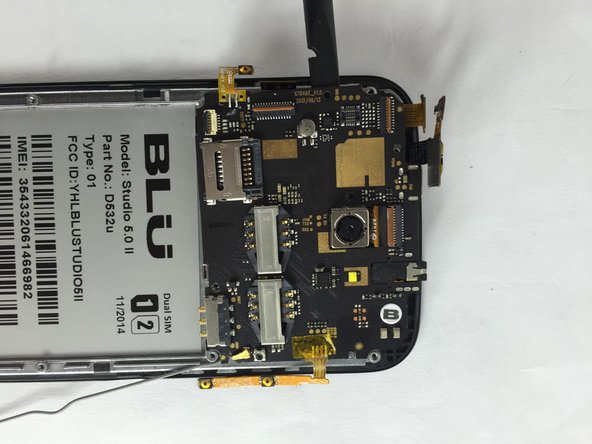
    • Use a spudger to carefully separate them from the circuit board.

  7. BLU Studio 5.0 II Motherboard Replacement: 手順 7、 3の画像 1 BLU Studio 5.0 II Motherboard Replacement: 手順 7、 3の画像 2 BLU Studio 5.0 II Motherboard Replacement: 手順 7、 3の画像 3
    • Locate these two ZIF connectors on the top and left side of the motherboard.

    • Use a spudger to flip up and unlock the black tab on the connector.

    • Use tweezers to pull the ribbon cables out of their connectors.

  8. BLU Studio 5.0 II Motherboard Replacement: 手順 8、 3の画像 1 BLU Studio 5.0 II Motherboard Replacement: 手順 8、 3の画像 2 BLU Studio 5.0 II Motherboard Replacement: 手順 8、 3の画像 3
    • Locate the indicated connector on the top side of the motherboard.

    • Use a pair of tweezers to gently lift the connector from the circuit board.

  9. BLU Studio 5.0 II Motherboard Replacement: 手順 9、 3の画像 1 BLU Studio 5.0 II Motherboard Replacement: 手順 9、 3の画像 2 BLU Studio 5.0 II Motherboard Replacement: 手順 9、 3の画像 3
    • Remove the three 3mm screws on the motherboard using a Phillips #00 screwdriver.

    • Use a spudger or tweezers to carefully lift and remove the motherboard.

    It would be nice to show some motherboard supply companies…. of course probably avail on Amazon

    hungy2408 - 返信

終わりに

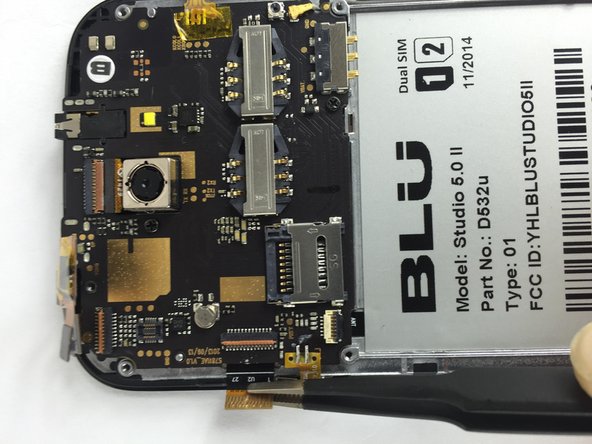
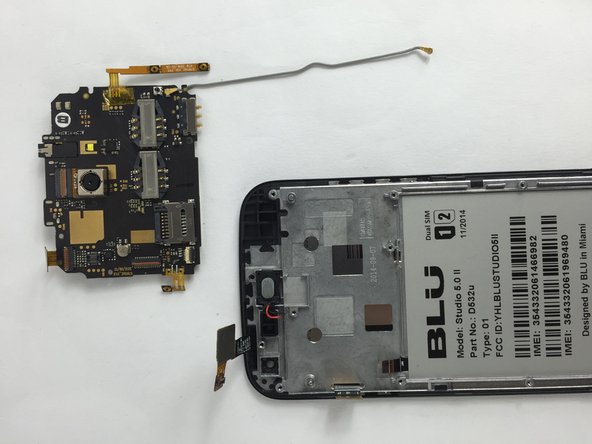
To reassemble your device, follow these instructions in reverse order.

2 の人々がこのガイドを完成させました。

作成者

1人の作成者と共同作成されました。

Ricardo Sarabia

メンバー登録日: 02/09/16

1,069 ポイント

6のガイドは作成済み

チーム

USF Tampa, Team 7-5, Cheng Spring 2016 USF Tampa, Team 7-5, Cheng Spring 2016人のメンバー

USFT-CHENG-S16S7G5

3 メンバー

7のガイドは作成済み

コメント 1 件

that left the speaker disconnected?

Rodolfo Leal - 返信

コメントを追加

統計データ:

過去 24時間: 0

過去 7 日: 0

過去 30 日: 1

今までの合計 1,915