メインコンテンツにスキップ

BLU Dash 3.5 Camera Replacement

必要な工具と部品

  1. BLU Dash 3.5 Camera Replacement, Battery: 手順 1、 3の画像 1 BLU Dash 3.5 Camera Replacement, Battery: 手順 1、 3の画像 2 BLU Dash 3.5 Camera Replacement, Battery: 手順 1、 3の画像 3
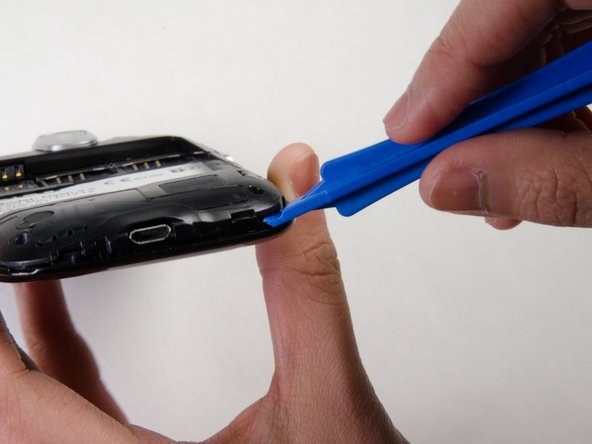
    • Start by locating the slot on the lower right corner of the device.

    • Insert the opening tool into the slot.

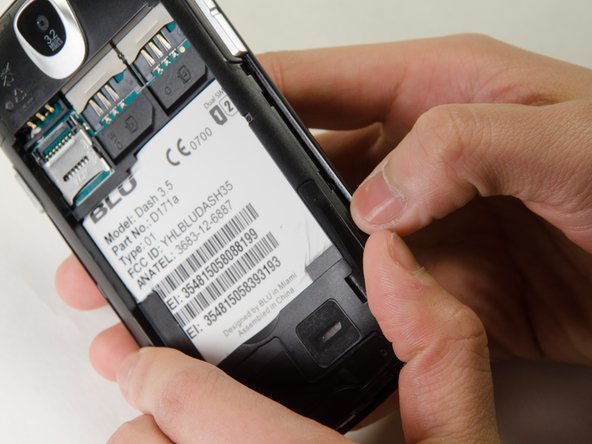
    • Pry the back cover off. Once the corner is off, continue around the perimeter of the phone pulling the back off with your fingers.

    • A fingernail can work to open the back in place of an opening tool.

  2. BLU Dash 3.5 Camera Replacement: 手順 2、 2の画像 1 BLU Dash 3.5 Camera Replacement: 手順 2、 2の画像 2
    • Locate the indentation at the bottom of the battery.

    • Insert your thumb and pull the battery out.

  3. BLU Dash 3.5 Camera Replacement, Camera: 手順 3、 3の画像 1 BLU Dash 3.5 Camera Replacement, Camera: 手順 3、 3の画像 2 BLU Dash 3.5 Camera Replacement, Camera: 手順 3、 3の画像 3
    • Use the J000 Phillips screwdriver to remove the four 4.5 mm screws from the corners of the interior back panel.

    • Use the opening tool to pry open the plastic back panel to expose the motherboard.

  4. BLU Dash 3.5 Camera Replacement: 手順 4、 2の画像 1 BLU Dash 3.5 Camera Replacement: 手順 4、 2の画像 2
    この手順で使用する道具:
    Tweezers
    $4.99
    購入する
    • Locate camera module on inside of the black plastic back panel

    • Note the orientation of the camera.

    • Use tweezers to carefully remove the camera.

終わりに

To reassemble your device, follow these instructions in reverse order.

作成者

8人の作成者と共同で作成されました。

victoria dorony

メンバー登録日: 09/28/15

22 ポイント

1ガイドが承認済み

チーム

Ohio State, Team 1-2, Garvin Fall 2015 Ohio State, Team 1-2, Garvin Fall 2015人のメンバー

OSU-GARVIN-F15S1G2

4 メンバー

2のガイドは作成済み

0 件のコメント

コメントを追加

統計データ:

過去 24時間: 0

過去 7 日: 3

過去 30 日: 13

今までの合計 338