はじめに
The charging base motherboard may need to be replaced due to the ON/OFF switch not working properly. It is important to make sure before replacing the charging base motherboard that it is the proper cause of the issue. Before replacing, try wiping down and cleaning the buttons on the device with a clean, damp towel. Also make sure that when pushing the button to the ON position that you hear a click indicating that the device should turn ON. If both of these attempts have been made with no results, please use this guide to replace the charging base motherboard.
必要な工具と部品
-
-
Use the metal spudger to peel back the rubber from the bottom of the auxiliary charging base to reveal the screw.
-
-
-
-
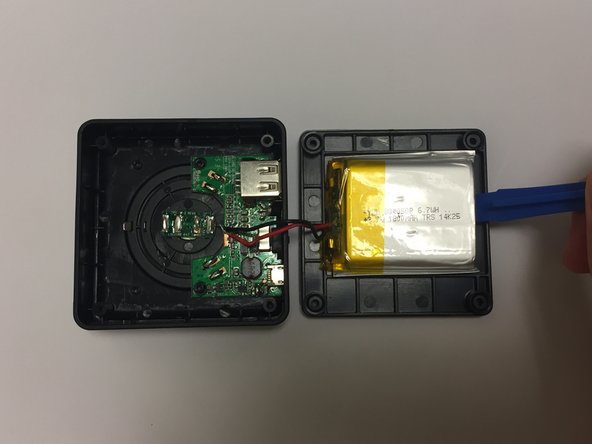
Use the tweezers to remove the red wire attached to the motherboard.
-


To reassemble your device, follow these instructions in reverse order.
To reassemble your device, follow these instructions in reverse order.
ある他の人がこのガイドを完成しました。
チーム

Baylor, Team S1-G1, Johnson Spring 2018 Baylor, Team S1-G1, Johnson Spring 2018人のメンバー
BU-JOHNSON-S18S1G1
3 メンバー
5のガイドは作成済み