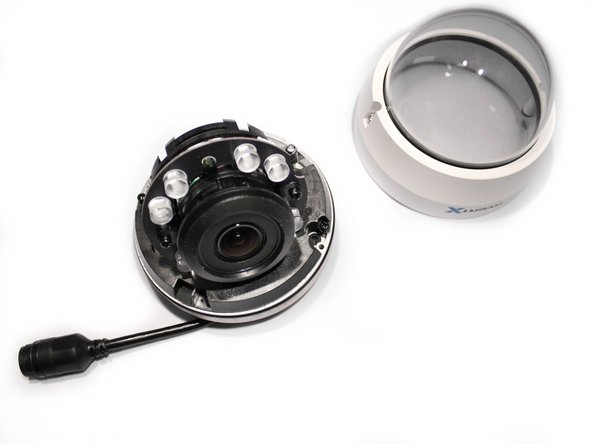
メインコンテンツにスキップ

AvertX HD810 PoE Cable Replacement

必要な工具と部品

  1. AvertX HD810 PoE Cable Replacement, Clear Dome Cover: 手順 1、 3の画像 1 AvertX HD810 PoE Cable Replacement, Clear Dome Cover: 手順 1、 3の画像 2 AvertX HD810 PoE Cable Replacement, Clear Dome Cover: 手順 1、 3の画像 3
    • Lift off the paintable snap-on cover from the AvertX HD810 dome security camera.

    • Optimally, the device should be turned off and the PoE (Power over Ethernet) unplugged.

  2. AvertX HD810 PoE Cable Replacement: 手順 2、 2の画像 1 AvertX HD810 PoE Cable Replacement: 手順 2、 2の画像 2
    • Loosen both 10mm screws on either side of the clear dome cover housing using a T10 Torx security screwdriver.

    • It is not recommended to remove the screws from the clear dome cover housing. The screws are apart of the cover and not intended to come out.

  3. AvertX HD810 PoE Cable Replacement: 手順 3、 3の画像 1 AvertX HD810 PoE Cable Replacement: 手順 3、 3の画像 2 AvertX HD810 PoE Cable Replacement: 手順 3、 3の画像 3
    • Gently pull off the clear dome cover from the camera base.

  4. AvertX HD810 PoE Cable Replacement, PoE Cable: 手順 4、 3の画像 1 AvertX HD810 PoE Cable Replacement, PoE Cable: 手順 4、 3の画像 2 AvertX HD810 PoE Cable Replacement, PoE Cable: 手順 4、 3の画像 3
    • Make sure the device is turned off and unplugged completely before attempting any more disassembly .

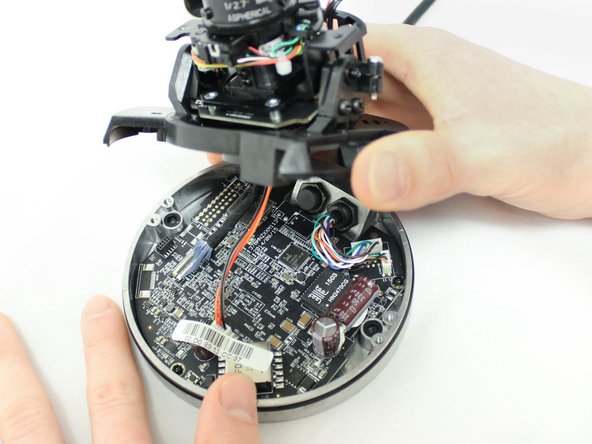
    • Unscrew the two 10mm screws holding the plastic camera base to the metal camera base using the PH1 screwdriver.

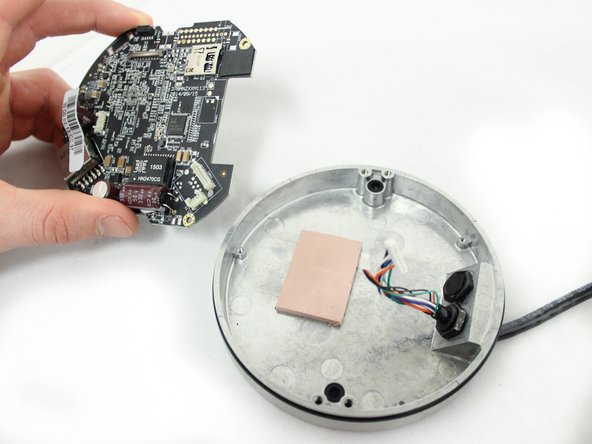
    • Be aware that cables are still connected under this base, and gently lift the plastic base with the camera away from the metal base with the motherboard.

  5. AvertX HD810 PoE Cable Replacement: 手順 5、 3の画像 1 AvertX HD810 PoE Cable Replacement: 手順 5、 3の画像 2 AvertX HD810 PoE Cable Replacement: 手順 5、 3の画像 3
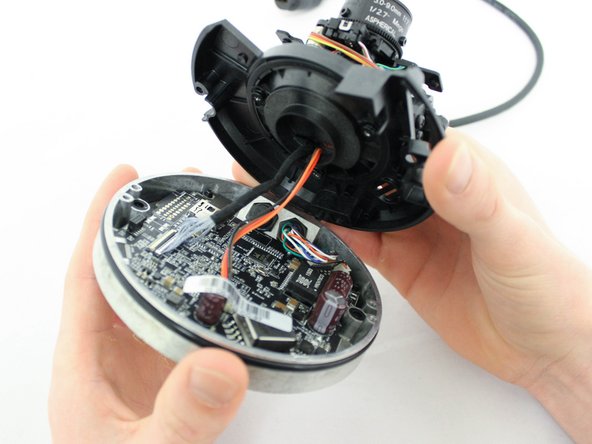
    • Disconnect the two cables from the camera base motherboard by gently but firmly pulling directly away from their respective ports.

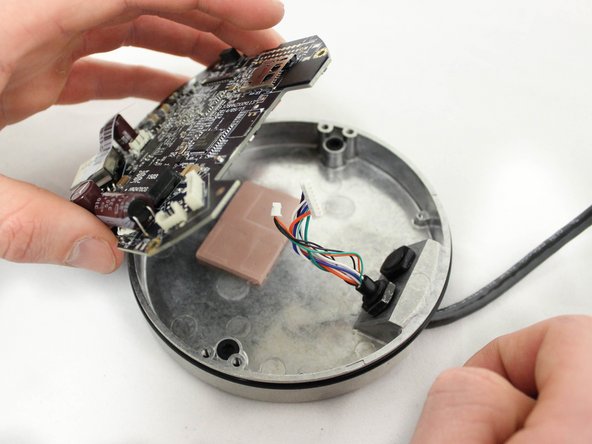
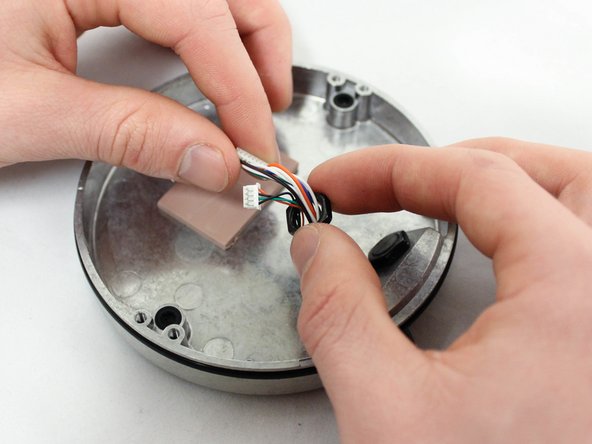
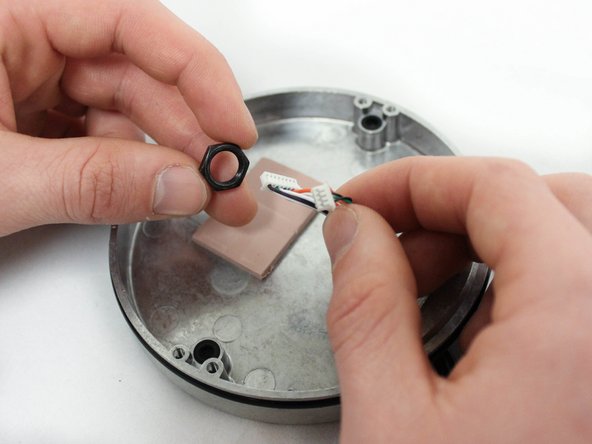
    • Disconnect the two PoE (Power over Ethernet) cables from the motherboard by gently but firmly pulling the connected cables directly away from their respective ports.

  6. AvertX HD810 PoE Cable Replacement: 手順 6、 3の画像 1 AvertX HD810 PoE Cable Replacement: 手順 6、 3の画像 2 AvertX HD810 PoE Cable Replacement: 手順 6、 3の画像 3
    • Using a nonmagnetic, PH000 Phillips Head screwdriver, remove the three 6mm screws that hold the motherboard to the metal base.

    • Set the motherboard aside on a non-static surface.

  7. AvertX HD810 PoE Cable Replacement: 手順 7、 3の画像 1 AvertX HD810 PoE Cable Replacement: 手順 7、 3の画像 2 AvertX HD810 PoE Cable Replacement: 手順 7、 3の画像 3
    • Remove the 1/2" hex nut holding the cable in place to the metal base with a 1/2" open-ended wrench.

  8. AvertX HD810 PoE Cable Replacement: 手順 8、 2の画像 1 AvertX HD810 PoE Cable Replacement: 手順 8、 2の画像 2
    • Pull the PoE cable away from the metal camera base while angling the plastic connectors through the hole

終わりに

To reassemble your device, follow these instructions in reverse order.

作成者

6人の作成者と共同で作成されました。

Luke Browning

メンバー登録日: 01/18/17

316 ポイント

3のガイドは作成済み

チーム

Eastern Washington University, Team 2-3, Crane Winter 2017 Eastern Washington University, Team 2-3, Crane Winter 2017人のメンバー

EWU-CRANE-W17S2G3

3 メンバー

10のガイドは作成済み

0 件のコメント

コメントを追加

統計データ:

過去 24時間: 0

過去 7 日: 1

過去 30 日: 2

今までの合計 426