はじめに
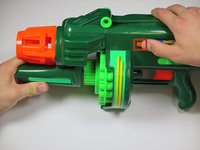
This guide will help teach you how to remove and replace the motorized accelerator near the the tip of the gun by first disassembling the gun, and then showing removal of the accelerator itself. The guide will require a #00 Phillips head screwdriver and requires you to keep track of a few small parts, but is very doable as long as you follow each step!
必要な工具と部品
-
-
-
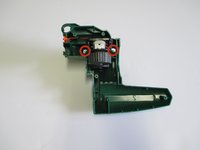
Locate the orange slider on the front side of the gun.
-
Pull the orange slider towards the back of the gun while lifting up on the nose the gun.
 FixBotに聞いてみる
-
-
-
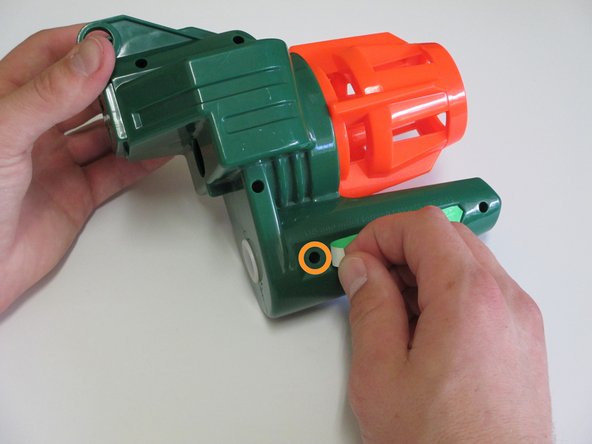
Remove the single 1/8 in. screw at the junction of the body and the nose using a Philips #00 Screwdriver.
-
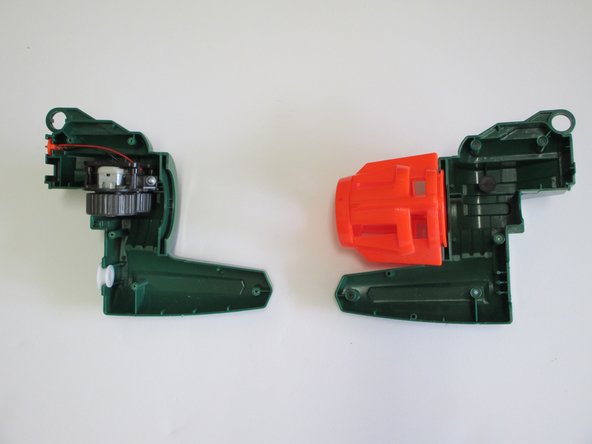
Remove all parts within the chamber to be able to completely detach the nose of the gun.
-
-
-
-
-
-
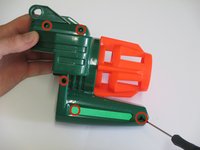
Remove all five 1/16 in. screws holding the nose of the gun together using a Phillips #00 screwdriver.
-
Look out for the hidden fifth screw behind the thin light green tape near the bushing itself. Peel the tape using your finger to gain access.
-
-
-
Pick up the now split half of the nose of the gun that does not still have the orange tip attached to it.
-
Remove the bushing by simply pulling it away from the plastic.
-
-
-
-
-
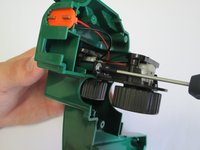
Unscrew the two screws holding the accelerator in place with a Phillips #00 screwdriver
-
-
-
Pull back on the accelerator away from the plastic to remove from frame.
-
-


To reassemble your device, follow these instructions in reverse order.
3 の人々がこのガイドを完成させました。
チーム

Cal Poly, Team 6-22, Maness Fall 2014 Cal Poly, Team 6-22, Maness Fall 2014人のメンバー
CPSU-MANESS-F14S6G22
4 メンバー
6のガイドは作成済み