メインコンテンツにスキップ

Automatic Coffee Machine Cecotec Power Matic-Ccino 7000 or Rooma RM-A7 Disassembly

必要な工具と部品

  1. Automatic Coffee Machine Cecotec Power Matic-Ccino 7000 or Rooma RM-A7 Disassembly, Taking Main cover off: 手順 1、 2の画像 1 Automatic Coffee Machine Cecotec Power Matic-Ccino 7000 or Rooma RM-A7 Disassembly, Taking Main cover off: 手順 1、 2の画像 2
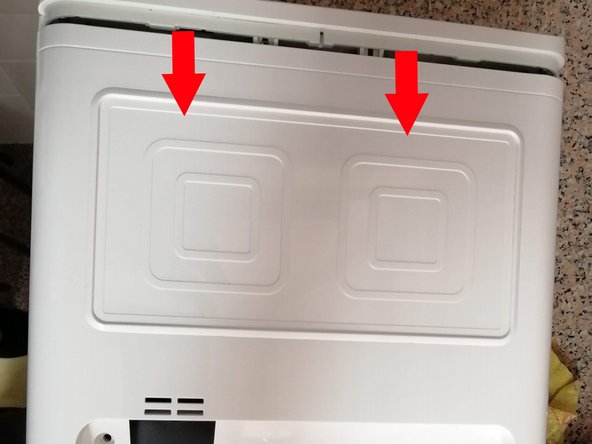
    • Using a T10 screwdriver, remove the eight screws located on the rear panel of the device (4 towards the bottom, and 4 towards the top).

  2. Automatic Coffee Machine Cecotec Power Matic-Ccino 7000 or Rooma RM-A7 Disassembly: 手順 2、 2の画像 1 Automatic Coffee Machine Cecotec Power Matic-Ccino 7000 or Rooma RM-A7 Disassembly: 手順 2、 2の画像 2
    • Unscrew one PH2 screw.

    • Use a spudger or a thin curved tool such as a dental pick to remove the bean hopper of the burr grinder.

    • Remove the grind selector by pulling the dial directly away from the machine which will remove it from the housing.

  3. Automatic Coffee Machine Cecotec Power Matic-Ccino 7000 or Rooma RM-A7 Disassembly: 手順 3、 2の画像 1 Automatic Coffee Machine Cecotec Power Matic-Ccino 7000 or Rooma RM-A7 Disassembly: 手順 3、 2の画像 2
    • The Hex screw must be unscrewed in the clockwise direction. Failure to do so could result in damage of the grinding mechanism.

    • Unscrew the one 4mm Hex in a clockwise fashion and remove the black plastic cover over the burrset.

    • Remove the black plastic cover over the burr set.

    • The burr set should not be completely visible.

  4. Automatic Coffee Machine Cecotec Power Matic-Ccino 7000 or Rooma RM-A7 Disassembly: 手順 4、 2の画像 1 Automatic Coffee Machine Cecotec Power Matic-Ccino 7000 or Rooma RM-A7 Disassembly: 手順 4、 2の画像 2
    • Unscrew the three PH2 screws.

    • Slide the top panel backwards to remove it.

  5. Automatic Coffee Machine Cecotec Power Matic-Ccino 7000 or Rooma RM-A7 Disassembly: 手順 5、 3の画像 1 Automatic Coffee Machine Cecotec Power Matic-Ccino 7000 or Rooma RM-A7 Disassembly: 手順 5、 3の画像 2 Automatic Coffee Machine Cecotec Power Matic-Ccino 7000 or Rooma RM-A7 Disassembly: 手順 5、 3の画像 3
    • Now you should have access to the internal components of the appliance.

終わりに

To reassemble your device, follow these instructions in reverse order.

4 の人々がこのガイドを完成させました。

作成者

4人の作成者と共同で作成されました。

Egas

メンバー登録日: 09/20/10

181 ポイント

1ガイドが承認済み

チーム

Zi repair Zi repair人のメンバー

Business

1 メンバー

1のガイドは作成済み

0 件のコメント

コメントを追加

統計データ:

過去 24時間: 5

過去 7 日: 24

過去 30 日: 148

今までの合計 3,357