メインコンテンツにスキップ

Audiovox T752 Screen Replacement

必要な工具と部品

  1. Audiovox T752 Screen Replacement, Back Panel: 手順 1、 3の画像 1 Audiovox T752 Screen Replacement, Back Panel: 手順 1、 3の画像 2 Audiovox T752 Screen Replacement, Back Panel: 手順 1、 3の画像 3
    • Find a good spot to fit the pry bar between the back cover and tablet. Slowly drag the pry bar along the sides of the cover.

    • NOTE: some force will need to be used to remove the cover. Avoid excessive force.
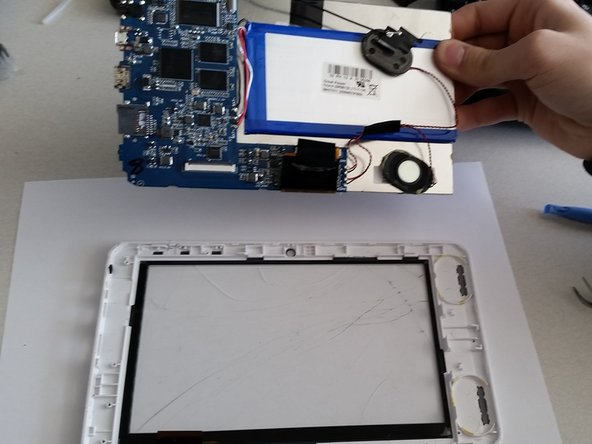
  2. Audiovox T752 Screen Replacement, Screen: 手順 2、 1の画像 1
    • Remove the speakers.

  3. Audiovox T752 Screen Replacement: 手順 3、 1の画像 1
    • Remove any adhesives (such as tape).

  4. Audiovox T752 Screen Replacement: 手順 4、 2の画像 1 Audiovox T752 Screen Replacement: 手順 4、 2の画像 2
    • Pry under the aluminum touch screen to remove the remaining components from the front housing.

終わりに

To reassemble your device, follow these instructions in reverse order.

3 の人々がこのガイドを完成させました。

作成者

2人の作成者と共同で作成されました。

Logan

メンバー登録日: 01/28/15

391 ポイント

3のガイドは作成済み

チーム

Penn State, Team 2-42, Kaschak Winter 2015 Penn State, Team 2-42, Kaschak Winter 2015人のメンバー

PSU-KASCHAK-W15S2G42

4 メンバー

3のガイドは作成済み

0 件のコメント

コメントを追加

統計データ:

過去 24時間: 0

過去 7 日: 0

過去 30 日: 1

今までの合計 409