メインコンテンツにスキップ

Asus Zenfone 3 Max Screen Replacement

必要な工具と部品

  1. Asus Zenfone 3 Max Screen Replacement, SIM card: 手順 1、 1の画像 1
    • Locate the SIM card slot on the upper left side of your Asus Zenfone Max 3.

  2. Asus Zenfone 3 Max Screen Replacement: 手順 2、 1の画像 1
    • Use the iFixit 150mm Flex Extension with the Hex 0.7 bit or the SIM card eject tool.

    • Stick the tool into the hole on the SIM card slot and open the slot with it.

  3. Asus Zenfone 3 Max Screen Replacement: 手順 3、 1の画像 1
    • Pull out the old SIM card all the way so it is no longer in the phone.

  4. Asus Zenfone 3 Max Screen Replacement, Back cover: 手順 4、 2の画像 1 Asus Zenfone 3 Max Screen Replacement, Back cover: 手順 4、 2の画像 2
    • Using an iFixit opening tool, gently wedge the tool between the phone and the back casing.

    • Move the opening tool up and down to pry the back off of the device.

  5. Asus Zenfone 3 Max Screen Replacement: 手順 5、 1の画像 1
    • Once the original cover has been removed, apply the new cover to the back of the phone with careful pressure.

  6. Asus Zenfone 3 Max Screen Replacement, Battery: 手順 6、 3の画像 1 Asus Zenfone 3 Max Screen Replacement, Battery: 手順 6、 3の画像 2 Asus Zenfone 3 Max Screen Replacement, Battery: 手順 6、 3の画像 3
    • Gently disconnect the gold connection cable indicated by the red circle in the corresponding picture.

    • Pull back on the black adhesive tab that is adhered to the top of the battery. Tab removal is marked in the corresponding picture with a orange circle.

    • Once the gold connection cable and black adhesive tab are no longer connected to the battery, the battery can be removed.

  7. Asus Zenfone 3 Max Screen Replacement: 手順 7、 3の画像 1 Asus Zenfone 3 Max Screen Replacement: 手順 7、 3の画像 2 Asus Zenfone 3 Max Screen Replacement: 手順 7、 3の画像 3
    • Next, remove the battery by gently pulling on the blue removal tab located at the bottom of the device battery.

    • Completely remove existing device battery.

  8. Asus Zenfone 3 Max Screen Replacement, Screen: 手順 8、 3の画像 1 Asus Zenfone 3 Max Screen Replacement, Screen: 手順 8、 3の画像 2 Asus Zenfone 3 Max Screen Replacement, Screen: 手順 8、 3の画像 3
    • Remove the four 2.5mm Phillips #0 screws at the bottom near the speaker and take the small black plastic cover off.

    • Starting at the bottom, disconnect the antenna (long black wire).

    • Disconnect the orange cable.

  9. Asus Zenfone 3 Max Screen Replacement: 手順 9、 2の画像 1 Asus Zenfone 3 Max Screen Replacement: 手順 9、 2の画像 2
    • At the top of the phone, disconnect the black screen flex cable (the one that is rectangular) using a black nylon spudger. Peel it all the way back.

    • Using a black nylon spudger, disconnect the charging port flex cable (the other black cable) and microphone button. Peel it all the way back.

    • The metal spudger should not be used on internal components.

  10. Asus Zenfone 3 Max Screen Replacement: 手順 10、 3の画像 1 Asus Zenfone 3 Max Screen Replacement: 手順 10、 3の画像 2 Asus Zenfone 3 Max Screen Replacement: 手順 10、 3の画像 3
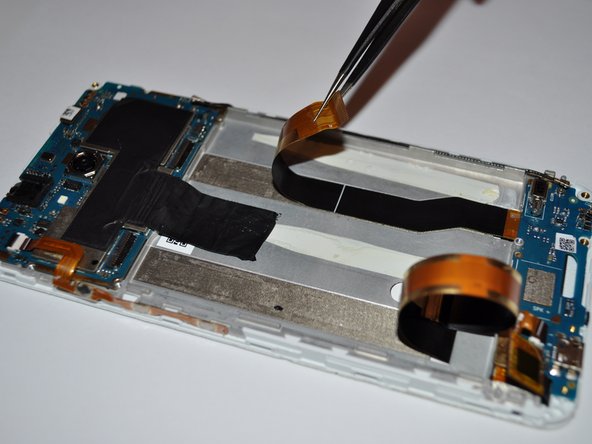
    • Remove the four 2.5mm Phillips #0 screws that hold the motherboard and remove the motherboard. Follow our motherboard replacement guide.

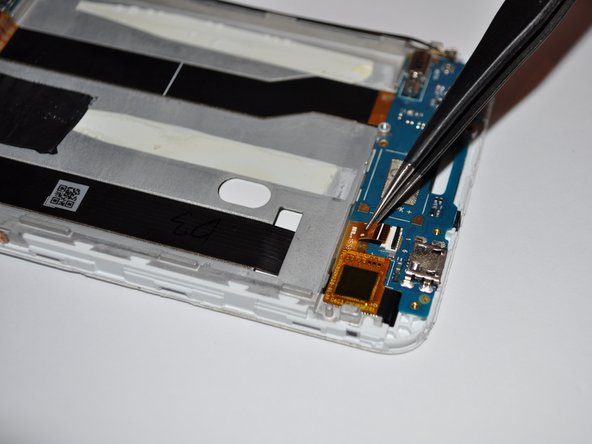
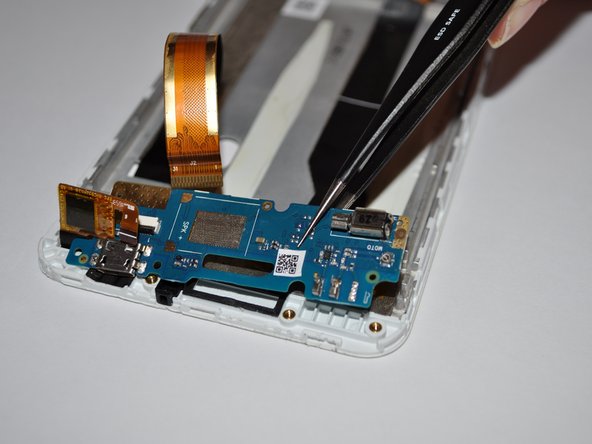
    • Remove the (blue) daughterboard. The charging port flex cable will come with it.

    • Be careful when removing the daughterboard. It is thin and adhered very solidly to the screen.

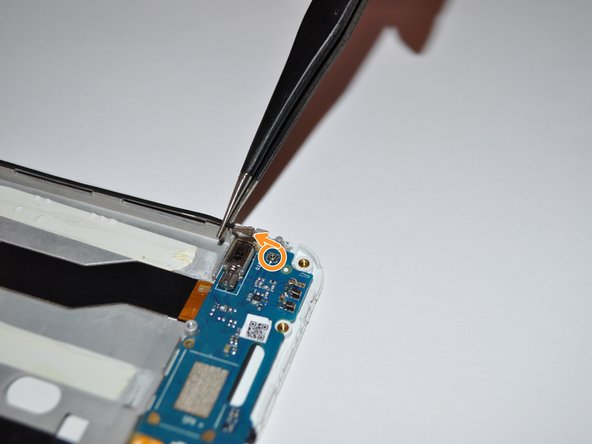
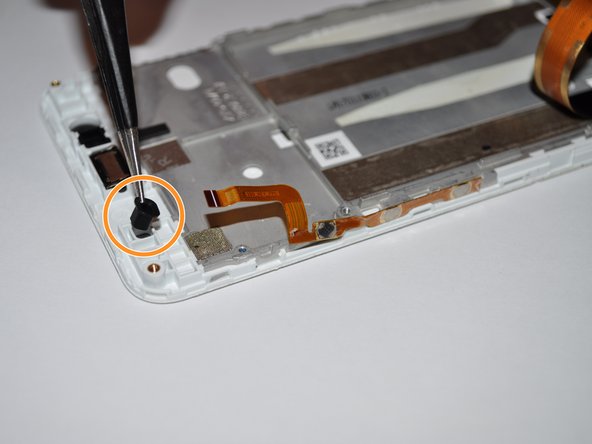
    • Move the rubber piece (denoted with orange circle) from the old port to your new LCD assembly.

終わりに

To reassemble your device, follow these instructions in reverse order.

ある他の人がこのガイドを完成しました。

作成者

3人の作成者と共同で作成されました。

Natalie Stoker

メンバー登録日: 09/04/19

221 ポイント

1ガイドが承認済み

チーム

University of Alabama, Team S1-G3, Bedsole Fall 2019 University of Alabama, Team S1-G3, Bedsole Fall 2019人のメンバー

UA-BEDSOLE-F19S1G3

4 メンバー

10のガイドは作成済み

コメント 1 件

The indicated part is the battery. I guess that’s an error copied from the Battery Replacement guide. Any recomendations for getting the screen replacement?

cristinalampon - 返信

コメントを追加

統計データ:

過去 24時間: 0

過去 7 日: 5

過去 30 日: 21

今までの合計 2,825