はじめに
Replace or upgrade your hard drive in your laptop to gain more storage space!
必要な工具と部品
-
-
Remove the twelve 3 mm bottom panel screws with a T5 Torx Screwdriver.
-
-
-
-
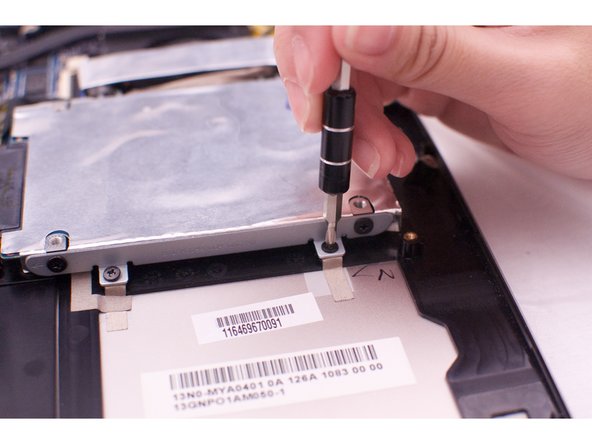
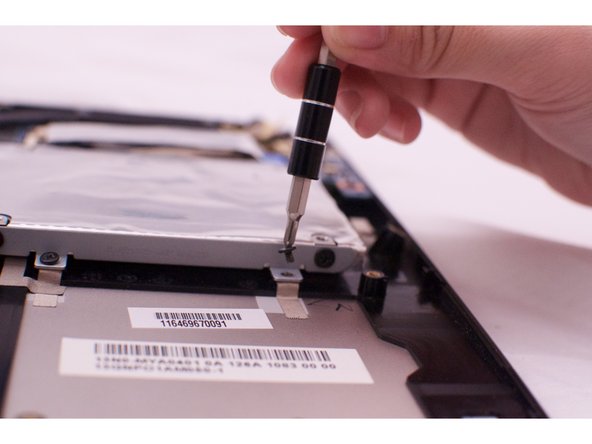
Remove the four 3mm hard drive screws with a Phillips #0 Screwdriver.
-


To reassemble your device, follow these instructions in reverse order.
To reassemble your device, follow these instructions in reverse order.
12 の人々がこのガイドを完成させました。
チーム

CSU Fullerton, Team 2-2, Bruce Fall 2015 CSU Fullerton, Team 2-2, Bruce Fall 2015人のメンバー
CSUF-BRUCE-F15S2G2
4 メンバー
6のガイドは作成済み
4 件のコメント
Excellent! Precise and concise to the point!Thank you!
can someone confirm to me that samsung evo 860 will work or not for this asus please