メインコンテンツにスキップ

Asus Zenbook UX303L Cooling Fan Replacement

必要な工具と部品

  1. Asus Zenbook UX303L Cooling Fan Replacement, Cooling Fan: 手順 1、 1の画像 1
    • Make sure the device is turned off and disconnected from the battery charger.

  2. Asus Zenbook UX303L Cooling Fan Replacement: 手順 2、 3の画像 1 Asus Zenbook UX303L Cooling Fan Replacement: 手順 2、 3の画像 2 Asus Zenbook UX303L Cooling Fan Replacement: 手順 2、 3の画像 3
    • Remove the rubber pads closer to the air vents and remove the two screws using a P0 screwdriver.

    • Remove all the nine screws from the bottom of the device using a T5 screwdriver.

    • Carefully remove the bottom cover.

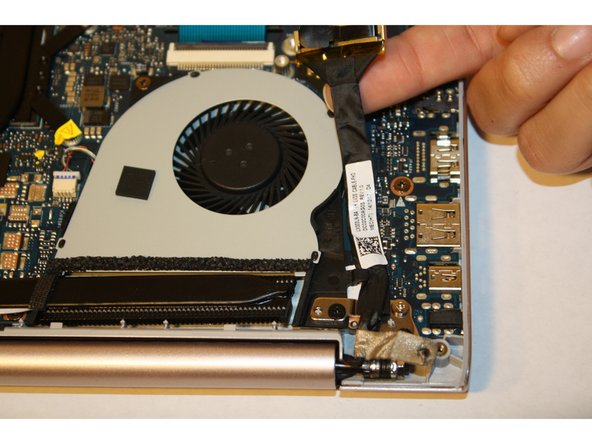
  3. Asus Zenbook UX303L Cooling Fan Replacement: 手順 3、 2の画像 1 Asus Zenbook UX303L Cooling Fan Replacement: 手順 3、 2の画像 2
    • Pull on the black flap to lift the LVDS cable next to the cooling fan.

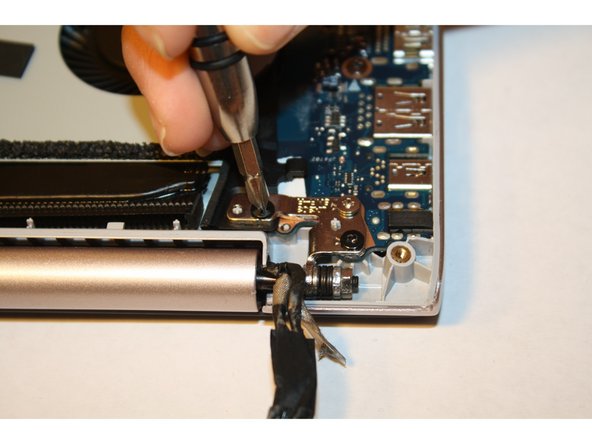
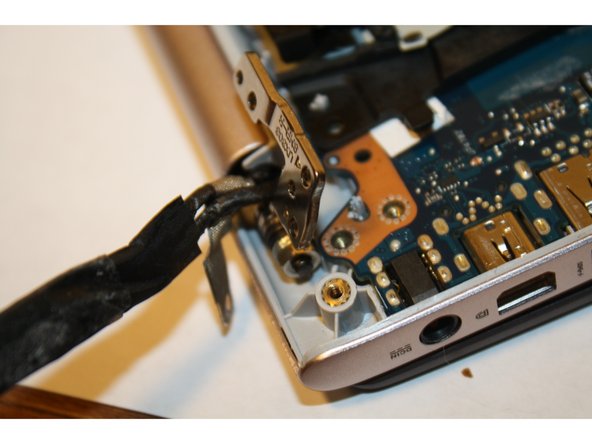
  4. Asus Zenbook UX303L Cooling Fan Replacement: 手順 4、 3の画像 1 Asus Zenbook UX303L Cooling Fan Replacement: 手順 4、 3の画像 2 Asus Zenbook UX303L Cooling Fan Replacement: 手順 4、 3の画像 3
    • Remove the three screws from the hinges using a PH-1 screwdriver.

    • Open the device at a 90 degree angle to free the hinges.

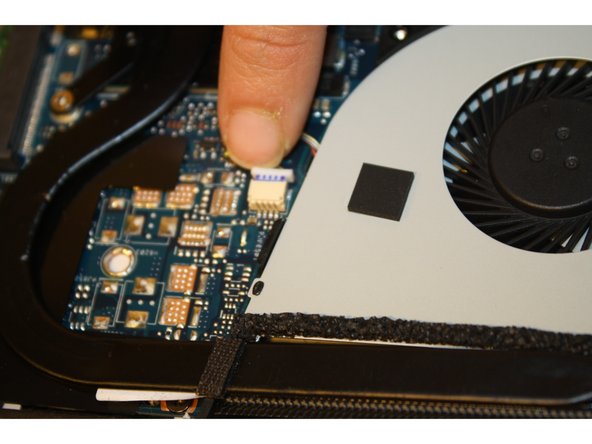
  5. Asus Zenbook UX303L Cooling Fan Replacement: 手順 5、 3の画像 1 Asus Zenbook UX303L Cooling Fan Replacement: 手順 5、 3の画像 2 Asus Zenbook UX303L Cooling Fan Replacement: 手順 5、 3の画像 3
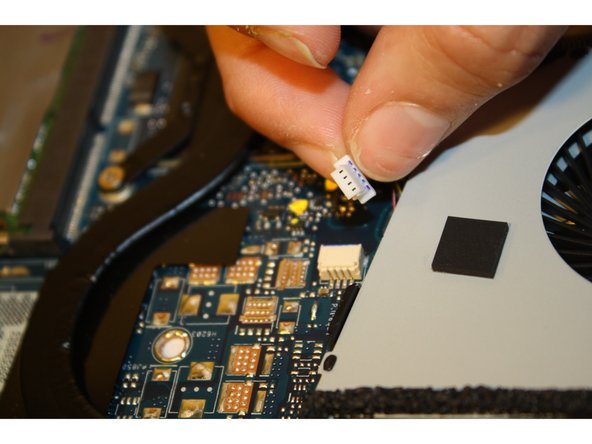
    • Remove the screws attached to the cooling fan with a PH-1 screwdriver.

    • Disconnect the wire attaching the cooling fan to the motherboard.

  6. Asus Zenbook UX303L Cooling Fan Replacement: 手順 6、 2の画像 1 Asus Zenbook UX303L Cooling Fan Replacement: 手順 6、 2の画像 2
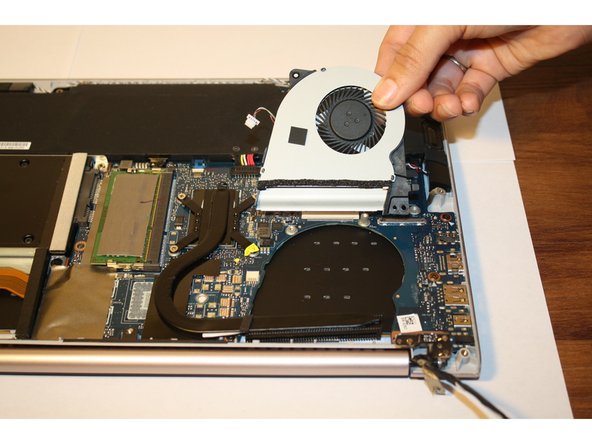
    • Gently lift and slide the cooling fan out.

終わりに

To reassemble your device, follow these instructions in reverse order.

4 の人々がこのガイドを完成させました。

作成者

9人の作成者と共同で作成されました。

Bianka Castaneda

メンバー登録日: 10/13/15

469 ポイント

2のガイドは作成済み

チーム

Sam Houston State, Team 1-3, Blackburne Fall 2015 Sam Houston State, Team 1-3, Blackburne Fall 2015人のメンバー

SHSU-BLACKBURNE-F15S1G3

3 メンバー

4のガイドは作成済み

3 件のコメント

After the 6 step Would i then just remove the dust on the cooling fan and reassemble after that? or replace the fan as a whole

Sean Gerald Wong - 返信

I wish you guys had included the part number for the cooling fan.

mhyson - 返信

I think that it is important to recommend to remove the battery first, otherwise there is a risk of short...

Don't ask me how I know... :-(

Nmariotti - 返信

コメントを追加

統計データ:

過去 24時間: 0

過去 7 日: 1

過去 30 日: 13

今までの合計 6,095