はじめに
The Asus Zenbook UX21e has a simple cooling system that can be quickly removed and cleaned or replaced. This guide involves following the battery replacement guide initially, before removing a protective plastic cover to disconnect the fan. It is then possible to unscrew and disconnect the fan to remove it.
After removing the cooling system, you must clean any theremal paste apply new thermal paste when you reinstall the cooling system.
必要な工具と部品
-
-
Using a T4 Torx screwdriver, unscrew the ten screws lining the bottom cover. Then, proceed to remove the bottom cover by sliding it out parallel toward the back of the computer.
-
There are two length of screws. Eight screws are 3mm and two are 5mm. The two 5mm screws always go into the two center holes along the back edge.
-
-
-
-
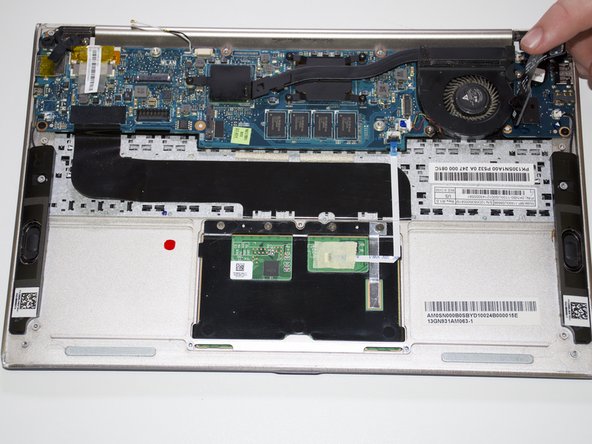
Remove the plastic piece (labeled M3 10) sitting on top of the fan by lifting from one edge and peeling it over.
-


To reassemble your device, follow these instructions in reverse order. Make sure to clean the CPU with a clean and dry cloth and compressed air. You must also squeeze new thermal paste onto the CPU before reassembling.
To reassemble your device, follow these instructions in reverse order. Make sure to clean the CPU with a clean and dry cloth and compressed air. You must also squeeze new thermal paste onto the CPU before reassembling.
ある他の人がこのガイドを完成しました。
チーム

Cal Poly, Team S22-G1, Maness Spring 2018 Cal Poly, Team S22-G1, Maness Spring 2018人のメンバー
CPSU-MANESS-S18S22G1
3 メンバー
5のガイドは作成済み