はじめに
This is a guide on how to replace the motherboard of an Asus ZenFone 5. The tools needed are a Spudger, a Halberd Spudger, an iOpener, iFixit Opening Picks, iFixit Opening Tool, and a Phillips #00 Screwdriver. There are many parts at risk of being damaged, ensure that you follow the procedure with care. The time needed to complete this procedure is approximately forty-five to fifty-five minutes.
必要な工具と部品
-
-
Insert a SIM card removal tool or the end of a paperclip into the small hole on the lefthand side of the phone to release the SIM card.
-
Pull out the SIM card tray.
-
-
-
-
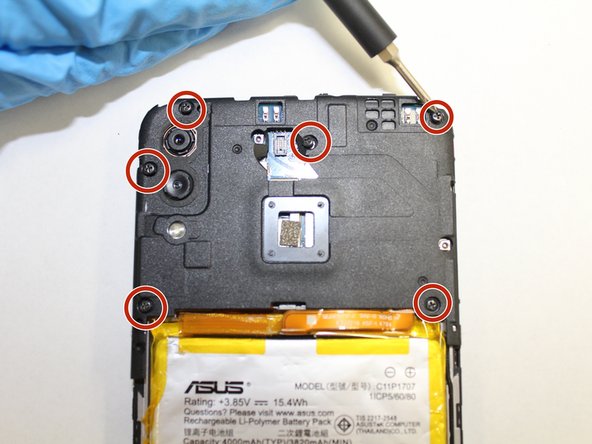
Use a halberd spudger to pry up the battery's press fit connector from the motherboard.
-
Gently pry the battery out of the case, taking care not to bend or puncture the battery.
-
-
-
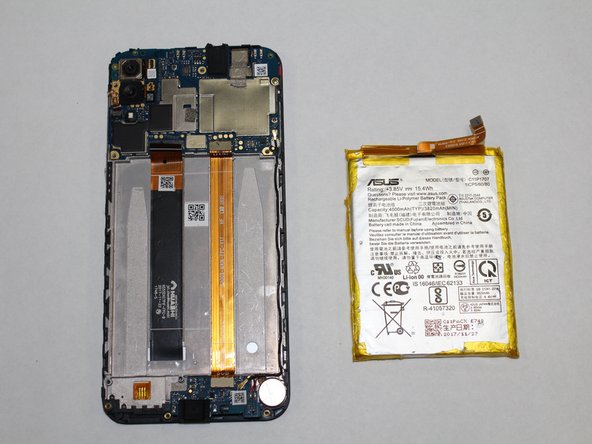
Gently use a spudger to remove the wired connections on the motherboard.
-
Disconnect both ribbon cables by popping up the locking tab of the zif connectors and pulling the cable out.
-
Pry up the black coaxial cable and it will pop off its connector on the motherboard.
-
Remove the two screws holding down the motherboard with a Phillips #00 screwdriver.
-


To reassemble your device, follow these instructions in reverse order.
To reassemble your device, follow these instructions in reverse order.
2 の人々がこのガイドを完成させました。

チーム

The Citadel Military College of South Carolina, Team S3-G20, Eggleston Fall 2020 The Citadel Military College of South Carolina, Team S3-G20, Eggleston Fall 2020人のメンバー
CMCSC-EGGLESTON-F20S3G20
3 メンバー
6のガイドは作成済み