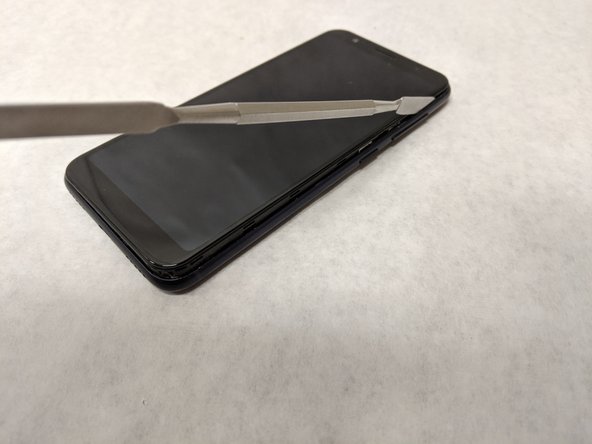
メインコンテンツにスキップ

Asus ZenFone 5 Front Camera Replacement

アーカイブされたガイド
このガイドは将来的な使用のためにのみ保存されてます。ご自身の修理作業には更新バージョンをご利用ください。

必要な工具と部品

  1. Asus ZenFone 5 Front Camera Replacement, Battery: 手順 1、 1の画像 1
    • Heat up the iOpener in the microwave for 30 seconds.

    • Caution: when the iOpener is heated up, hold it by the sides to prevent bodily harm.

  2. Asus ZenFone 5 Front Camera Replacement: 手順 2、 1の画像 1
    • Place the iOpener on the side of the phone until the iOpener gets cool (approximately 10-15 minutes).

    • Reheat the iOpener and reapply it to the other side of the phone.

  3. Asus ZenFone 5 Front Camera Replacement: 手順 3、 2の画像 1 Asus ZenFone 5 Front Camera Replacement: 手順 3、 2の画像 2
    • Gently slide the jimmy along the edges of the phone to break the adhesive.

    • Use opening picks and the opening tool to pry the back cover off.

    • The use of metal tools as shown in the photos is potentially dangerous as the battery is exposed along the edges of the case and risk of puncture is high. Choose an ESD safe tool instead.

    • There are 6 different tabs on each side of the phone that might take force to get apart.

    • Repeat the heating and prying process until the back cover can be fully removed.

  4. Asus ZenFone 5 Front Camera Replacement: 手順 4、 2の画像 1 Asus ZenFone 5 Front Camera Replacement: 手順 4、 2の画像 2
    • Use the #00 phillips head to take out the six phillips #00 3.175mm screws on the top cover plate.

    • Use the spudger to release the clasps along the edge of the top plate.

  5. Asus ZenFone 5 Front Camera Replacement: 手順 5、 1の画像 1
    • Disconnect the press fit connector located near the upper right corner of the battery to disengage the battery from the motherboard.

  6. Asus ZenFone 5 Front Camera Replacement: 手順 6、 2の画像 1 Asus ZenFone 5 Front Camera Replacement: 手順 6、 2の画像 2
    • Use the same screwdriver to remove the five phillips #00 3.96mm screws along the bottom plate.

    • Use the spudger to pry the bottom plate off.

  7. Asus ZenFone 5 Front Camera Replacement: 手順 7、 2の画像 1 Asus ZenFone 5 Front Camera Replacement: 手順 7、 2の画像 2
    • Pull on the two black tabs on the bottom of the battery until the battery is released.

    • Gently pull the battery out of its socket.

  8. Asus ZenFone 5 Front Camera Replacement, Front Camera: 手順 8、 3の画像 1 Asus ZenFone 5 Front Camera Replacement, Front Camera: 手順 8、 3の画像 2 Asus ZenFone 5 Front Camera Replacement, Front Camera: 手順 8、 3の画像 3
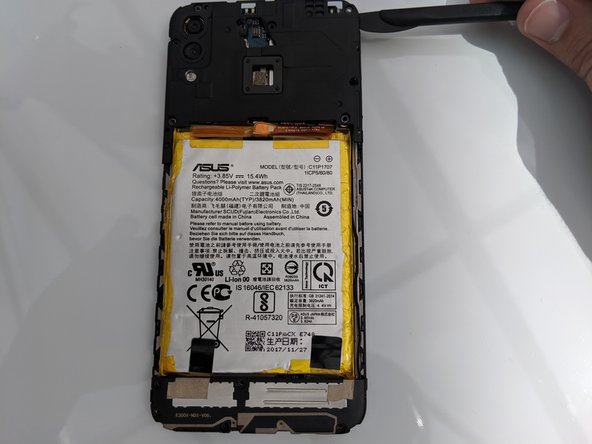
    • Peel off the silver tape that is to the right of the audio jack about halfway, so it is off of the silver plate.

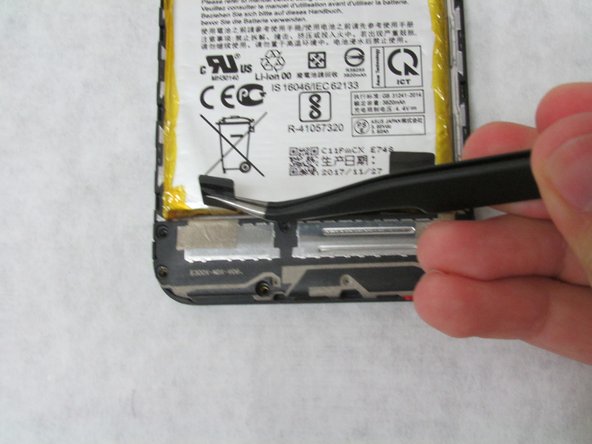
    • Use the tweezers to disconnect the press fit connector underneath the tape, right above the silver plate.

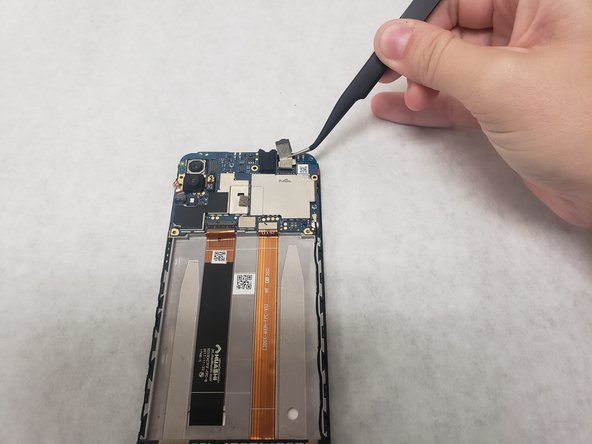
    • Gently lift up until the camera and the connector is removed.

終わりに

To reassemble your device, follow these instructions in reverse order.

ある他の人がこのガイドを完成しました。

作成者

2人の作成者と共同で作成されました。

Nathan Foster

メンバー登録日: 07/08/19

612 ポイント

6のガイドは作成済み

0 件のコメント

コメントを追加

統計データ:

過去 24時間: 1

過去 7 日: 2

過去 30 日: 6

今までの合計 2,037