はじめに
The charging port is located on the bottom of the phone and is required for the phone to recharge the battery. It will be obvious that the charging port needs to be replaced, as the phone will more than likely either not charge at all, or take an unusually long amount of time.
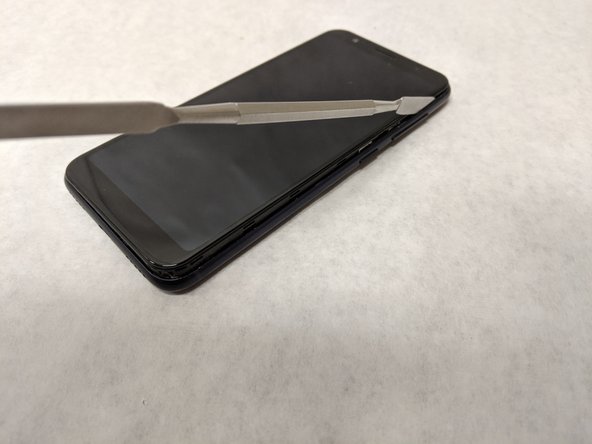
This guide shows the use of metal tools in close vicinity to the battery. Choose to use plastic, ESD-safe tools for the procedure in order to greatly reduce the risk of a battery puncture.
必要な工具と部品
-
-
-
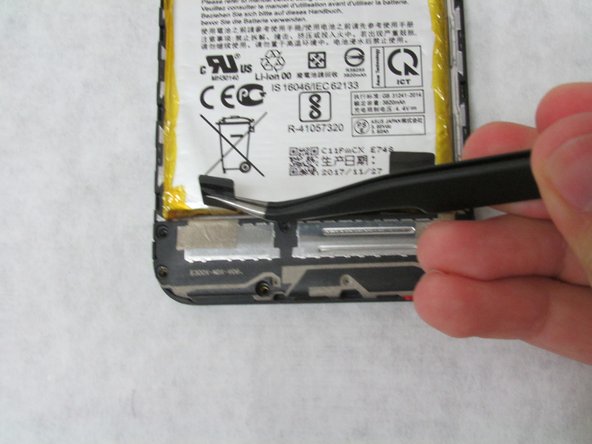
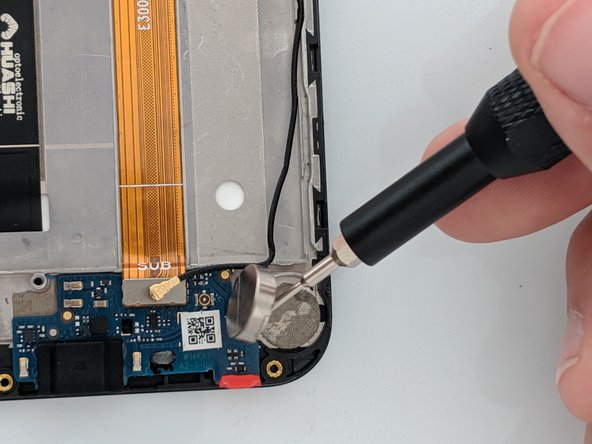
On the bottom of the phone, lift up the silver press fit connector that is below the battery.
-
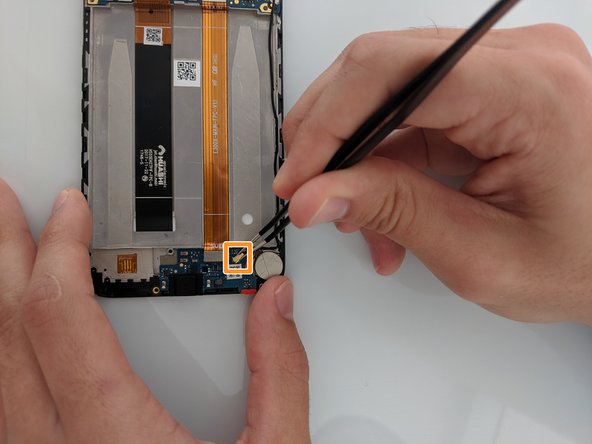
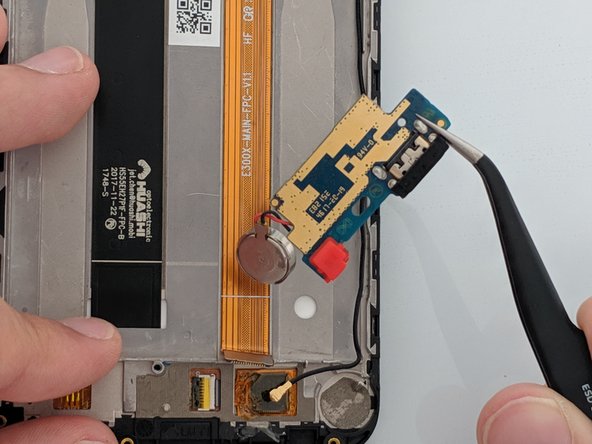
Gently lift off the gold headed coaxial cable that is connected to the motherboard and pull it away from the phone.
-


To reassemble your device, follow these instructions in reverse order.
To reassemble your device, follow these instructions in reverse order.
チーム

Embry-Riddle Aeronautical University, Team S3-G27, Watkins Summer 2019 Embry-Riddle Aeronautical University, Team S3-G27, Watkins Summer 2019人のメンバー
ERAU-WATKINS-SU19S3G27
4 メンバー
9のガイドは作成済み