メインコンテンツにスキップ

Asus ZenFone 2 Laser ZE550KL Display Replacement

必要な工具と部品

  1. Asus ZenFone 2 Laser ZE550KL Display Replacement, SIM and battery removal: 手順 1、 1の画像 1
    • Remove the back cover.

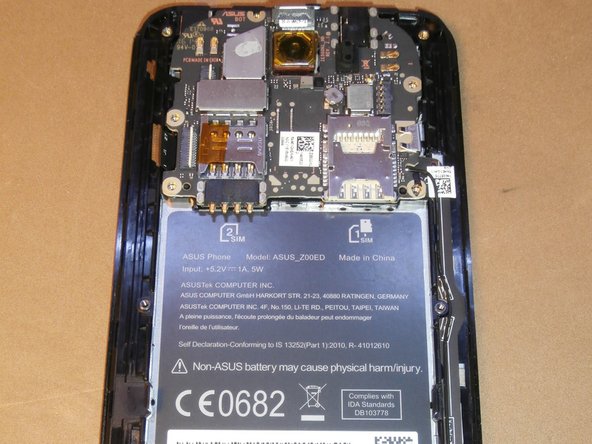
    • Disconnect the battery.

    • Remove the SIM card and the micro SD card.

  2. Asus ZenFone 2 Laser ZE550KL Display Replacement, Remove the screws: 手順 2、 1の画像 1
    • Unscrew the 15 screws

  3. Asus ZenFone 2 Laser ZE550KL Display Replacement, Internal back cover: 手順 3、 2の画像 1 Asus ZenFone 2 Laser ZE550KL Display Replacement, Internal back cover: 手順 3、 2の画像 2
    • Remove the plastic back with opening picks making sure not to break the clips that hold it in place

  4. Asus ZenFone 2 Laser ZE550KL Display Replacement, Flat cable display: 手順 4、 3の画像 1 Asus ZenFone 2 Laser ZE550KL Display Replacement, Flat cable display: 手順 4、 3の画像 2 Asus ZenFone 2 Laser ZE550KL Display Replacement, Flat cable display: 手順 4、 3の画像 3
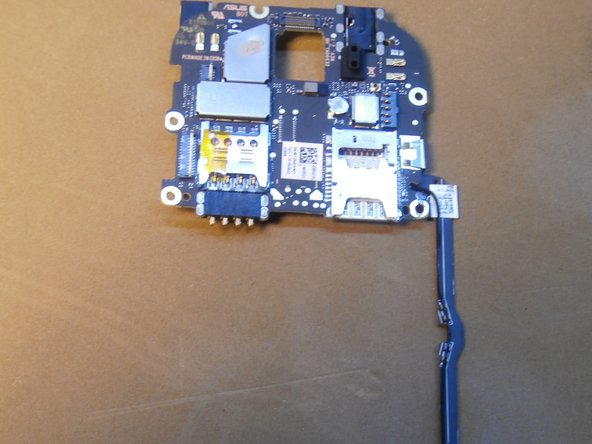
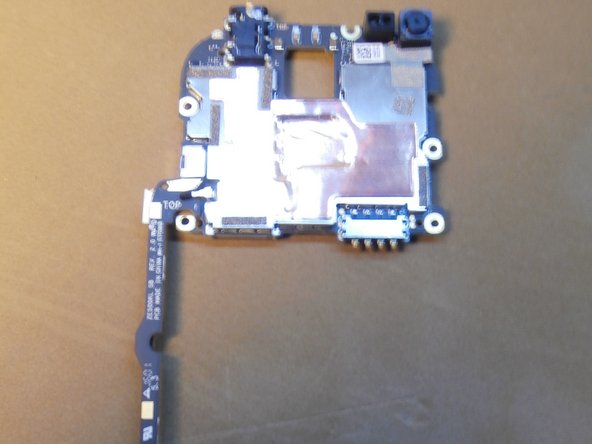
    • Disconnect the two flat cables by lifting the white bracket
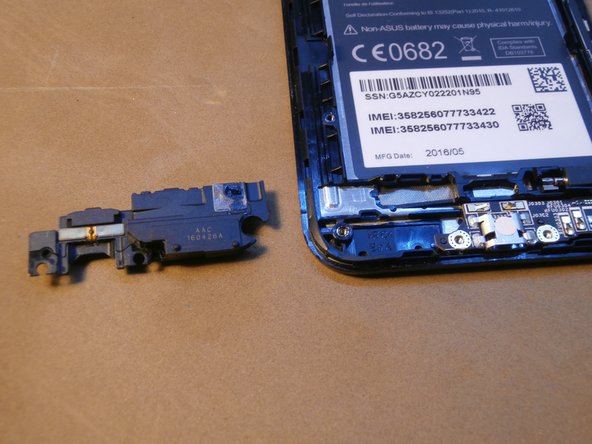
    • Unplug the camera

  5. Asus ZenFone 2 Laser ZE550KL Display Replacement, Rear speaker: 手順 5、 2の画像 1 Asus ZenFone 2 Laser ZE550KL Display Replacement, Rear speaker: 手順 5、 2の画像 2
    • With the help from a spudger, remove the rear speaker

  6. Asus ZenFone 2 Laser ZE550KL Display Replacement, Motherboard: 手順 6、 3の画像 1 Asus ZenFone 2 Laser ZE550KL Display Replacement, Motherboard: 手順 6、 3の画像 2 Asus ZenFone 2 Laser ZE550KL Display Replacement, Motherboard: 手順 6、 3の画像 3
    • Starting from the bottom lift the motherboard

  7. Asus ZenFone 2 Laser ZE550KL Display Replacement, Frame Assembly: 手順 7、 3の画像 1 Asus ZenFone 2 Laser ZE550KL Display Replacement, Frame Assembly: 手順 7、 3の画像 2 Asus ZenFone 2 Laser ZE550KL Display Replacement, Frame Assembly: 手順 7、 3の画像 3
    • Mother board.

  8. Asus ZenFone 2 Laser ZE550KL Display Replacement, Touchscreen driver: 手順 8、 3の画像 1 Asus ZenFone 2 Laser ZE550KL Display Replacement, Touchscreen driver: 手順 8、 3の画像 2 Asus ZenFone 2 Laser ZE550KL Display Replacement, Touchscreen driver: 手順 8、 3の画像 3
    • Disconnect the touchscreen driver to remove the screen

  9. Asus ZenFone 2 Laser ZE550KL Display Replacement, Screen removal: 手順 9、 3の画像 1 Asus ZenFone 2 Laser ZE550KL Display Replacement, Screen removal: 手順 9、 3の画像 2 Asus ZenFone 2 Laser ZE550KL Display Replacement, Screen removal: 手順 9、 3の画像 3
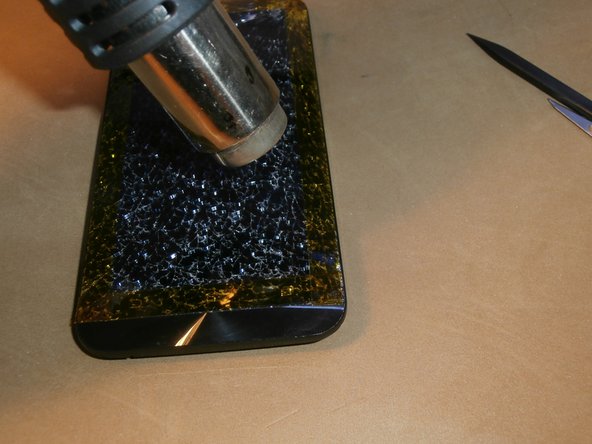
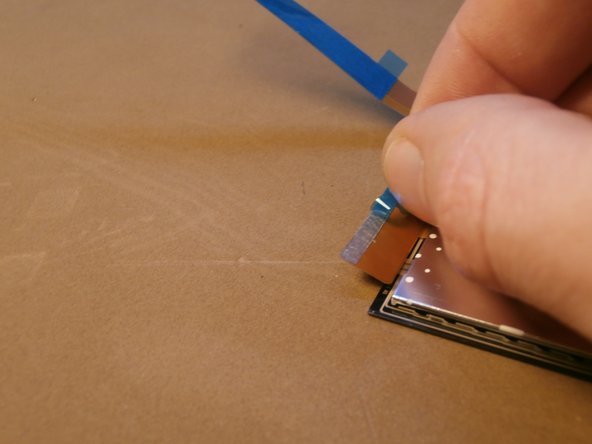
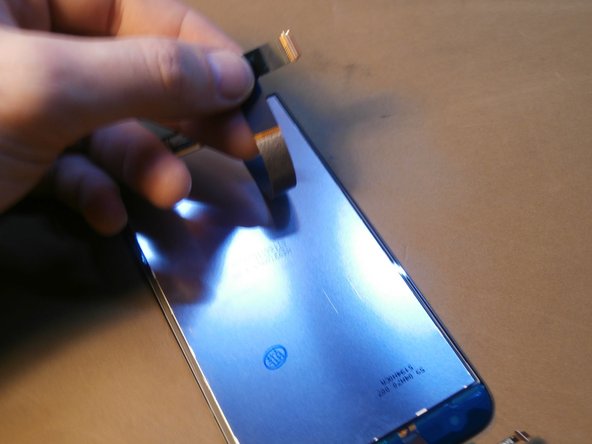
    • With the help of a hair dryer, heat gun or an iOpener remove the screen from the phone's frame

  10. Asus ZenFone 2 Laser ZE550KL Display Replacement, Preparation of the new screen: 手順 10、 3の画像 1 Asus ZenFone 2 Laser ZE550KL Display Replacement, Preparation of the new screen: 手順 10、 3の画像 2 Asus ZenFone 2 Laser ZE550KL Display Replacement, Preparation of the new screen: 手順 10、 3の画像 3
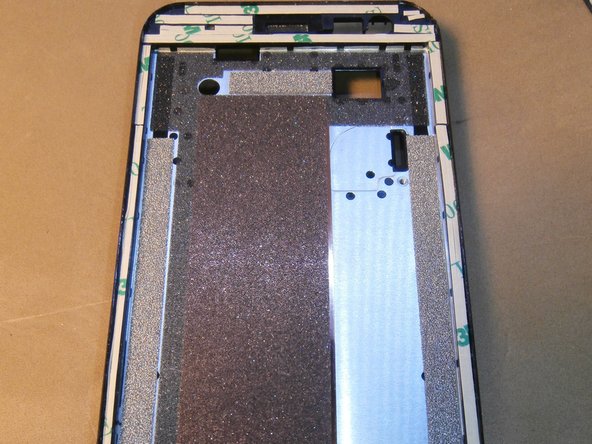
    • Remove glue residues on the perimeter of the frame

    • Re-adhere the display

  11. Asus ZenFone 2 Laser ZE550KL Display Replacement, Screen adhesive: 手順 11、 3の画像 1 Asus ZenFone 2 Laser ZE550KL Display Replacement, Screen adhesive: 手順 11、 3の画像 2 Asus ZenFone 2 Laser ZE550KL Display Replacement, Screen adhesive: 手順 11、 3の画像 3
    • apply the double-sided adhesive to the frame

  12. Asus ZenFone 2 Laser ZE550KL Display Replacement, New screen: 手順 12、 3の画像 1 Asus ZenFone 2 Laser ZE550KL Display Replacement, New screen: 手順 12、 3の画像 2 Asus ZenFone 2 Laser ZE550KL Display Replacement, New screen: 手順 12、 3の画像 3
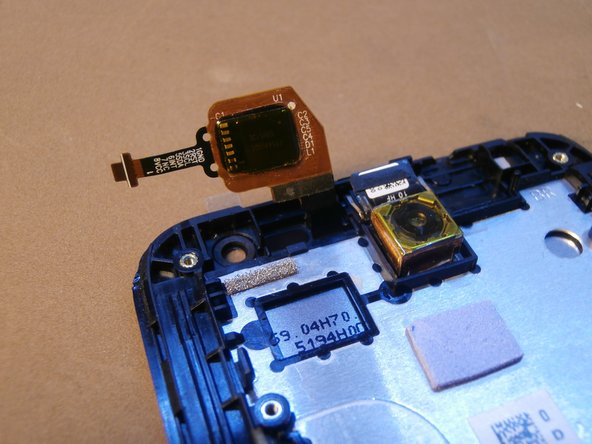
    • Replace or reposition the dust gasket of the front camera before installing the new screen

    • Insert the new screen into position by passing the flat into the specific grooves

  13. Asus ZenFone 2 Laser ZE550KL Display Replacement, Reassembly: 手順 13、 3の画像 1 Asus ZenFone 2 Laser ZE550KL Display Replacement, Reassembly: 手順 13、 3の画像 2 Asus ZenFone 2 Laser ZE550KL Display Replacement, Reassembly: 手順 13、 3の画像 3
    • Refit the logic board

終わりに

To reassemble your device, follow these instructions in reverse order.

3 の人々がこのガイドを完成させました。

以下の翻訳者の皆さんにお礼を申し上げます:

it en

100%

これらの翻訳者の方々は世界を修理する私たちのサポートをしてくれています。 あなたも貢献してみませんか?
翻訳を始める ›

作成者

2人の作成者と共同で作成されました。

gwsLabs

メンバー登録日: 12/23/16

457 ポイント

2のガイドは作成済み

コメント 1 件

Just had my cracked LCD replaced. Everything was working fine before the replacement but after that, a third of a centimeter and all the subkeys (Back, Home, Recent keys) we rented working. The tech tried to checkout the fitting but it still didn't work. Had to install an assistive key app to be able to use the phone. He told me to go back on Thursday to replace the LCD with a different one cuz this last unit they had might be defective. Could it be a screen seating problem or an issue related to glue remnants or excess adhesive?

CJ Ogasawara - 返信

コメントを追加

統計データ:

過去 24時間: 1

過去 7 日: 9

過去 30 日: 15

今までの合計 4,858