はじめに
If your speakers are not working or they emit a crackling sounds when playing audio, this guide will show you how to replace them. The replacement is very straightforward after following the guide steps for battery replacement.
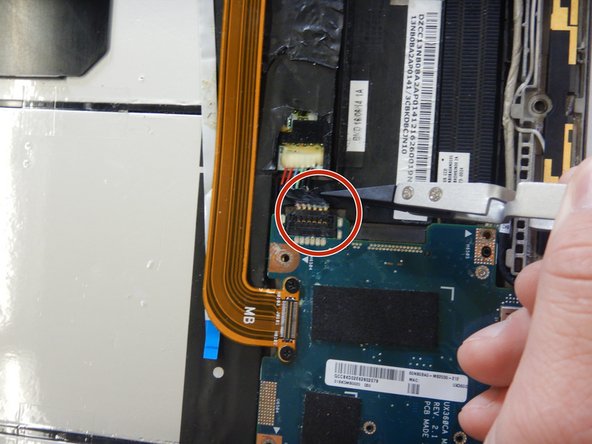
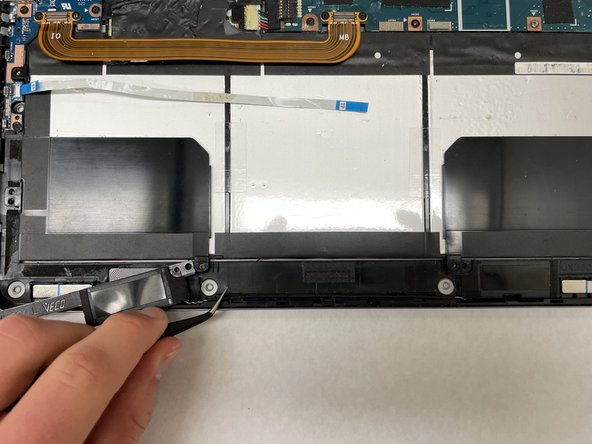
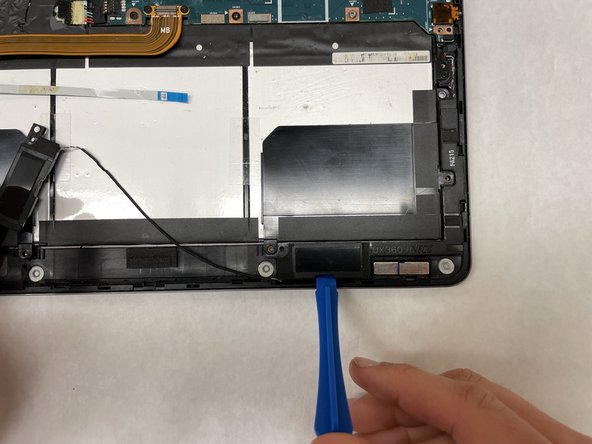
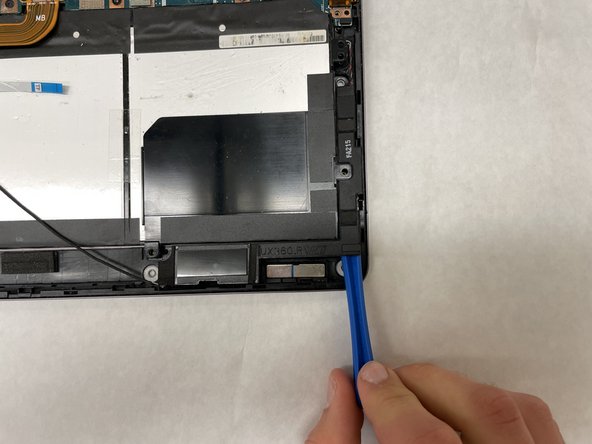
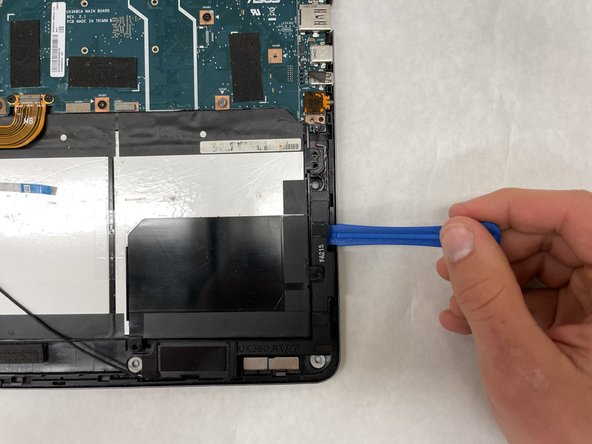
The battery must be raised on the bottom edge to access all of the speaker components. The speakers are glued to the chassis, but the opening tool makes removal easy.
必要な工具と部品
-
-
Turn laptop over.
-
Use the metal spudger to pry rubber feet off in the four corners of laptop.
-
-
-
Attach an ESD wristband to your wrist and clip the grounding clamp to a grounded metal object.
-
-


To reassemble your device, follow these instructions in reverse order.
To reassemble your device, follow these instructions in reverse order.
チーム

IUPUI, Team 1-4, Harley Spring 2022 IUPUI, Team 1-4, Harley Spring 2022人のメンバー
IUPUI-HARLEY-S22S1G4
3 メンバー
3のガイドは作成済み