はじめに
This guide will assist the user in replacing the motherboard of the Asus ZenBook Flip UX360C.
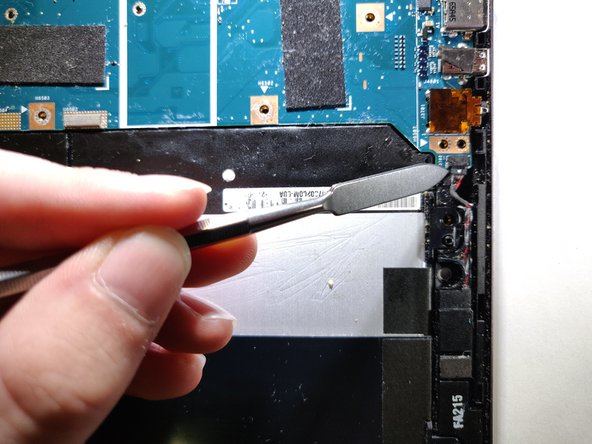
Caution: This guide shows use of a metal spudger to manipulate components inside of the device. Using a metal spudger on components within the outer case can cause damage to the device or harm to the user, especially if the battery is involved! Choose an ESD safe tool for these steps instead.
必要な工具と部品
-
-
Remove all ten T5 screws on the back cover near the edges.
-
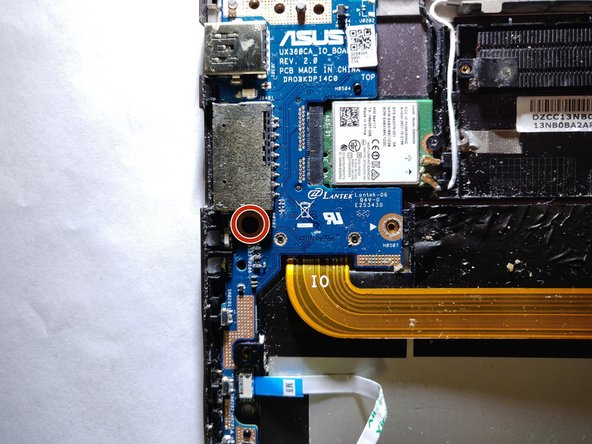
Remove two Phillips #1 screws located under the rubber feet near the screen.
-
-


To reassemble your device, follow these instructions in reverse order.
To reassemble your device, follow these instructions in reverse order.
チーム

Purdue University Northwest, Team S4-G4, Hingst Spring 2019 Purdue University Northwest, Team S4-G4, Hingst Spring 2019人のメンバー
PNW-HINGST-S19S4G4
4 メンバー
5のガイドは作成済み