このバージョンは誤った内容を含んでいる可能性があります。最新の承認済みスナップショットに切り替えてください。
必要な工具と部品
-
この手順は未翻訳です。 翻訳を手伝う。
-
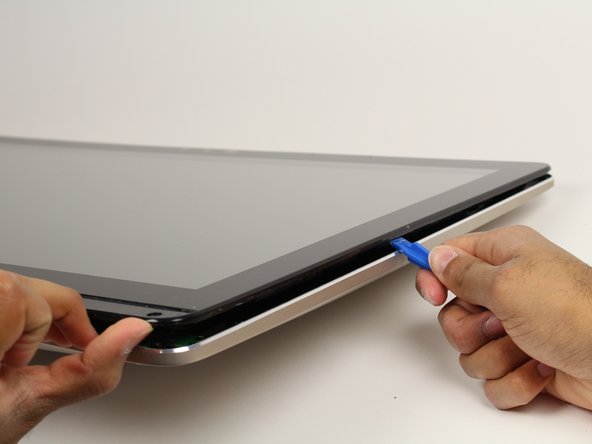
Use the plastic opening tool to pry off the black plastic strip at the bottom of the screen by wiggling the tool between the strip and the screen.
-
Run the opening tool slowly along the base of the screen, peeling the black strip back, until the opposite end of the screen is reached.
-
-
-
この手順は未翻訳です。 翻訳を手伝う。
-
Place the computer on its back, facing up.
-
Wedge the plastic opening tool in between the screen and the bezel of the aluminum computer casing.
-
Move the tool along the entire edge of the screen with an up-and-down prying motion to loosen the screen from the casing. Do not lift the entire screen away from the computer yet.
-


ある他の人がこのガイドを完成しました。
チーム

Cal Poly, Team S4-G1, Livingston Fall 2017 Cal Poly, Team S4-G1, Livingston Fall 2017人のメンバー
CPSU-LIVINGSTON-F17S4G1
5 メンバー
25のガイドは作成済み
2 件のコメント
In step 6 you are removing a ribbon cable with your fingernail. The same cable is damaged for me. Can you share the part number of this cable? I can see this a label is on this cable. I believe this is enabling the digitiser to work. I contacted Asus UK and they have no clue. Thanks