はじめに
The optical disc drive allows the laptop to read and play CDs and DVDs. If it is not functioning properly, this guide will explain how to replace it.
必要な工具と部品
-
-
Turn the laptop upside down so that the underside is facing up and locate the two switches that are on each side of the battery.
-
Slide the switch on the top right corner to the right.
-
Slide and hold the switch on the top left corner to the left and carefully remove the battery.
 FixBotに聞いてみる
-
-
-
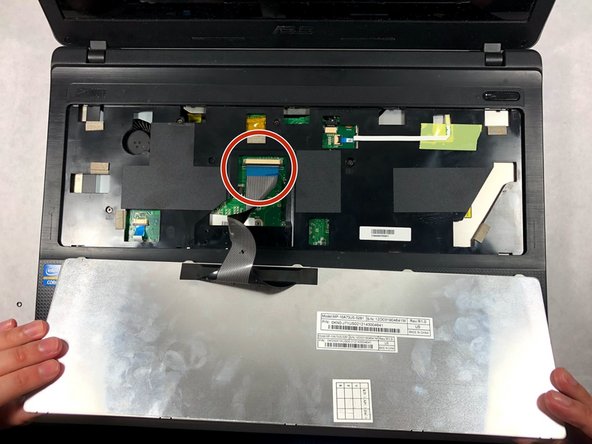
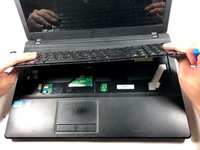
Turn the laptop to its normal position and open the display to show the keyboard.
-
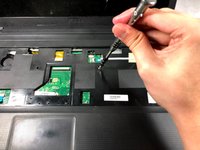
Gently push back the five tabs holding the keyboard down using the plastic opening tool.
-
-
-
-
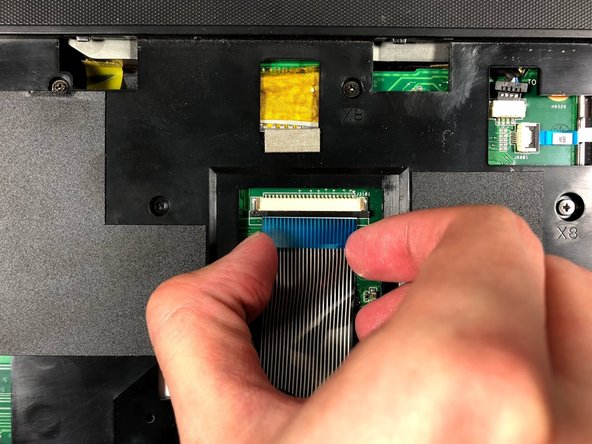
Once the keyboard is free, disconnect the ribbon cable from the zero insertion force (ZIF) connector by flipping up the locking flap and pulling the cable out.
-
-
-
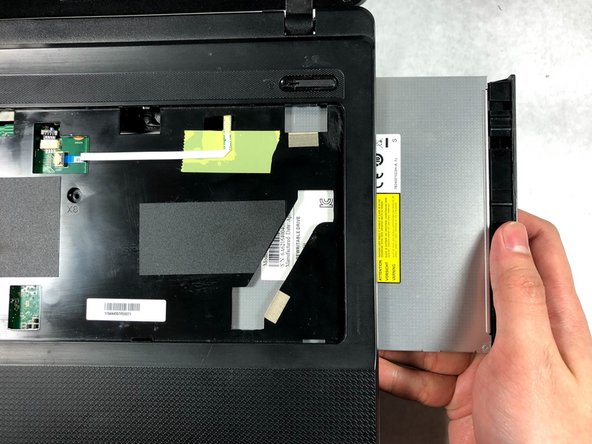
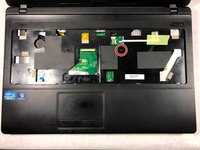
Remove the 3mm screw with a Phillips #000 screwdriver.
-
Slide out the optical disc drive by pulling it away from the laptop.
-


To reassemble your device, follow these instructions in reverse order.
チーム

UMass Dartmouth, Team S3-G1, Bailey Fall 2017 UMass Dartmouth, Team S3-G1, Bailey Fall 2017人のメンバー
UMASSD-BAILEY-F17S3G1
2 メンバー
8のガイドは作成済み