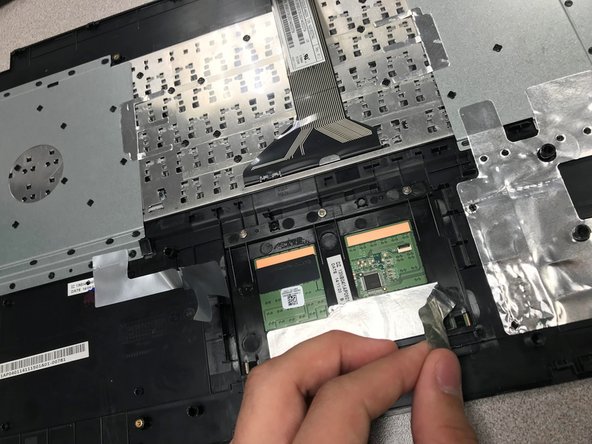
メインコンテンツにスキップ

Asus X751MA-DH01TQ Touchpad Replacement

必要な工具と部品

  1. Asus X751MA-DH01TQ Touchpad Replacement, Touchpad: 手順 1、 2の画像 1 Asus X751MA-DH01TQ Touchpad Replacement, Touchpad: 手順 1、 2の画像 2
    • Turn the laptop upside down

    • Unscrew the ten screws on the bottom with the PH00 screwdriver bit.

  2. Asus X751MA-DH01TQ Touchpad Replacement: 手順 2、 3の画像 1 Asus X751MA-DH01TQ Touchpad Replacement: 手順 2、 3の画像 2 Asus X751MA-DH01TQ Touchpad Replacement: 手順 2、 3の画像 3
    • Open up the laptop.

    • Using the plastic opening tool, open up and disconnect the keyboard from the base.

    • Take the keyboard off and put it upside down.

  3. Asus X751MA-DH01TQ Touchpad Replacement: 手順 3、 3の画像 1 Asus X751MA-DH01TQ Touchpad Replacement: 手順 3、 3の画像 2 Asus X751MA-DH01TQ Touchpad Replacement: 手順 3、 3の画像 3
    • Peel off the silver stickers that are attaching the touch pad to the back part of the keyboard.

  4. Asus X751MA-DH01TQ Touchpad Replacement: 手順 4、 2の画像 1 Asus X751MA-DH01TQ Touchpad Replacement: 手順 4、 2の画像 2
    • Unscrew the three 4mm screws on the touch pad with a PH00 screwdriver.

  5. Asus X751MA-DH01TQ Touchpad Replacement: 手順 5、 1の画像 1
    • Grab the touch pad and slide it out to replace it.

終わりに

To reassemble your device, follow these instructions in reverse order.

作成者

2人の作成者と共同で作成されました。

Joshua Kramer

メンバー登録日: 09/18/18

147 ポイント

1ガイドが承認済み

チーム

University of North Texas, Team S4-G5, Raign Fall 2018 University of North Texas, Team S4-G5, Raign Fall 2018人のメンバー

UNT-RAIGN-F18S4G5

3 メンバー

3のガイドは作成済み

0 件のコメント

コメントを追加

統計データ:

過去 24時間: 0

過去 7 日: 1

過去 30 日: 3

今までの合計 383