はじめに
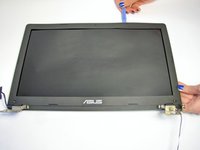
LCD displays are vulnerable to damage and can crack easily. This is one of the most frequently damaged parts on a laptop, so it is good to know how to replace it!
必要な工具と部品
-
-
Turn the laptop upside-down and remove the following screws using a Phillips #0 driver:
-
Two 9.5 mm screws in the middle of the back edge, and one 9.5 mm screw in the right edge
-
Two 4.3 mm screws in the back corners
-
One 17.5 mm screw at the left edge near the optical drive
-
Three 4.3 mm screws in the front edge
-
-
-
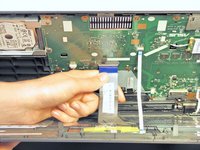
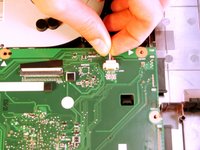
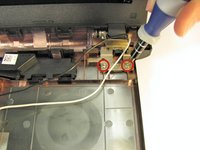
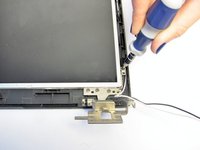
Using the Phillips #0 Screwdriver, unscrew the 5.5 mm Phillips #0 screw that holds the spacer in place.
-
-
-
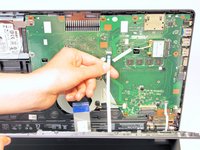
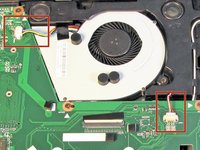
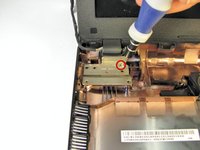
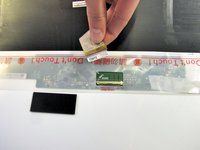
Use the Phillips #0 Screwdriver to unscrew the 3.2 mm Phillips #0 screw which attaches the WiFi card to the motherboard.
-
-
-
-
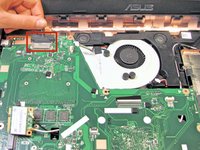
Remove the battery from the laptop by applying pressure on both ends and lifting it out of the case.
-
-
-
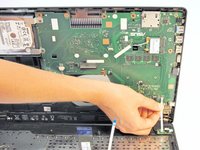
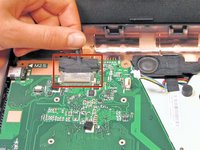
With the Phillips #0 Screwdriver, remove the nine 5.5 mm Phillips #0 screws which hold the motherboard in place.
-
-
-
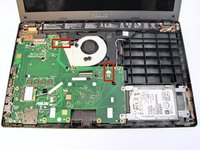
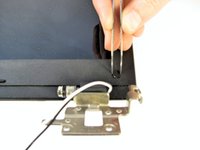
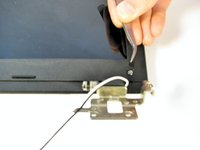
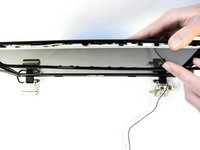
Locate both of the hinges that connect the monitor to the bottom plate cover.
-


To reassemble your device, follow these instructions in reverse order.
10 の人々がこのガイドを完成させました。

チーム

Cal Poly, Team 7-22, Regan Spring 2014 Cal Poly, Team 7-22, Regan Spring 2014人のメンバー
CPSU-REGAN-S14S7G22
5 メンバー
15のガイドは作成済み
1件のガイドコメント
You don't need to disassemble the entire unit to get the panel out. Seems an overkill