メインコンテンツにスキップ

Asus X501A-RH31 Fan Replacement

必要な工具と部品

  1. Asus X501A-RH31 Fan Replacement, Battery: 手順 1、 1の画像 1
    • Turn the laptop over so that the back is facing upwards.

  2. Asus X501A-RH31 Fan Replacement: 手順 2、 1の画像 1
    • To unlock the left tab, make sure the tab on the left has red showing.

  3. Asus X501A-RH31 Fan Replacement: 手順 3、 2の画像 1 Asus X501A-RH31 Fan Replacement: 手順 3、 2の画像 2
    • To unlock the right tab, push the right slider to the left with one hand.

    • Push the battery out with the other hand.

  4. Asus X501A-RH31 Fan Replacement, Keyboard: 手順 4、 2の画像 1 Asus X501A-RH31 Fan Replacement, Keyboard: 手順 4、 2の画像 2
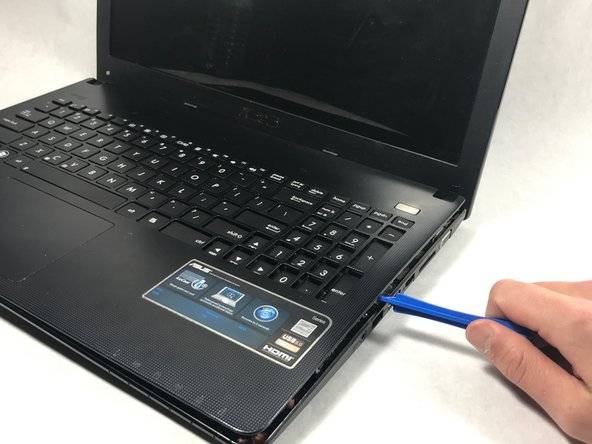
    • Using the Phillips #00 screwdriver unscrew all nine screws from the bottom of the laptop, as well as the additional two screws inside the battery compartment.

    • Nine of the screws are 5 mm long, 4.5 mm in diameter, while two screws closest to the hinges are 7 mm long.

  5. Asus X501A-RH31 Fan Replacement: 手順 5、 1の画像 1
    • Turn the laptop over and open the top so the keyboard is facing you.

  6. Asus X501A-RH31 Fan Replacement: 手順 6、 2の画像 1 Asus X501A-RH31 Fan Replacement: 手順 6、 2の画像 2
    • Pry off the keyboard cover on the edge using the plastic opening tool.

    • Start from one side. Once it is lose, carry out the same procedure on the front and other side.

    • Only do little sections at a time as the keyboard may break if you attempt to take the whole thing off from a single point.

  7. Asus X501A-RH31 Fan Replacement: 手順 7、 1の画像 1
    • Slowly lift the keyboard upward, but do not remove completely.

    • Remove the two data cables that attach the keyboard to the motherboard.

  8. Asus X501A-RH31 Fan Replacement: 手順 8、 1の画像 1
    • Use tweezers to pull the white plastic piece up that is attached to the data cable.

    • Repeat this process for the big black cable as well.

    • Use caution when unlatching the data cables from the motherboard. The cables are extremely delicate and can break.

  9. Asus X501A-RH31 Fan Replacement, Fan: 手順 9、 1の画像 1
    • Unscrew the three screws using the Phillips #00 screwdriver.

    • The three screws are 5 mm in length, 4.2 mm in diameter.

  10. Asus X501A-RH31 Fan Replacement: 手順 10、 1の画像 1
    • Unscrew the three screws on the left hand side of the big motherboard.

    • This will loosen the motherboard, which will allow for better access to the cables in the next step.

    • The three screws are 5 mm in length, 4.2 mm in diameter and Phillips head screws.

  11. Asus X501A-RH31 Fan Replacement: 手順 11、 3の画像 1 Asus X501A-RH31 Fan Replacement: 手順 11、 3の画像 2 Asus X501A-RH31 Fan Replacement: 手順 11、 3の画像 3
    • Remove the connector cable attached to the bottom of the motherboard.

    • Take the black plastic spudger and press down on the lower half of the white plastic piece to remove the connector cable.

終わりに

To reassemble your device, follow these instructions in reverse order.

ある他の人がこのガイドを完成しました。

作成者

2人の作成者と共同で作成されました。

Christopher

メンバー登録日: 10/19/17

359 ポイント

3のガイドは作成済み

チーム

UMass Dartmouth, Team S3-G3, Bailey Fall 2017 UMass Dartmouth, Team S3-G3, Bailey Fall 2017人のメンバー

UMASSD-BAILEY-F17S3G3

3 メンバー

8のガイドは作成済み

0 件のコメント

コメントを追加

統計データ:

過去 24時間: 1

過去 7 日: 7

過去 30 日: 9

今までの合計 522