メインコンテンツにスキップ

Asus Vivobook Flip 14 TP410U Motherboard Replacement

必要な工具と部品

  1. Asus Vivobook Flip 14 TP410U Motherboard Replacement, Unplug the Power Cable: 手順 1、 1の画像 1
    • Unplug the power cable from the laptop and assure that the laptop is completely turned off.

  2. Asus Vivobook Flip 14 TP410U Motherboard Replacement, Remove the screws: 手順 2、 1の画像 1
    • Use a Phillips #00 screwdriver to remove the eleven 12.8 mm screws from the bottom cover.

  3. Asus Vivobook Flip 14 TP410U Motherboard Replacement, Remove the top cover (keyboard cover): 手順 3、 3の画像 1 Asus Vivobook Flip 14 TP410U Motherboard Replacement, Remove the top cover (keyboard cover): 手順 3、 3の画像 2 Asus Vivobook Flip 14 TP410U Motherboard Replacement, Remove the top cover (keyboard cover): 手順 3、 3の画像 3
    • Flip the laptop 360 degrees. This makes opening up the back cover easier and causes less harm to the components.

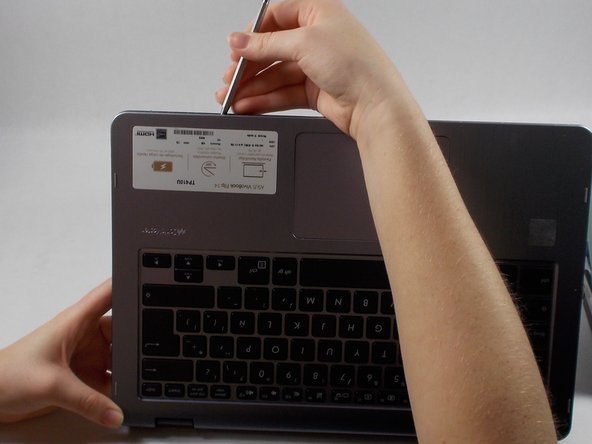
    • Insert the opening tool in between the back cover and keyboard.

    • Apply pressure and undo all of the "snaps" that are connecting the back cover and keyboard.

  4. Asus Vivobook Flip 14 TP410U Motherboard Replacement, Remove the Cables that connect various Components to the Motherboard: 手順 4、 2の画像 1 Asus Vivobook Flip 14 TP410U Motherboard Replacement, Remove the Cables that connect various Components to the Motherboard: 手順 4、 2の画像 2
    • Remove each cable connected to the HD audio, Wi-Fi card, and touchpad.

    • Excessive force may cause permanent damage to the cables.

  5. Asus Vivobook Flip 14 TP410U Motherboard Replacement, Unscrew the Motherboard screws and Disconnect the Display Connector: 手順 5、 1の画像 1
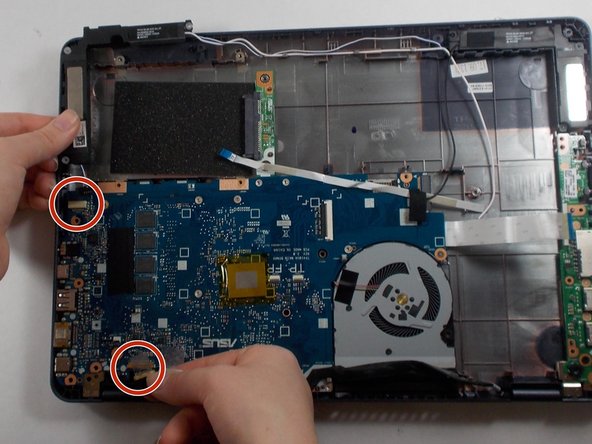
    • Unscrew and remove the ten 6.4 mm Phillips #00 screws that are outlined in the photo.

    • Remove the connector connecting the front display to the motherboard.

    • Excessive force when unplugging each connector may cause permanent damage to the cable.

  6. Asus Vivobook Flip 14 TP410U Motherboard Replacement, Remove the Motherboard: 手順 6、 2の画像 1 Asus Vivobook Flip 14 TP410U Motherboard Replacement, Remove the Motherboard: 手順 6、 2の画像 2
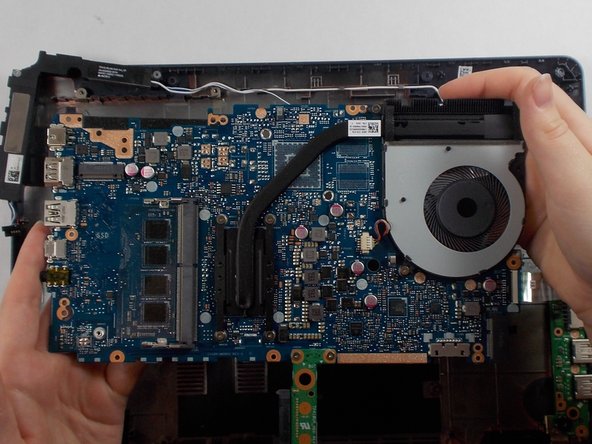
    • Remove the motherboard by pulling the motherboard away from the I/O Ports on the side of the laptop.

    • Excessive force may cause damages to other components in laptop.

終わりに

To reassemble your device, follow these instructions in reverse order.

ある他の人がこのガイドを完成しました。

作成者

4人の作成者と共同で作成されました。

Dominic Bento

メンバー登録日: 03/22/22

305 ポイント

2のガイドは作成済み

0 件のコメント

コメントを追加

統計データ:

過去 24時間: 3

過去 7 日: 9

過去 30 日: 39

今までの合計 1,350