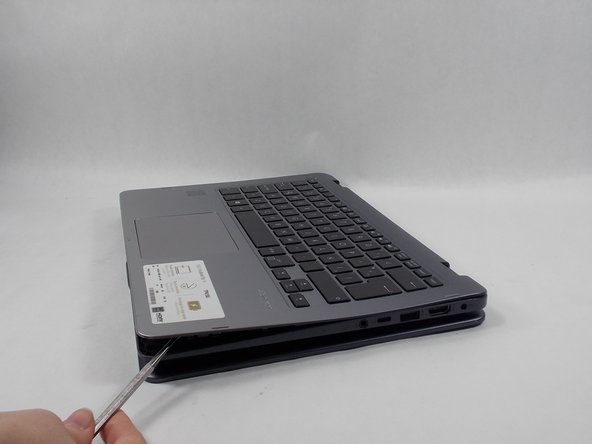
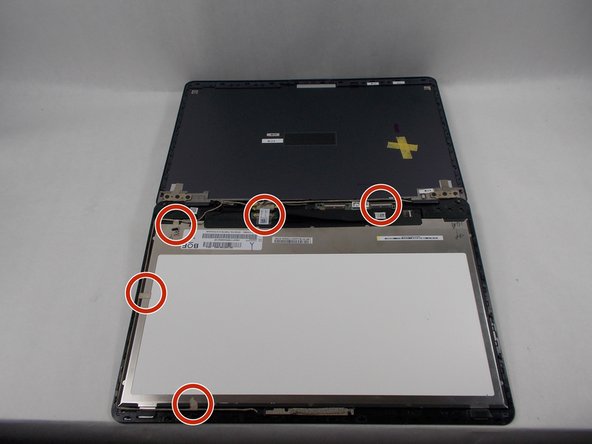
メインコンテンツにスキップ

Asus Vivobook Flip 14 TP410U LCD Assembly Replacement

必要な工具と部品

  1. Asus Vivobook Flip 14 TP410U LCD Assembly Replacement, LCD Assembly: 手順 1、 1の画像 1
    • Turn off the power and disconnected the AC cable from the laptop.

  2. Asus Vivobook Flip 14 TP410U LCD Assembly Replacement: 手順 2、 2の画像 1 Asus Vivobook Flip 14 TP410U LCD Assembly Replacement: 手順 2、 2の画像 2
    • Remove the rubber covers for the two screws located at the bottom of the screen.

    • Use a Phillips #00 screwdriver to remove the two 6.4 mm screws outlined in the image.

  3. Asus Vivobook Flip 14 TP410U LCD Assembly Replacement: 手順 3、 2の画像 1 Asus Vivobook Flip 14 TP410U LCD Assembly Replacement: 手順 3、 2の画像 2
    • Excessive force may cause damage to connections.

    • Rotate the screen 360 degrees for ease of access.

    • Place the opening tool at the corner of where the screen meets the base of the laptop.

    • Pry open the screen along the edge until it is completely off the front cover.

    • Disconnect each appropriate connector while opening up the laptop.

  4. Asus Vivobook Flip 14 TP410U LCD Assembly Replacement: 手順 4、 2の画像 1 Asus Vivobook Flip 14 TP410U LCD Assembly Replacement: 手順 4、 2の画像 2
    • Excessive force should avoided since damage may accrue.

    • Remove the cable that connects to the touch display, front camera, and motherboard.

    • Remove each piece of tape that holds down each cable.

  5. Asus Vivobook Flip 14 TP410U LCD Assembly Replacement: 手順 5、 1の画像 1
    • Have the new LCD display fully unboxed and ready to be used.

    • Remove the old LCD display.

    • The touch screen sensor is extremely fragile, make sure to not put excessive force on the cable while assembling.

終わりに

To reassemble your device, follow these instructions in reverse order.

2 の人々がこのガイドを完成させました。

作成者

4人の作成者と共同で作成されました。

Dominic Bento

メンバー登録日: 03/22/22

326 ポイント

2のガイドは作成済み

0 件のコメント

コメントを追加

統計データ:

過去 24時間: 0

過去 7 日: 9

過去 30 日: 56

今までの合計 834