メインコンテンツにスキップ
リペアコミュニティに参加 - アカウントの作成

Asus U50F-RBBAG05 Hard Drive Replacement

必要な工具と部品

  1. Asus U50F-RBBAG05 Hard Drive Replacement, Battery: 手順 1、 1の画像 1
    • Turn the laptop over so the bottom is facing up.

    • Slide the two tabs on the bottom of the laptop toward the edges of laptop.

    • Slide the left tab to the left to lock it into the unlocked position. The red showing next to the tab signifies that it's unlocked.

    • You will have to hold the right tab to the right to keep the slot unlocked while removing the battery.

    FixBotに聞いてみる

    コメントを追加

  2. Asus U50F-RBBAG05 Hard Drive Replacement: 手順 2、 2の画像 1 Asus U50F-RBBAG05 Hard Drive Replacement: 手順 2、 2の画像 2
    • Hold down the tab on the right side, then begin sliding the battery out.

    • Remove the old battery.

    • Next, insert the new battery into the empty slot. Release the right tab to begin locking the new battery into place. Slide the left tab to the right to completely lock the battery into the slot. The red that was showing near the left tab should be gone. This signifies that the battery is locked into place.

    FixBotに聞いてみる

    コメントを追加

  3. Asus U50F-RBBAG05 Hard Drive Replacement, Underpanel: 手順 3、 1の画像 1
    • Remove the six screws using a Phillips #1 screwdriver.

    FixBotに聞いてみる

    コメントを追加

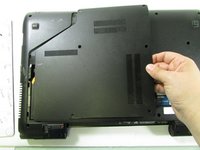
  4. Asus U50F-RBBAG05 Hard Drive Replacement: 手順 4、 1の画像 1
    • Pry the lower panel up with your fingernail or a spudger.

    FixBotに聞いてみる

    コメントを追加

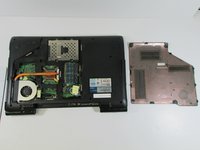
  5. Asus U50F-RBBAG05 Hard Drive Replacement: 手順 5、 2の画像 1 Asus U50F-RBBAG05 Hard Drive Replacement: 手順 5、 2の画像 2
    • Lift up on the panel and remove it.

    FixBotに聞いてみる

    コメントを追加

  6. Asus U50F-RBBAG05 Hard Drive Replacement, Hard Drive: 手順 6、 1の画像 1
    • Remove the two screws using a Phillips #1 screwdriver.

    FixBotに聞いてみる

    コメントを追加

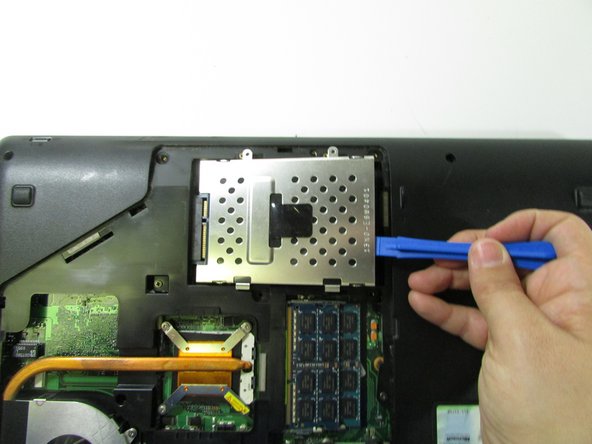
  7. Asus U50F-RBBAG05 Hard Drive Replacement: 手順 7、 2の画像 1 Asus U50F-RBBAG05 Hard Drive Replacement: 手順 7、 2の画像 2
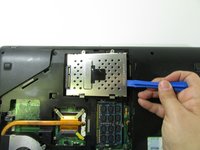
    • Using your finger, push the hard drive back.

    • Pry up the drive with an opening tool (or your fingernail).

    FixBotに聞いてみる

    コメントを追加

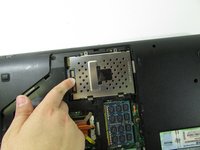
  8. Asus U50F-RBBAG05 Hard Drive Replacement: 手順 8、 2の画像 1 Asus U50F-RBBAG05 Hard Drive Replacement: 手順 8、 2の画像 2
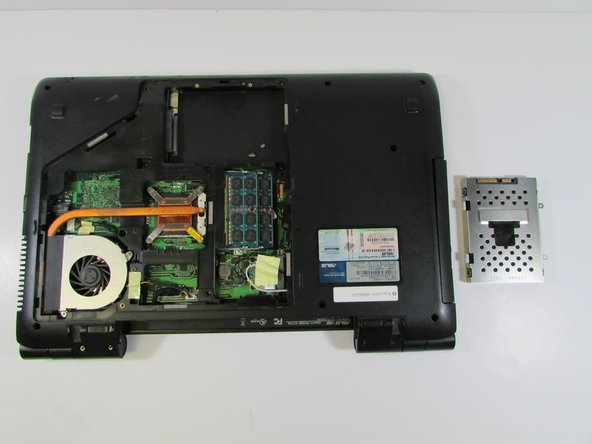
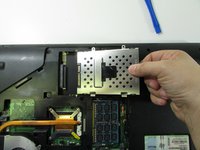
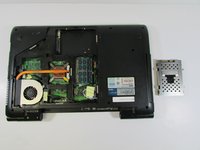
    • Pull back on the hard drive and lift upwards.

    • Remove the component completely.

    FixBotに聞いてみる

    コメントを追加

終わりに

To reassemble your device, follow these instructions in reverse order.

キャンセル: このガイドを終了できませんでした。

作成者

4人の作成者と共同で作成されました。

Kelly Greeling

メンバー登録日: 02/07/17

1,044 ポイント

10のガイドは作成済み

0件のガイドコメント

コメントを追加

統計データ:

過去 24時間: 1

過去 7 日: 1

過去 30 日: 15

今までの合計 688