Remove the hard drive cover.
Unscrew one 8mm Phillips #00 screw.
Using the black spudger, insert its flat end under the hard drive's covering, working around to pry it off.
Remove 9 screws from bottom of notebook using PH00 bit + 1 under hard drive bay.
Remove 3 screws from bottom of notebook using PH00 bit. 1 is same screw spec as the other 9, and 2 are shorter.
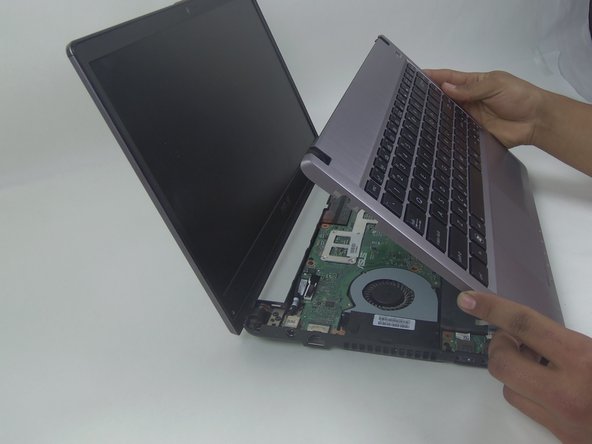
Using the black spudger, insert its flat end between the crevice where the color changes from grey to black.
The keyboard is very tightly secured.
Carefully ease the spudger's end along the crevice, going around the entire frame.
The back connectors are short, so be careful when lifting.
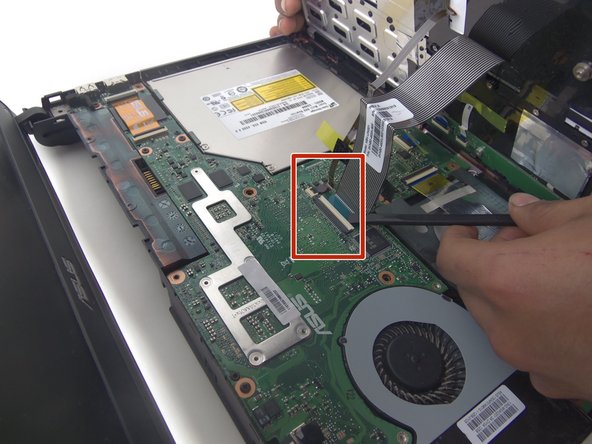
Remove the third and last ZIF connector on the motherboard by flipping up the dark-colored part of the switch.
Now, the component should come completely free.
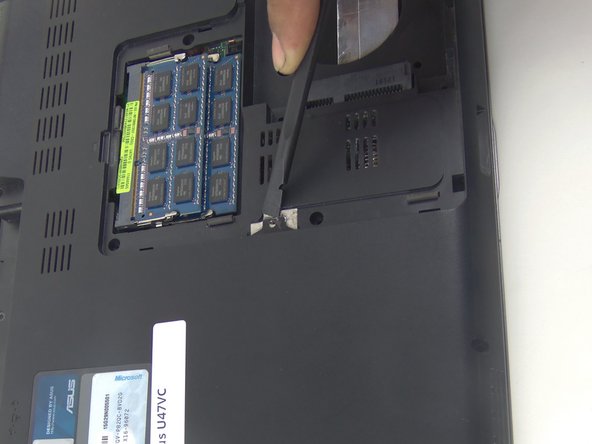
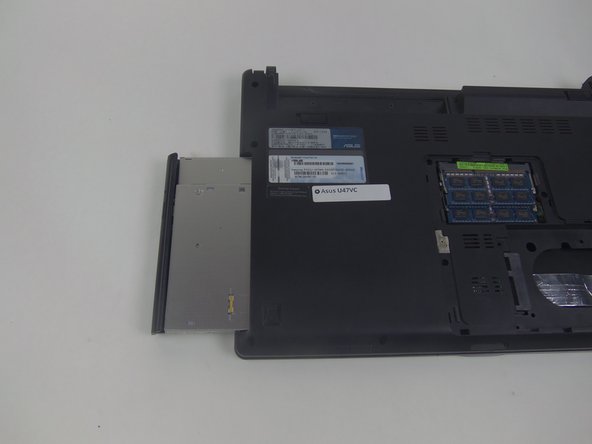
Unscrew the one 8mm screw using a Phillips #00.
Using the black spudger, slightly pry up on the tab and gently pull the optical drive away from the laptop in order to remove it.
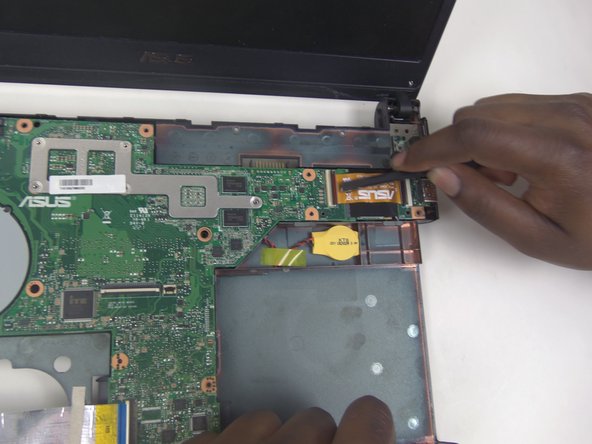
Using the black spudger, slowly lift up on the cable connectors and pull them away from the connectors.
Repeat steps on both cables.
Unscrew the 12 8mm screws using a Phillips #00 screwdriver.
Lift up on the motherboard and disengage the two connectors.
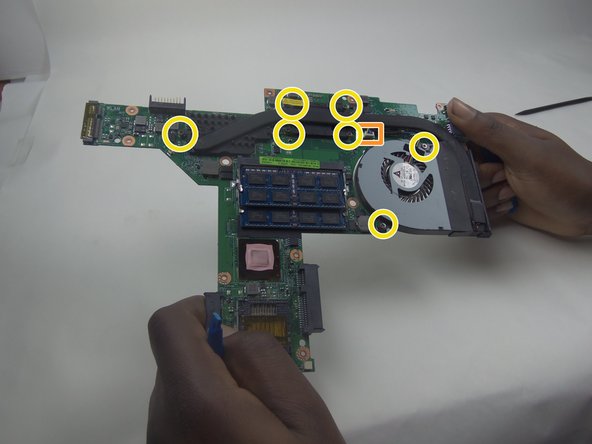
Disconnect the cooling fan connector.
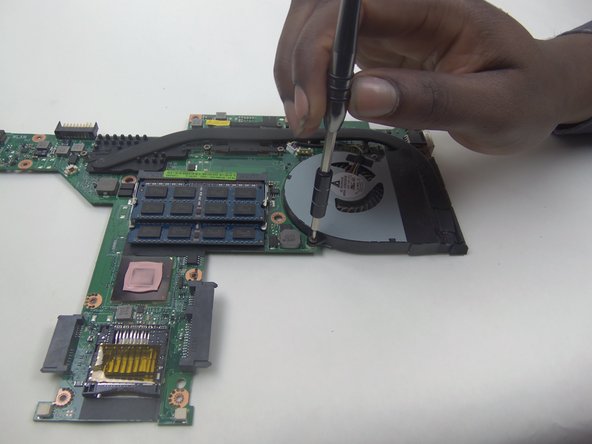
Unscrew the 7 8mm screws holding in the cooling fan using a Phillips #00 screwdriver.
このガイドを埋め込む
サイズを選択し、以下のコードをコピーして、このガイドを小さなウィジェットとしてサイト/フォーラムに埋め込みます。
1つの手順
全ガイド
小サイズ - 600px
中サイズ - 800px
大サイズ - 1200px
プレビュー