-
-
Remove 9 screws from bottom of notebook using PH00 bit + 1 under hard drive bay.
-
Remove 3 screws from bottom of notebook using PH00 bit. 1 is same screw spec as the other 9, and 2 are shorter.
-
-
Using the black spudger, insert its flat end between the crevice where the color changes from grey to black.
-
The keyboard is very tightly secured.
-
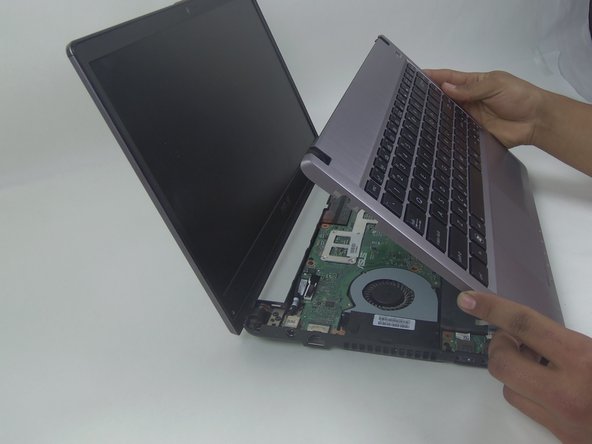
Carefully ease the spudger's end along the crevice, going around the entire frame.
-
The back connectors are short, so be careful when lifting.
-
-
-
-
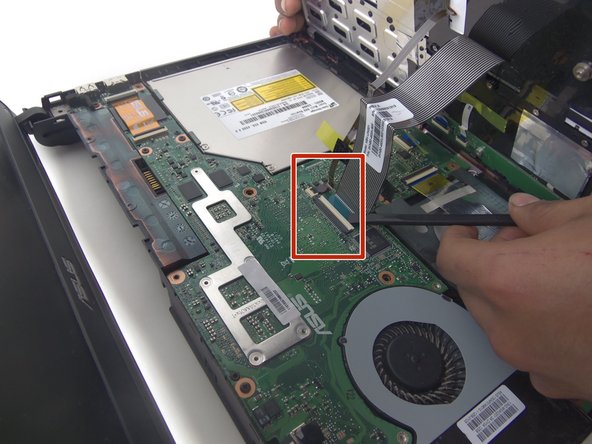
Remove the third and last ZIF connector on the motherboard by flipping up the dark-colored part of the switch.
-
Now, the component should come completely free.
-
-
-
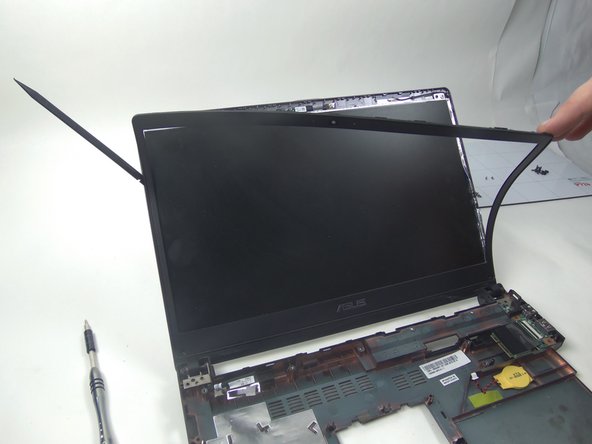
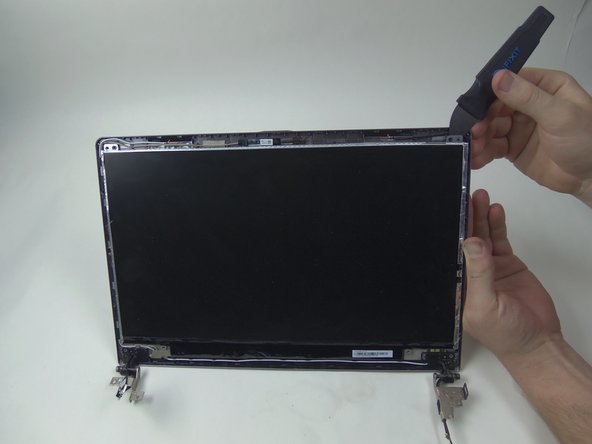
Use the black spudger to pry the face plate off.
-
The face plate is attached with adhesive.
-
Gently peel the face plate from the base.
-
-
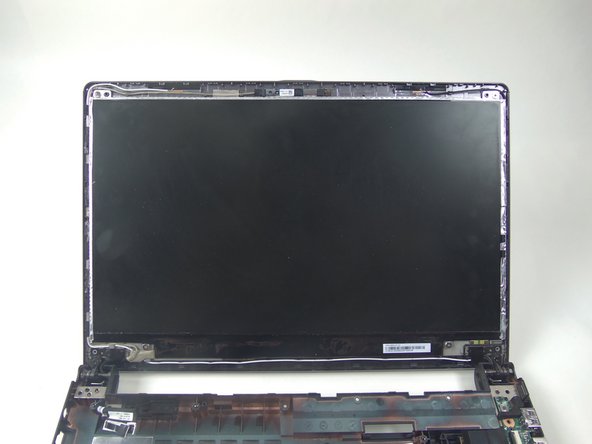
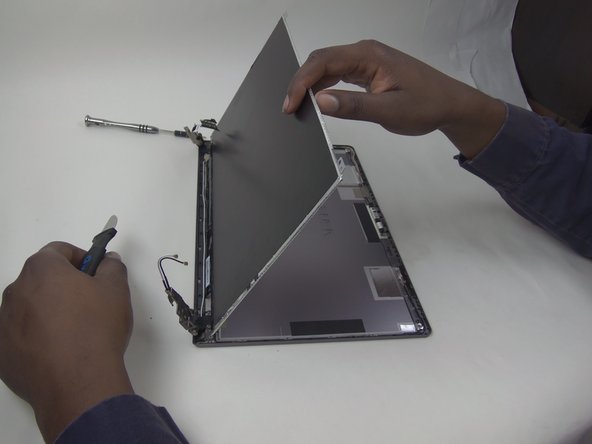
Unscrew the four 3mm Phillips head #00 screws holding the screen to the base.
-
When sitting upright, the screen should fall forward from the top.
-
-
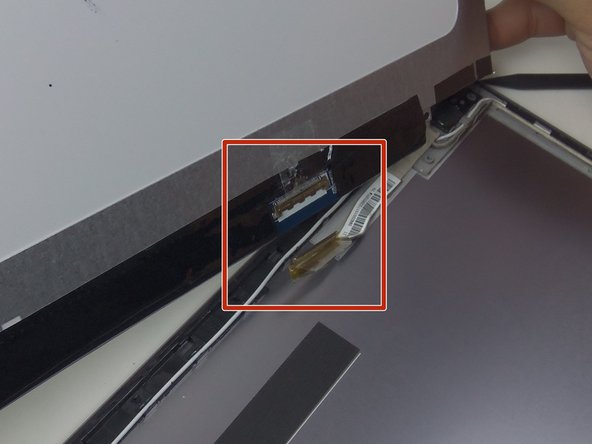
Unease the yellow connecting tape with the spudger at the bottom of the screen.
-
Pull the connector straight down and it will disconnect fairly easy.
-
The screen should then be free to be removed.
このガイドを埋め込む
サイズを選択し、以下のコードをコピーして、このガイドを小さなウィジェットとしてサイト/フォーラムに埋め込みます。
プレビュー