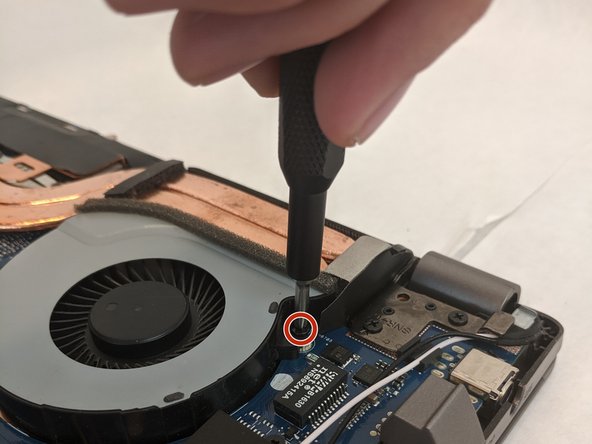
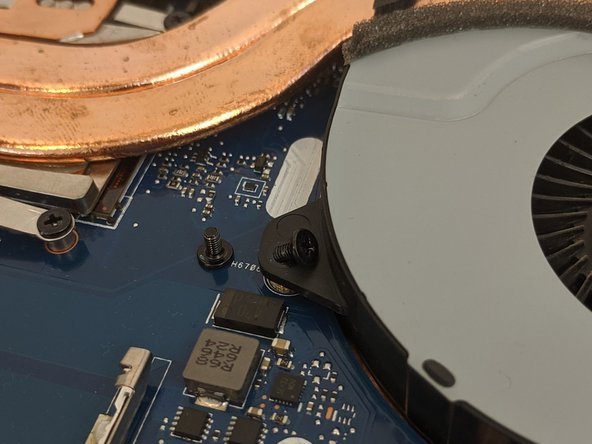
メインコンテンツにスキップ

Asus ROG Strix GL702VS Fan Replacement

必要な工具と部品

  1. Asus ROG Strix GL702VS Fan Replacement, Back Cover: 手順 1、 1の画像 1
    • Flip the computer so the bottom of the laptop is facing up.

  2. Asus ROG Strix GL702VS Fan Replacement: 手順 2、 1の画像 1
    • Remove the ten JIS #0 screws around the edge of the laptop.

    • The two bottom screws are slightly shorter

  3. Asus ROG Strix GL702VS Fan Replacement: 手順 3、 2の画像 1 Asus ROG Strix GL702VS Fan Replacement: 手順 3、 2の画像 2
    • Use a Jimmy to carefully free each side of the bottom casing.

  4. Asus ROG Strix GL702VS Fan Replacement: 手順 4、 1の画像 1
    • Lift up the back casing from the computer.

    • You may hear clicking or snapping sounds. This is just the plastic clips coming loose.

  5. Asus ROG Strix GL702VS Fan Replacement, Cooling Fans: 手順 5、 3の画像 1 Asus ROG Strix GL702VS Fan Replacement, Cooling Fans: 手順 5、 3の画像 2 Asus ROG Strix GL702VS Fan Replacement, Cooling Fans: 手順 5、 3の画像 3
    • Remove the four 4.8mm JIS #0 screws (two on each fan).

  6. Asus ROG Strix GL702VS Fan Replacement: 手順 6、 3の画像 1 Asus ROG Strix GL702VS Fan Replacement: 手順 6、 3の画像 2 Asus ROG Strix GL702VS Fan Replacement: 手順 6、 3の画像 3
    • Remove the fan's connector on the motherboard using a pair of tweezers.

    • Be gentle, as the small clips and wires can be easily damaged.

  7. Asus ROG Strix GL702VS Fan Replacement: 手順 7、 2の画像 1 Asus ROG Strix GL702VS Fan Replacement: 手順 7、 2の画像 2
    • Gently lift each fan up and out of position.

終わりに

To reassemble your device, follow these instructions in reverse order.


ある他の人がこのガイドを完成しました。

作成者

4人の作成者と共同で作成されました。

Conor H Allen

メンバー登録日: 09/16/19

622 ポイント

5のガイドは作成済み

チーム

0 件のコメント

コメントを追加

統計データ:

過去 24時間: 0

過去 7 日: 2

過去 30 日: 19

今までの合計 2,818