はじめに
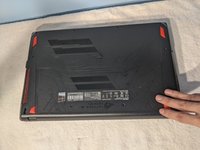
This is a simple guide on how to replace the battery in your Asus ROG Strix GL553VD gaming laptop.
Lithium batteries such as the one inside your gaming laptop deteriorate over time, losing their ability to hold a charge. This may not be a problem if you use your gaming laptop plugged in most of the time, but if you travel with your laptop and notice the laptop holding less charge and lasting for less time while on battery power, a battery replacement may restore some of the functionality of your laptop.
Happy fixing!
必要な工具と部品


To reassemble your device, follow these instructions in reverse order.
To reassemble your device, follow these instructions in reverse order.
4 の人々がこのガイドを完成させました。

チーム

York University, Team S1-G89, Woodhouse Fall 2020 York University, Team S1-G89, Woodhouse Fall 2020人のメンバー
YORK-WOODHOUSE-F20S1G89
1 メンバー
1のガイドは作成済み
コメント 1 件
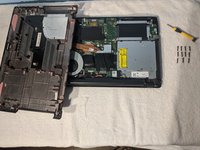
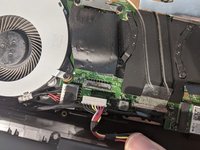
Thank you for the guide. It was tricky to find the screw in the middle, hidden behind the flap. The screws are however not torx as shown.