はじめに
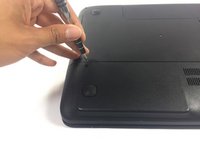
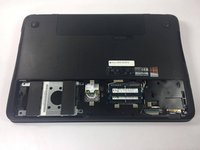
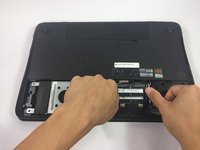
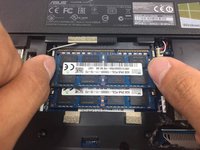
Use this guide to replace the RAM on your Asus ROG GL551J. Make sure that any new RAM has a DDR3 connection type to correctly fit into this device.
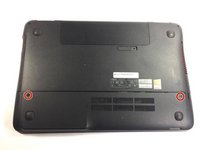
必要な工具と部品


終わりに
Congratulations, you now know how to replace the RAM sticks for your Asus ROG GL551J laptop, and this process can also apply to other similar laptops that you may acquire in the future.
3 の人々がこのガイドを完成させました。
チーム

USF Tampa, Team 5-4, Lacy Spring 2017 USF Tampa, Team 5-4, Lacy Spring 2017人のメンバー
USFT-LACY-S17S5G4
4 メンバー
5のガイドは作成済み