はじめに
It is important to power down the Asus ROG G751JL-BSI7T28 prior to starting the repair as well as unplug the A/C adapter. While this covers most of the concern with electrical components, there still may be connectors with power going through them. There is no risk for a personal shock however no metal should be near the laptop during the repair. Necklaces, bracelets, rings, etc could potentially short out components on the motherboard of the laptop making your problem bigger than when you started the repair!
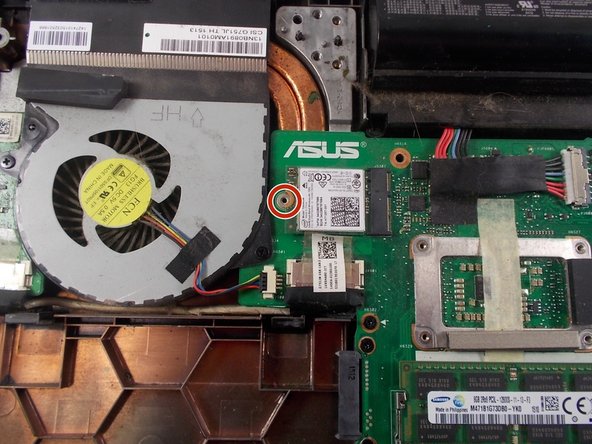
When replacing components like the Wireless Network Adapter, it is important to also treat the new component with care prior to replacement. These components have delicate parts that could possibly break, ruining the repair before it even starts. This repair will restore Wireless connection to your device!
必要な工具と部品
-
-
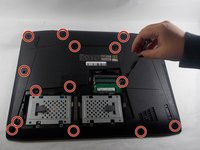
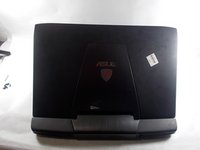
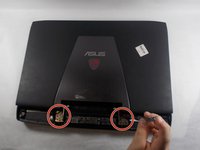
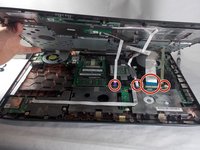
With the laptop closed, turn it upside-down so the bottom is facing up toward you.
-
-
-
-
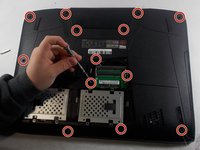
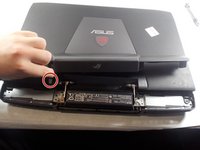
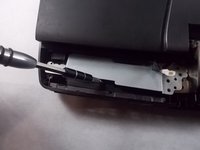
Carefully lift the keyboard up, being careful to not damage the fragile ribbon connectors.
-
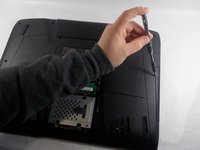
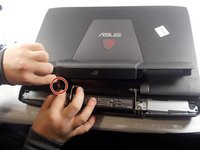
Use an opening tool to detach the ribbon cables connecting the keyboard to the rest of the laptop.
-
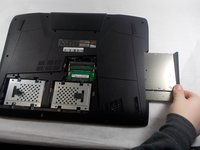
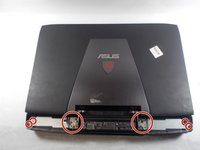
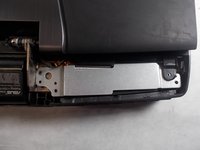
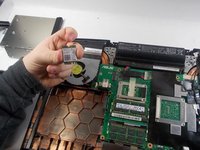
Remove the keyboard from the laptop.
-


To reassemble your device, follow these instructions in reverse order.
To reassemble your device, follow these instructions in reverse order.

チーム

UMass Dartmouth, Team S1-G1, Barthe Fall 2019 UMass Dartmouth, Team S1-G1, Barthe Fall 2019人のメンバー
UMASSD-BARTHE-F19S1G1
3 メンバー
4のガイドは作成済み