メインコンテンツにスキップ

Asus ROG G751JL-BSI7T28 USB Port Board Replacement

必要な工具と部品

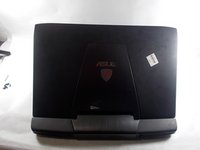
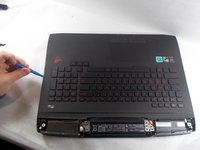
  1. Asus ROG G751JL-BSI7T28 USB Port Board Replacement, Back Panel: 手順 1、 1の画像 1
    • With the laptop closed, turn it upside-down so the bottom is facing up toward you.

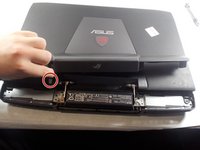
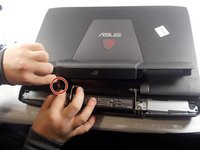
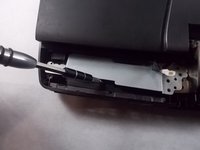
  2. Asus ROG G751JL-BSI7T28 USB Port Board Replacement: 手順 2、 3の画像 1 Asus ROG G751JL-BSI7T28 USB Port Board Replacement: 手順 2、 3の画像 2 Asus ROG G751JL-BSI7T28 USB Port Board Replacement: 手順 2、 3の画像 3
    • Place a spudger into the notch, and pry the small triangular piece away from the laptop.

    • Using a Phillips #00 screwdriver, remove the single 3 mm screw.

    • Place a spudger beneath the back panel and pry it away from the laptop.

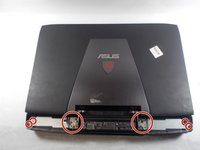
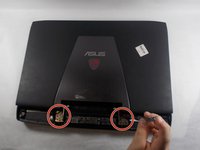
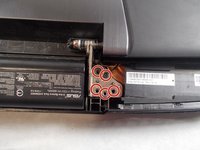
  3. Asus ROG G751JL-BSI7T28 USB Port Board Replacement, Display Assembly: 手順 3、 2の画像 1 Asus ROG G751JL-BSI7T28 USB Port Board Replacement, Display Assembly: 手順 3、 2の画像 2
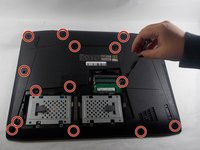
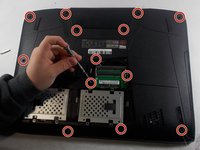
    • Remove all 5mm Phillips #00 screws from the back cover.

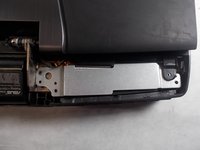
  4. Asus ROG G751JL-BSI7T28 USB Port Board Replacement: 手順 4、 2の画像 1 Asus ROG G751JL-BSI7T28 USB Port Board Replacement: 手順 4、 2の画像 2
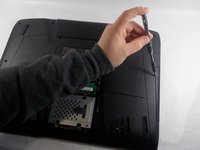
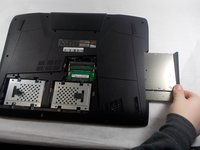
    • Use a spudger to pry the disc drive out of the laptop.

  5. Asus ROG G751JL-BSI7T28 USB Port Board Replacement: 手順 5、 3の画像 1 Asus ROG G751JL-BSI7T28 USB Port Board Replacement: 手順 5、 3の画像 2 Asus ROG G751JL-BSI7T28 USB Port Board Replacement: 手順 5、 3の画像 3
    • Open the laptop and turn it so that the ASUS logo is facing you.

    • Gently lift up the display hinge housing shroud, but don’t pull it completely away yet.

    • Disconnect the RGB light power cable in the shroud, now the shroud can be put aside.

  6. Asus ROG G751JL-BSI7T28 USB Port Board Replacement: 手順 6、 3の画像 1 Asus ROG G751JL-BSI7T28 USB Port Board Replacement: 手順 6、 3の画像 2 Asus ROG G751JL-BSI7T28 USB Port Board Replacement: 手順 6、 3の画像 3
    • Remove the 5mm Phillips #00 screws.

    • Lift up the silver hinge brackets on each side of the laptop.

  7. Asus ROG G751JL-BSI7T28 USB Port Board Replacement: 手順 7、 2の画像 1 Asus ROG G751JL-BSI7T28 USB Port Board Replacement: 手順 7、 2の画像 2
    • Remove the 5mm Phillips #00 screws from the hinges.

    • Detach the ribbon cable and remove the display assembly from the laptop.

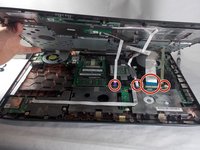
  8. Asus ROG G751JL-BSI7T28 USB Port Board Replacement, Keyboard Assembly: 手順 8、 2の画像 1 Asus ROG G751JL-BSI7T28 USB Port Board Replacement, Keyboard Assembly: 手順 8、 2の画像 2
    • Carefully lift the keyboard up, being careful to not damage the fragile ribbon connectors.

    • Use an opening tool to detach the ribbon cables connecting the keyboard to the rest of the laptop.

    • Remove the keyboard from the laptop.

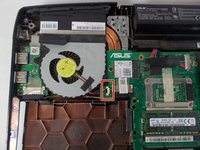
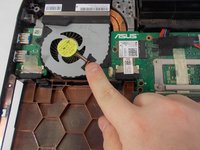
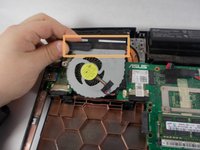
  9. Asus ROG G751JL-BSI7T28 USB Port Board Replacement, Fan: 手順 9、 2の画像 1 Asus ROG G751JL-BSI7T28 USB Port Board Replacement, Fan: 手順 9、 2の画像 2
    • Remove the fan's power cable by pulling carefully outward towards the fan.

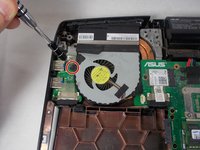
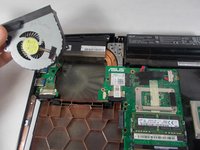
  10. Asus ROG G751JL-BSI7T28 USB Port Board Replacement: 手順 10、 3の画像 1 Asus ROG G751JL-BSI7T28 USB Port Board Replacement: 手順 10、 3の画像 2 Asus ROG G751JL-BSI7T28 USB Port Board Replacement: 手順 10、 3の画像 3
    • Remove the 5mm Phillips #00 screw.

    • Pull up on the black tab connected to the fan. This will pull it away from the cooling fins, allowing it to be removed.

    • Remove the fan from the laptop.

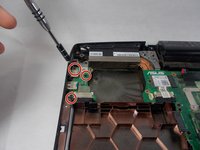
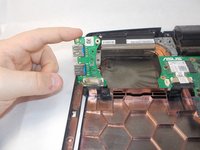
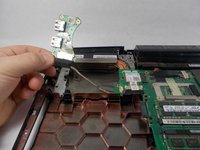
  11. Asus ROG G751JL-BSI7T28 USB Port Board Replacement, USB Port Board: 手順 11、 3の画像 1 Asus ROG G751JL-BSI7T28 USB Port Board Replacement, USB Port Board: 手順 11、 3の画像 2 Asus ROG G751JL-BSI7T28 USB Port Board Replacement, USB Port Board: 手順 11、 3の画像 3
    • Remove the three 5mm Phillips #0 screws from the USB port board.

    • Lift the USB port board out of the laptop.

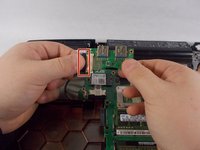
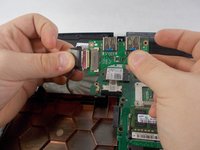
  12. Asus ROG G751JL-BSI7T28 USB Port Board Replacement: 手順 12、 3の画像 1 Asus ROG G751JL-BSI7T28 USB Port Board Replacement: 手順 12、 3の画像 2 Asus ROG G751JL-BSI7T28 USB Port Board Replacement: 手順 12、 3の画像 3
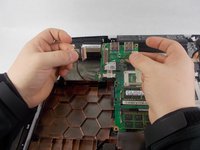
    • Pull the data cable out of the USB port board.

終わりに

To reassemble your device, follow these instructions in reverse order.

作成者

3人の作成者と共同で作成されました。

Dylan Michael Leonard

メンバー登録日: 11/05/19

423 ポイント

4のガイドは作成済み

チーム

UMass Dartmouth, Team S1-G1, Barthe Fall 2019 UMass Dartmouth, Team S1-G1, Barthe Fall 2019人のメンバー

UMASSD-BARTHE-F19S1G1

3 メンバー

4のガイドは作成済み

2 件のコメント

Hi Dylan. I inherited an older G751JL-BSI7T28 Asus gaming laptop. Do you know if the internal graphics card was able to be replaced by anything other than the 2GB Geforce that is in it? I hate top put money in an older laptop but other than it doesnt have USB C or USB 3.1, it really isn’t that bad of a laptop for its age.

cpruitt1@carolina.rr.com

cpruitt1 - 返信

The laptop is very formidable for it’s age but unfortunately the laptop’s GPU is integrated into the motherboard, so it cannot be swapped out. Hope this helps!

Dylan Michael Leonard - 返信

コメントを追加

統計データ:

過去 24時間: 0

過去 7 日: 1

過去 30 日: 2

今までの合計 264